
|
The vehicle should be clean and cool.
There should be no unsolved issues with related components prior to installation.
Always diagnose problems before jumping to conclusions. Thoroughly read the instructions and view the illustrations before beginning. First things first- take inventory. Make sure you have all the parts that came with the item you purchased, and the tools needed for installation. Last things last- if you need help with the installation, feel free to contact us via email, at help@deyemeracing.com. Fully explain what you're doing, and your question. Include pictures if possible. These instructions are also available online with high-res images, at www.deyemeracing.com/Project_Creeper/JL18FTGBKT_INSTALL.HTM. |
|||||
|
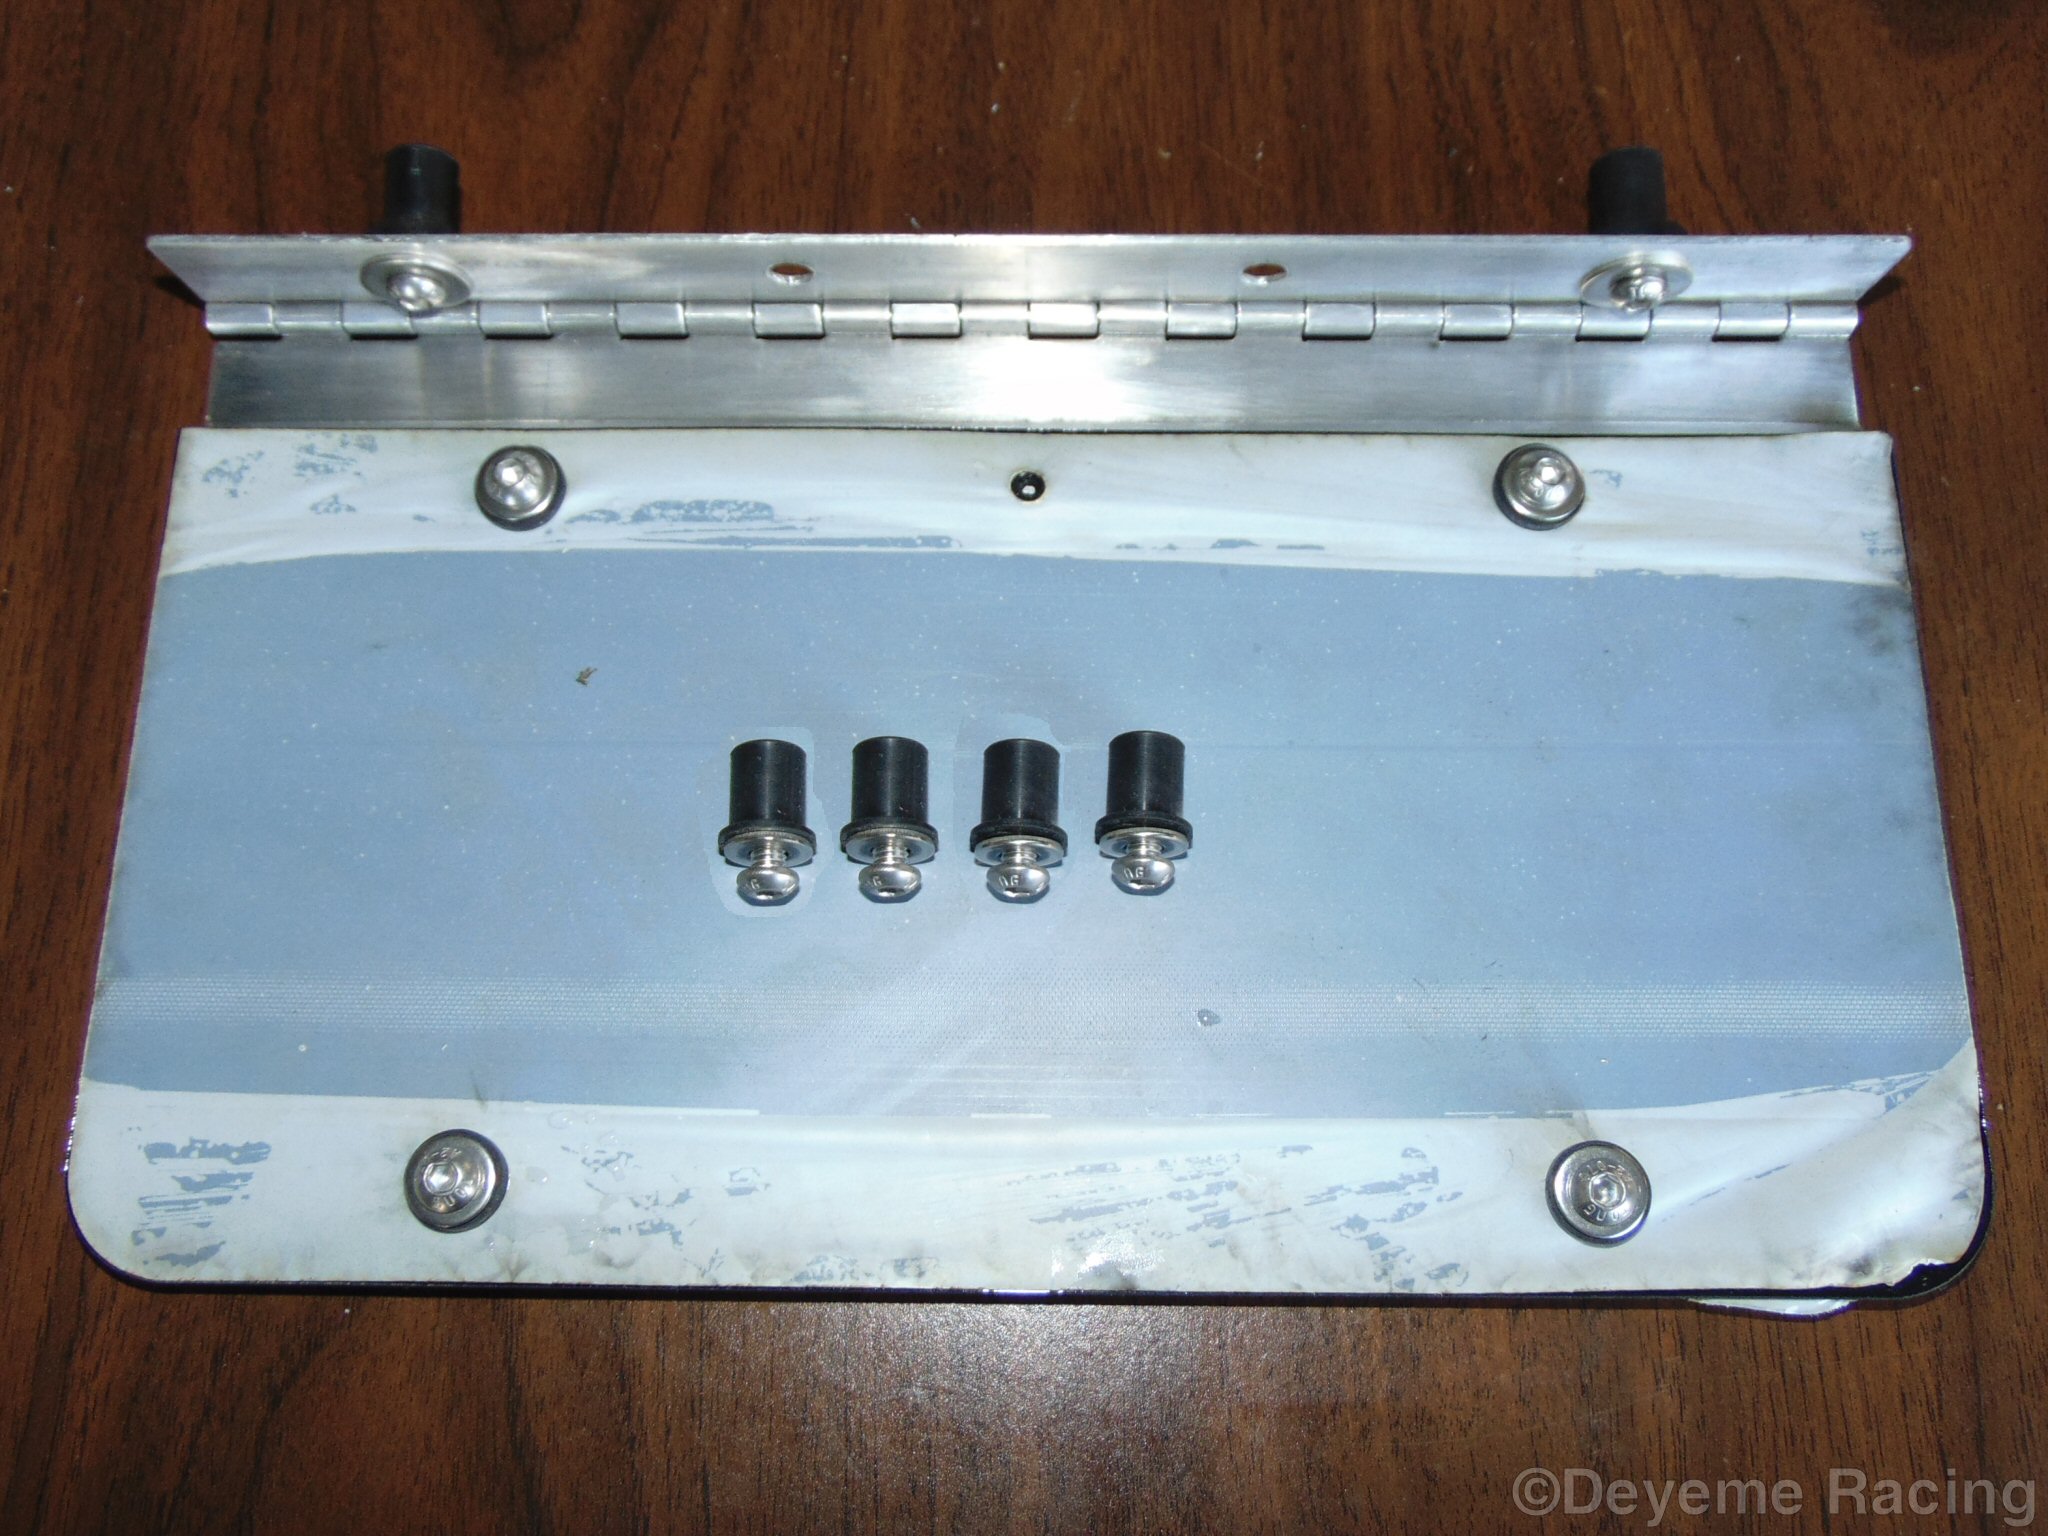
Checklist
1 DMR sub-height or full-height front license plate bracket2 M6 x 25 screws, washers, and well nuts for bracket attachment 2 or 4 M6 x 16 screws, washers, and rubber spacers for front plate 2 or 4 M6 x20 screws, washers, and well nuts for rear license plate Tools and Supplies
|
|
||||
|
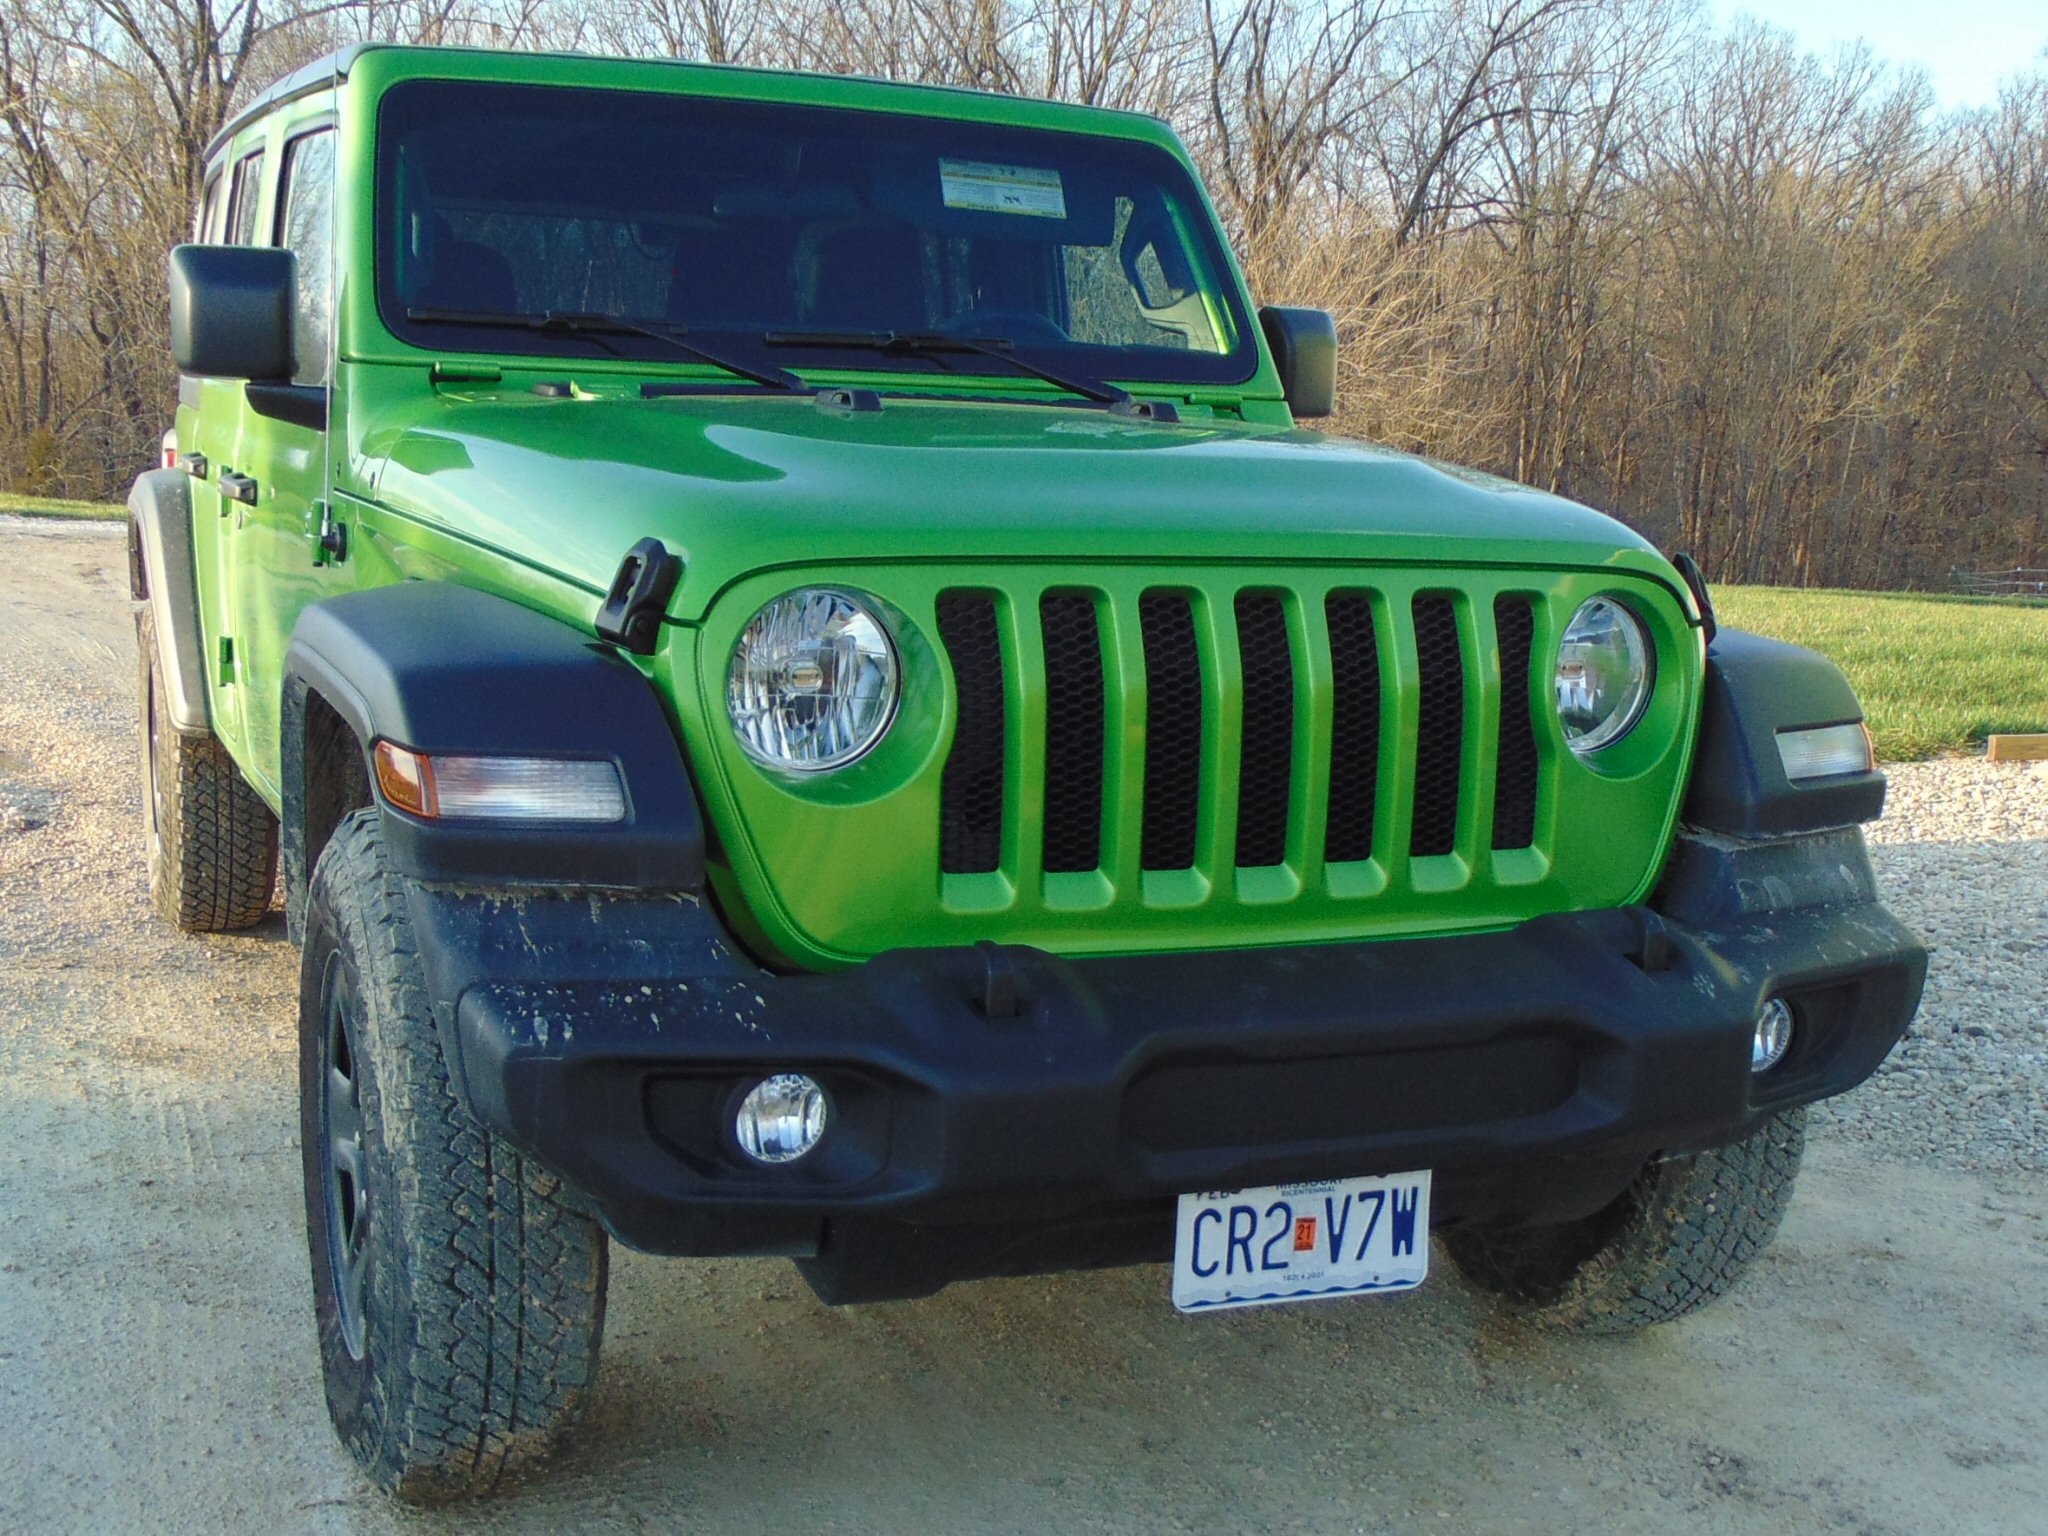
Front
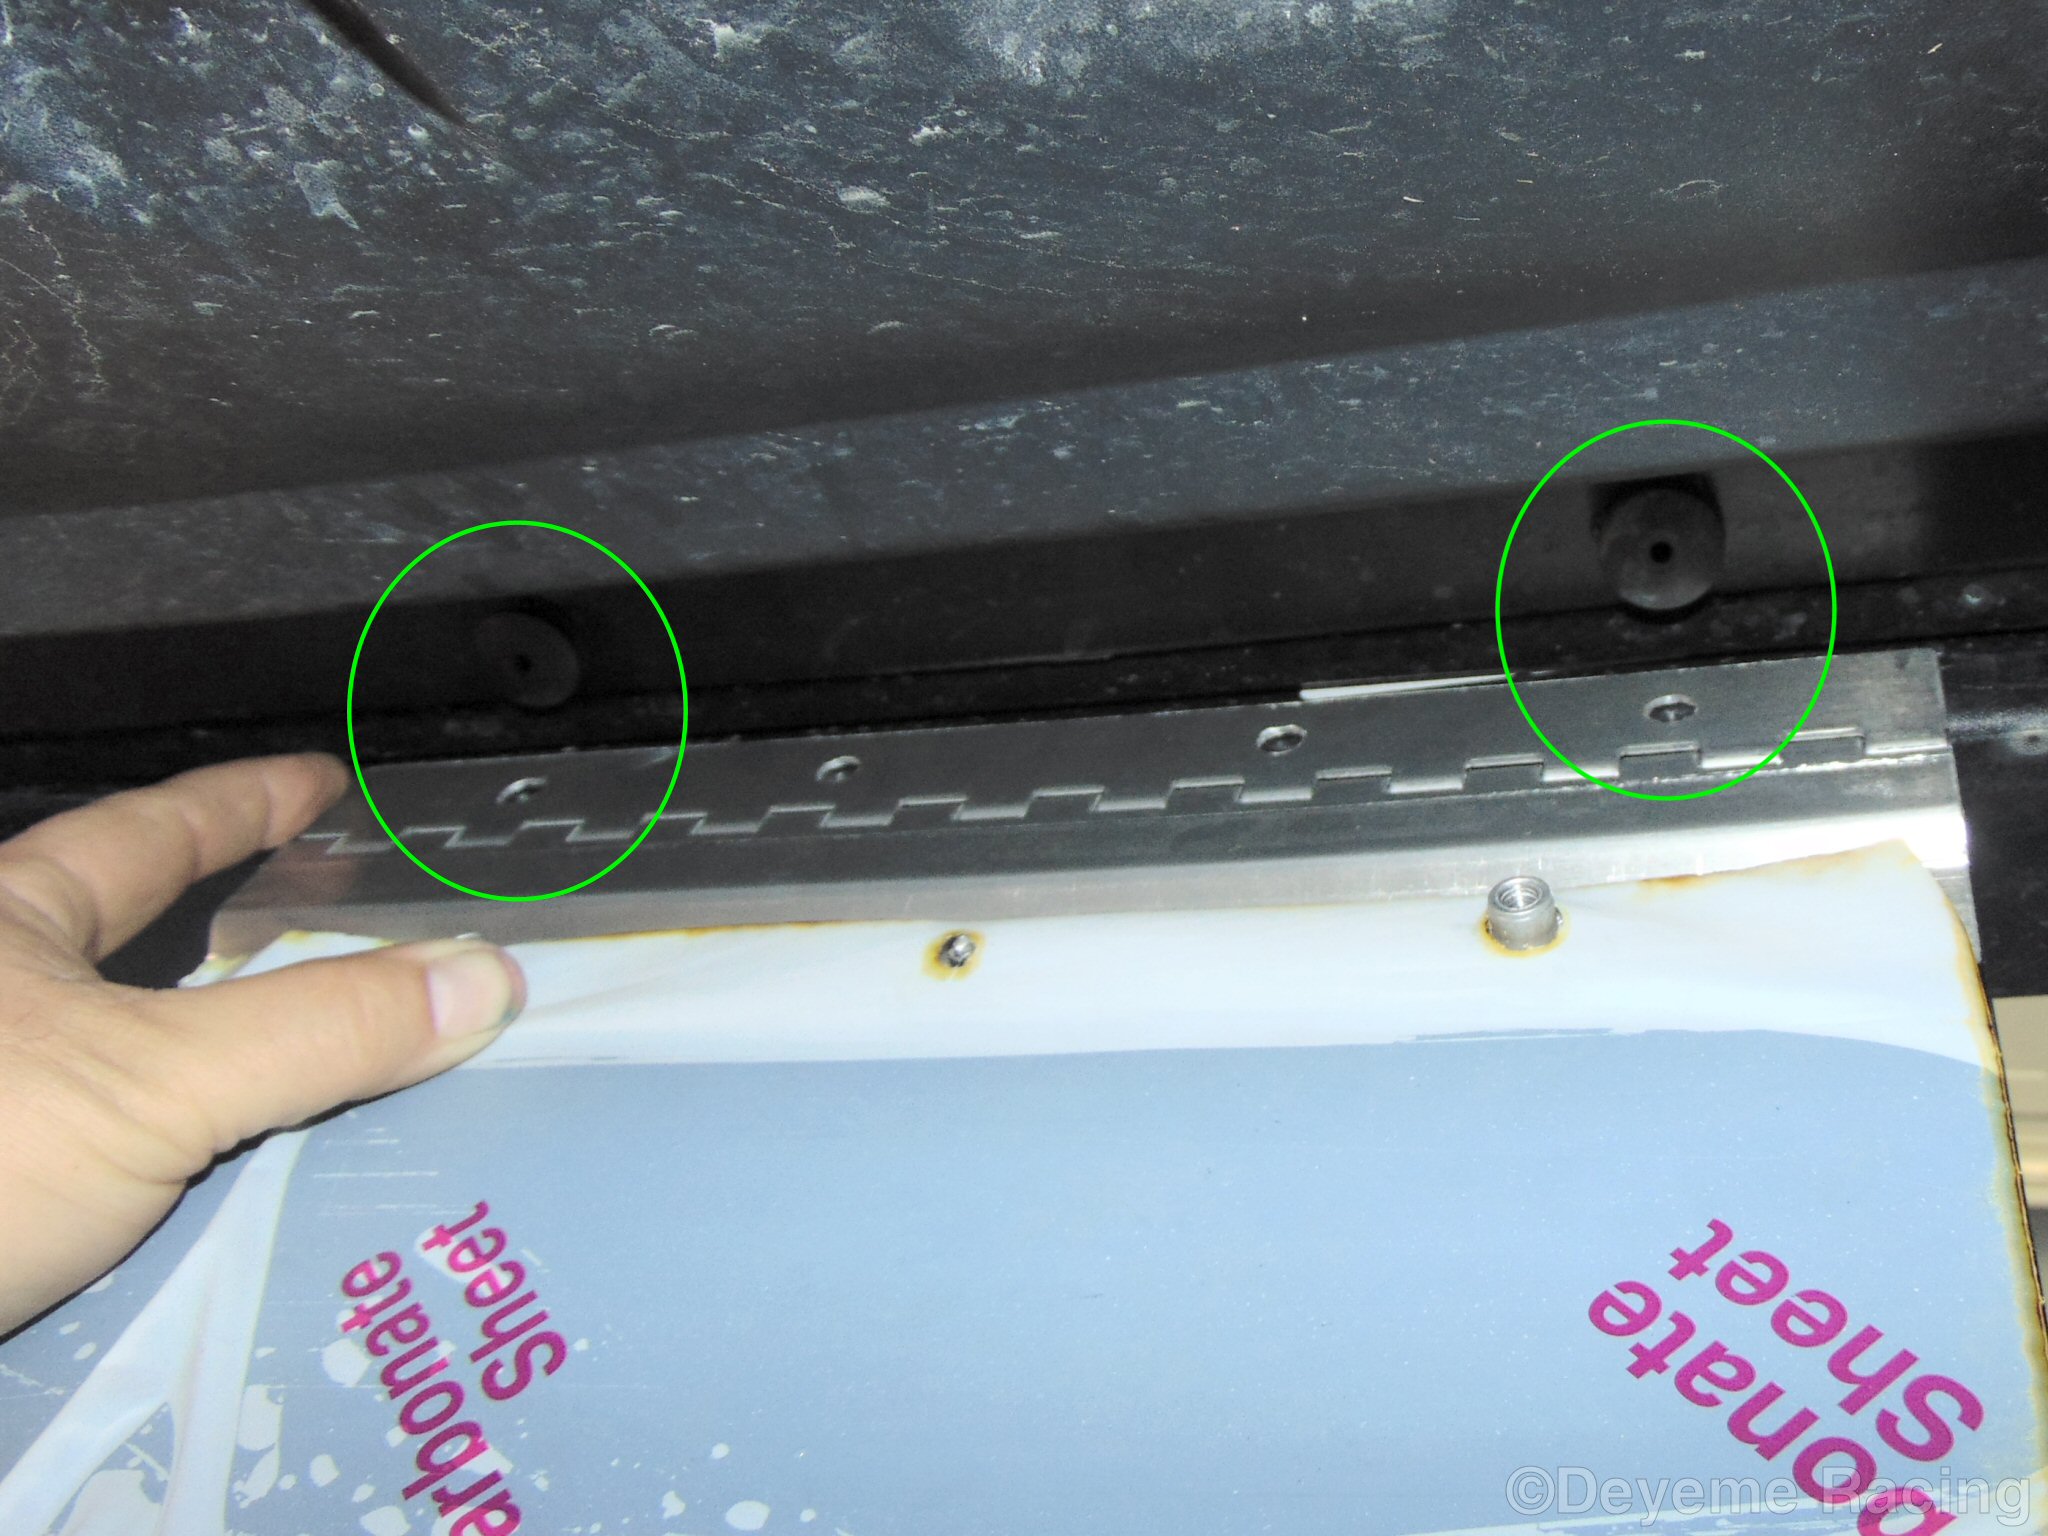
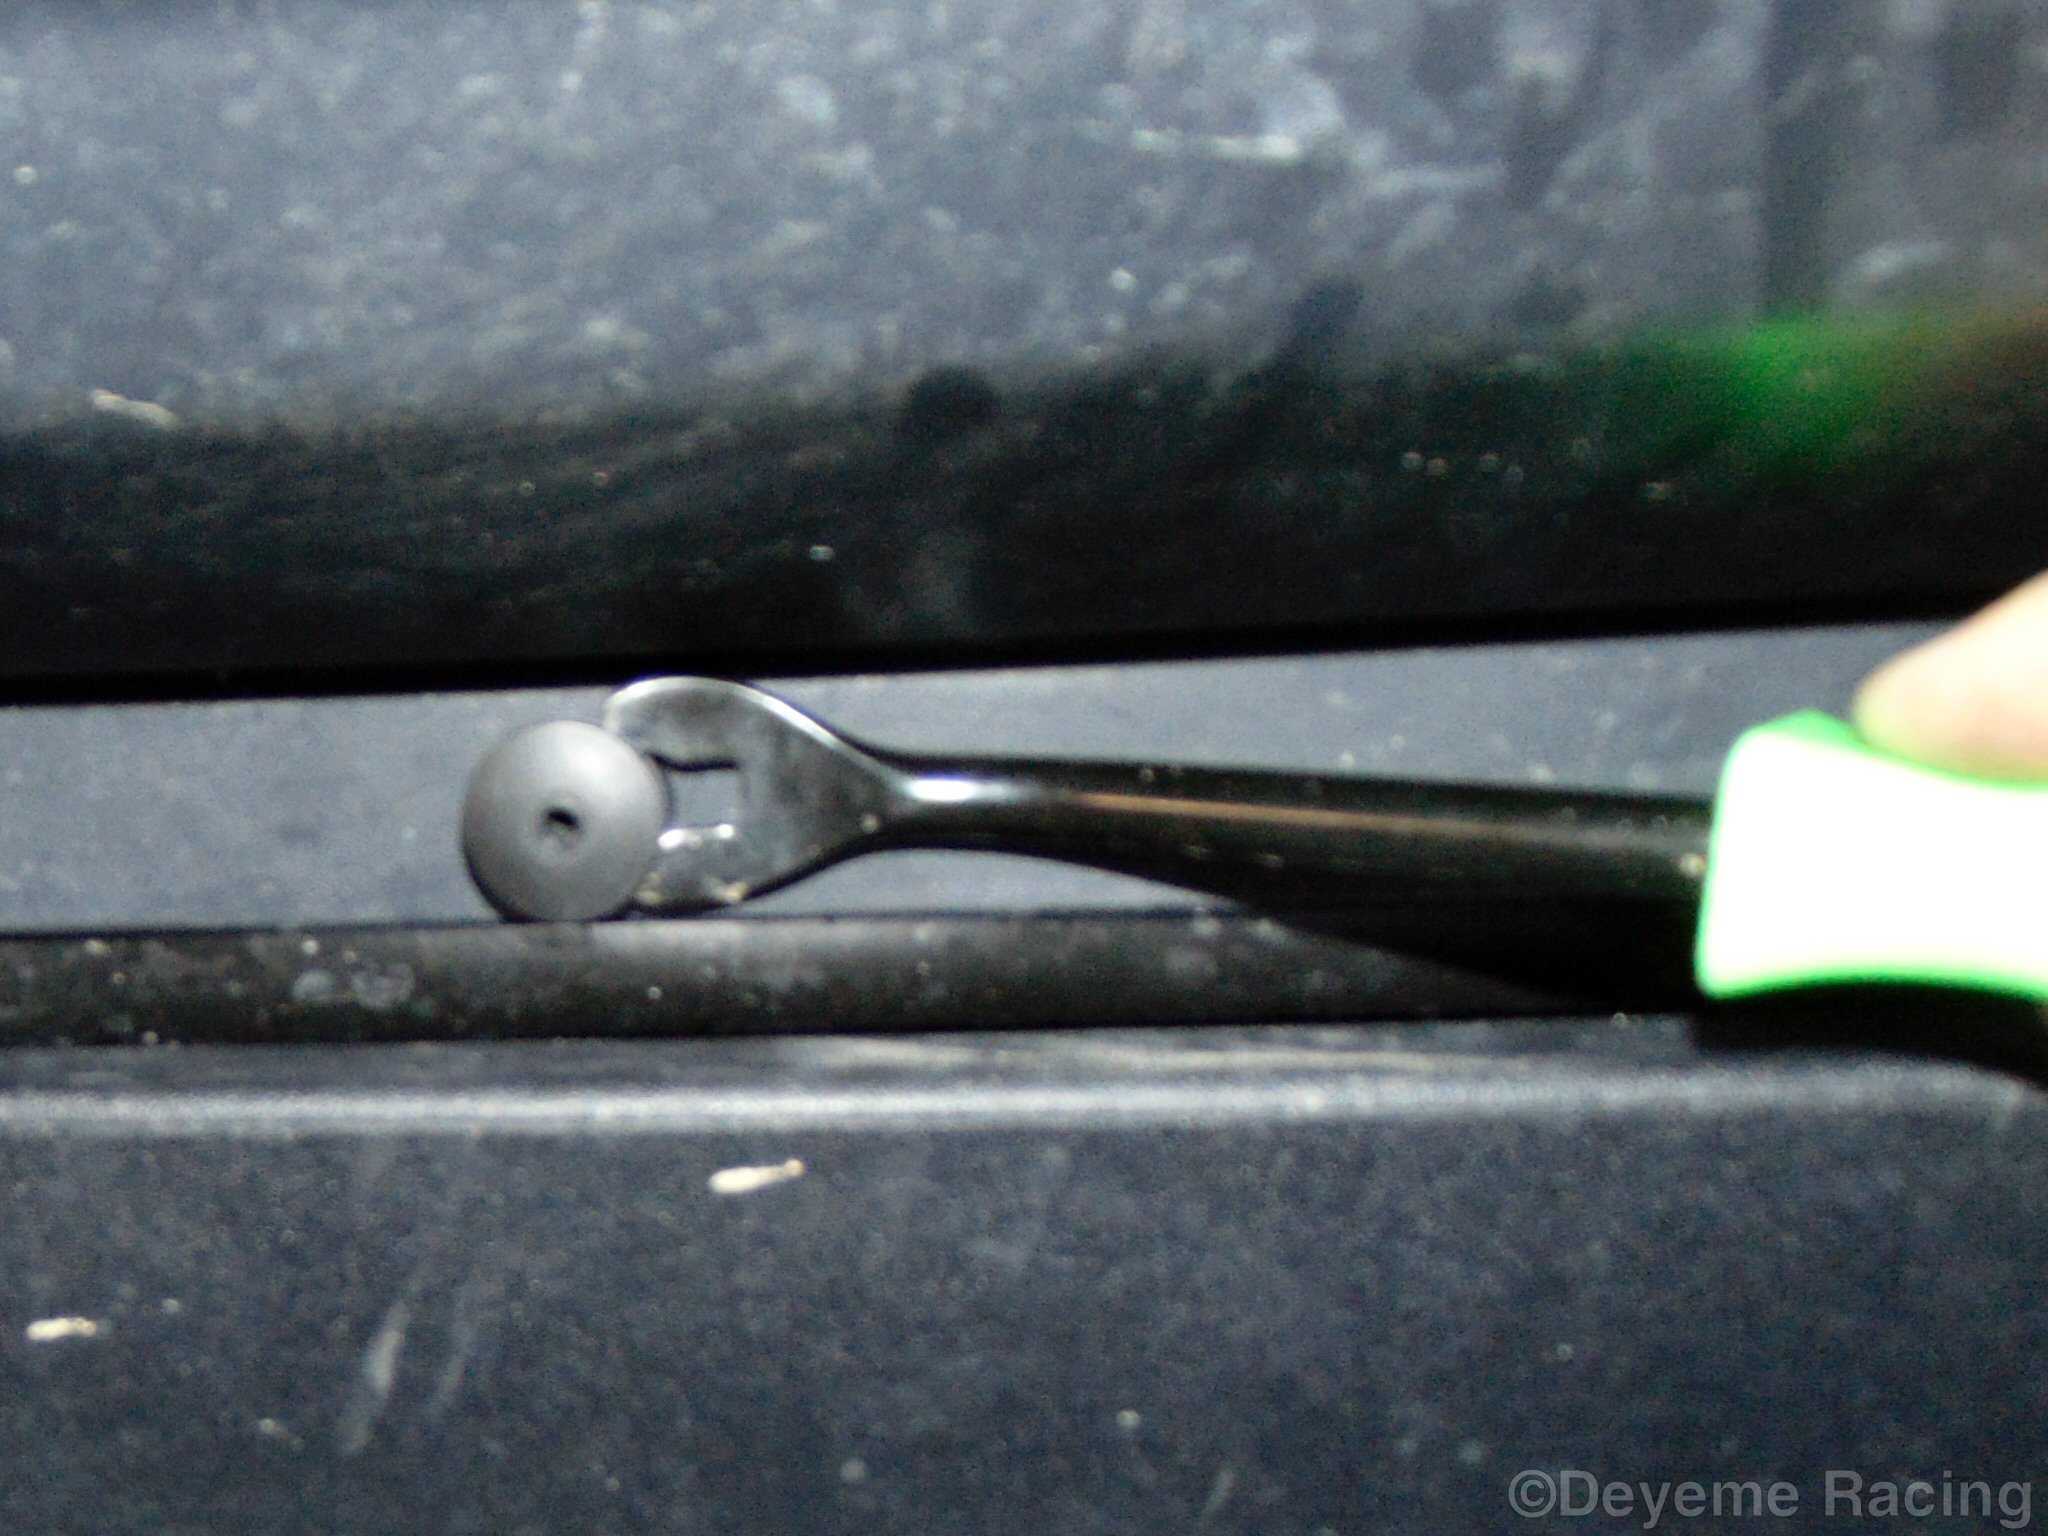
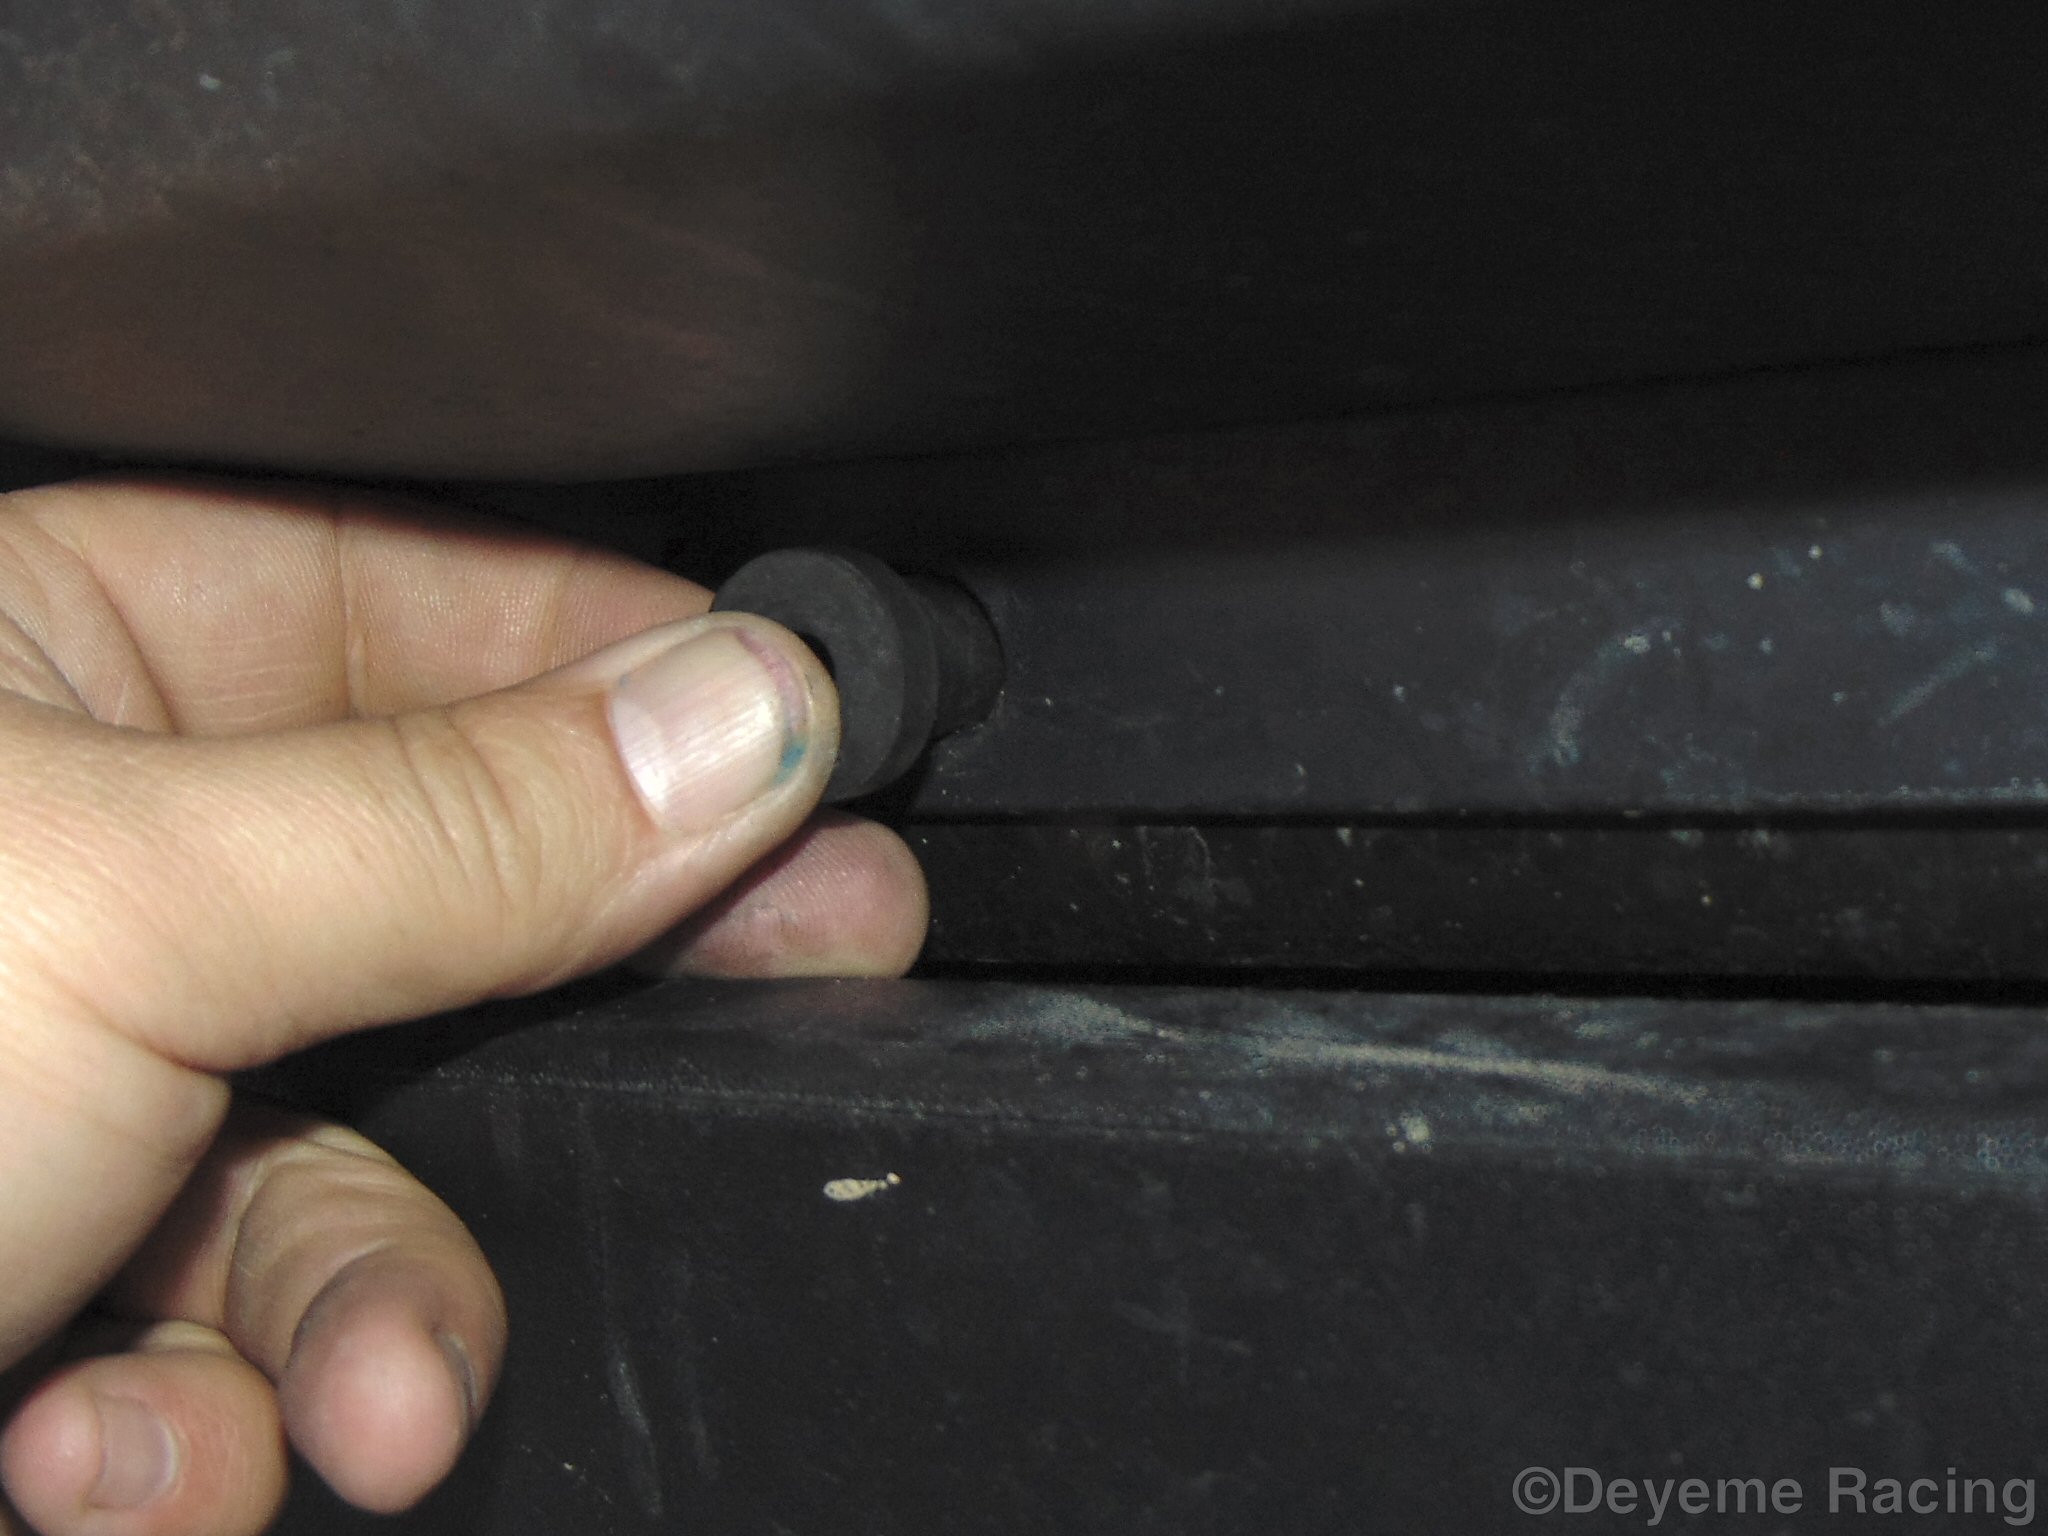
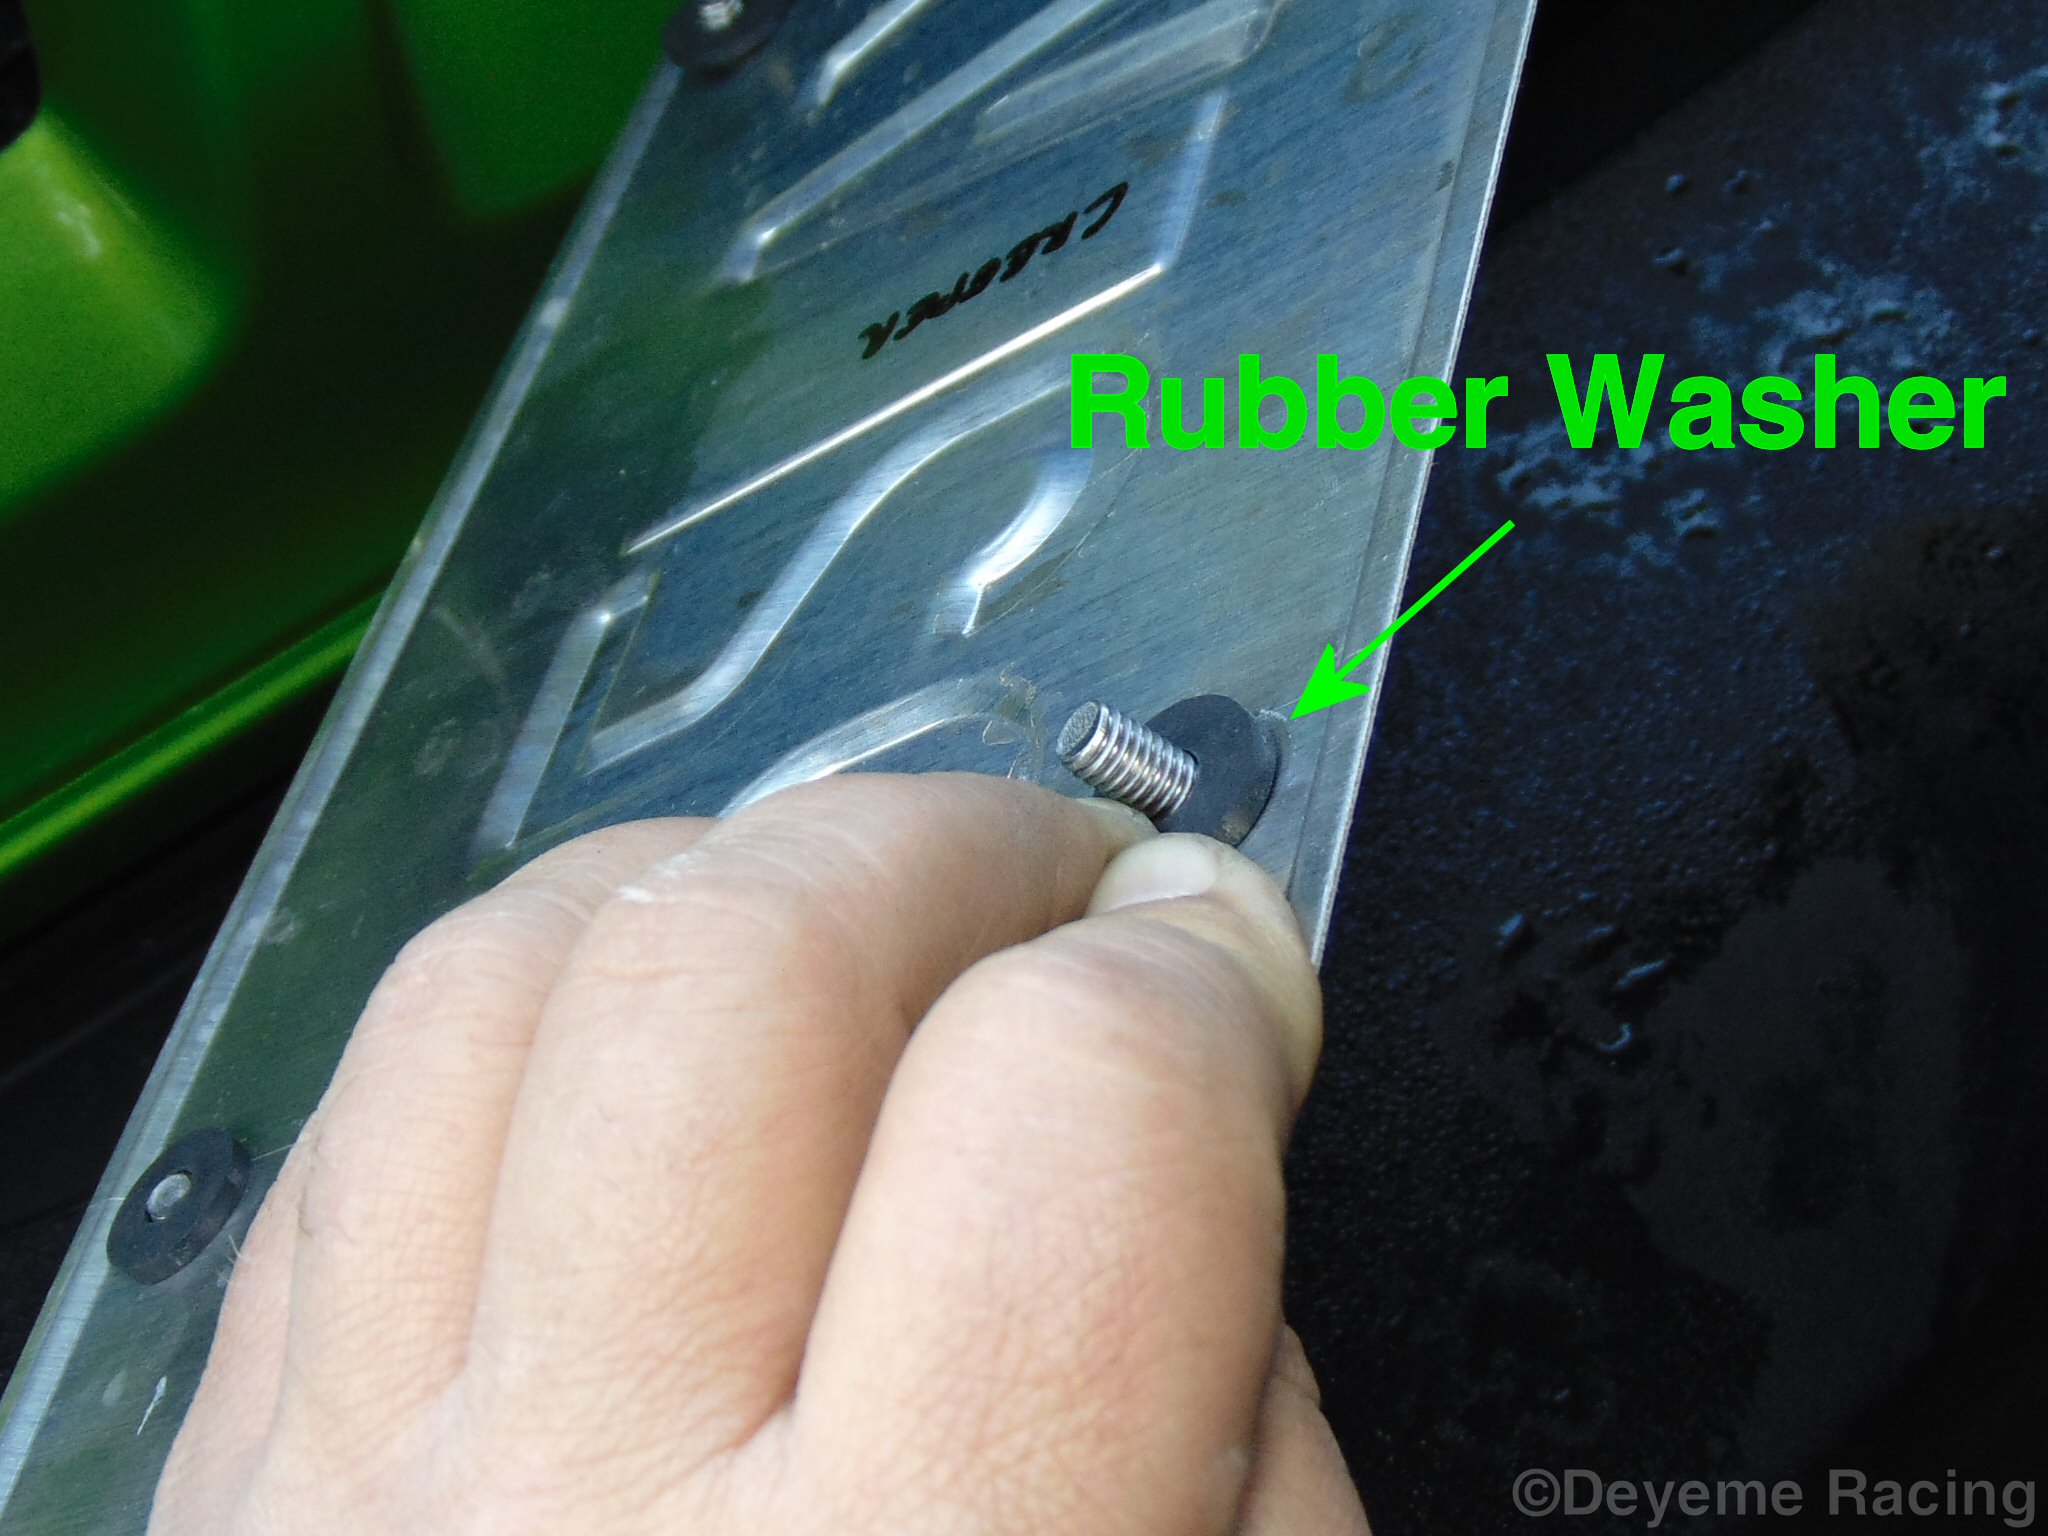
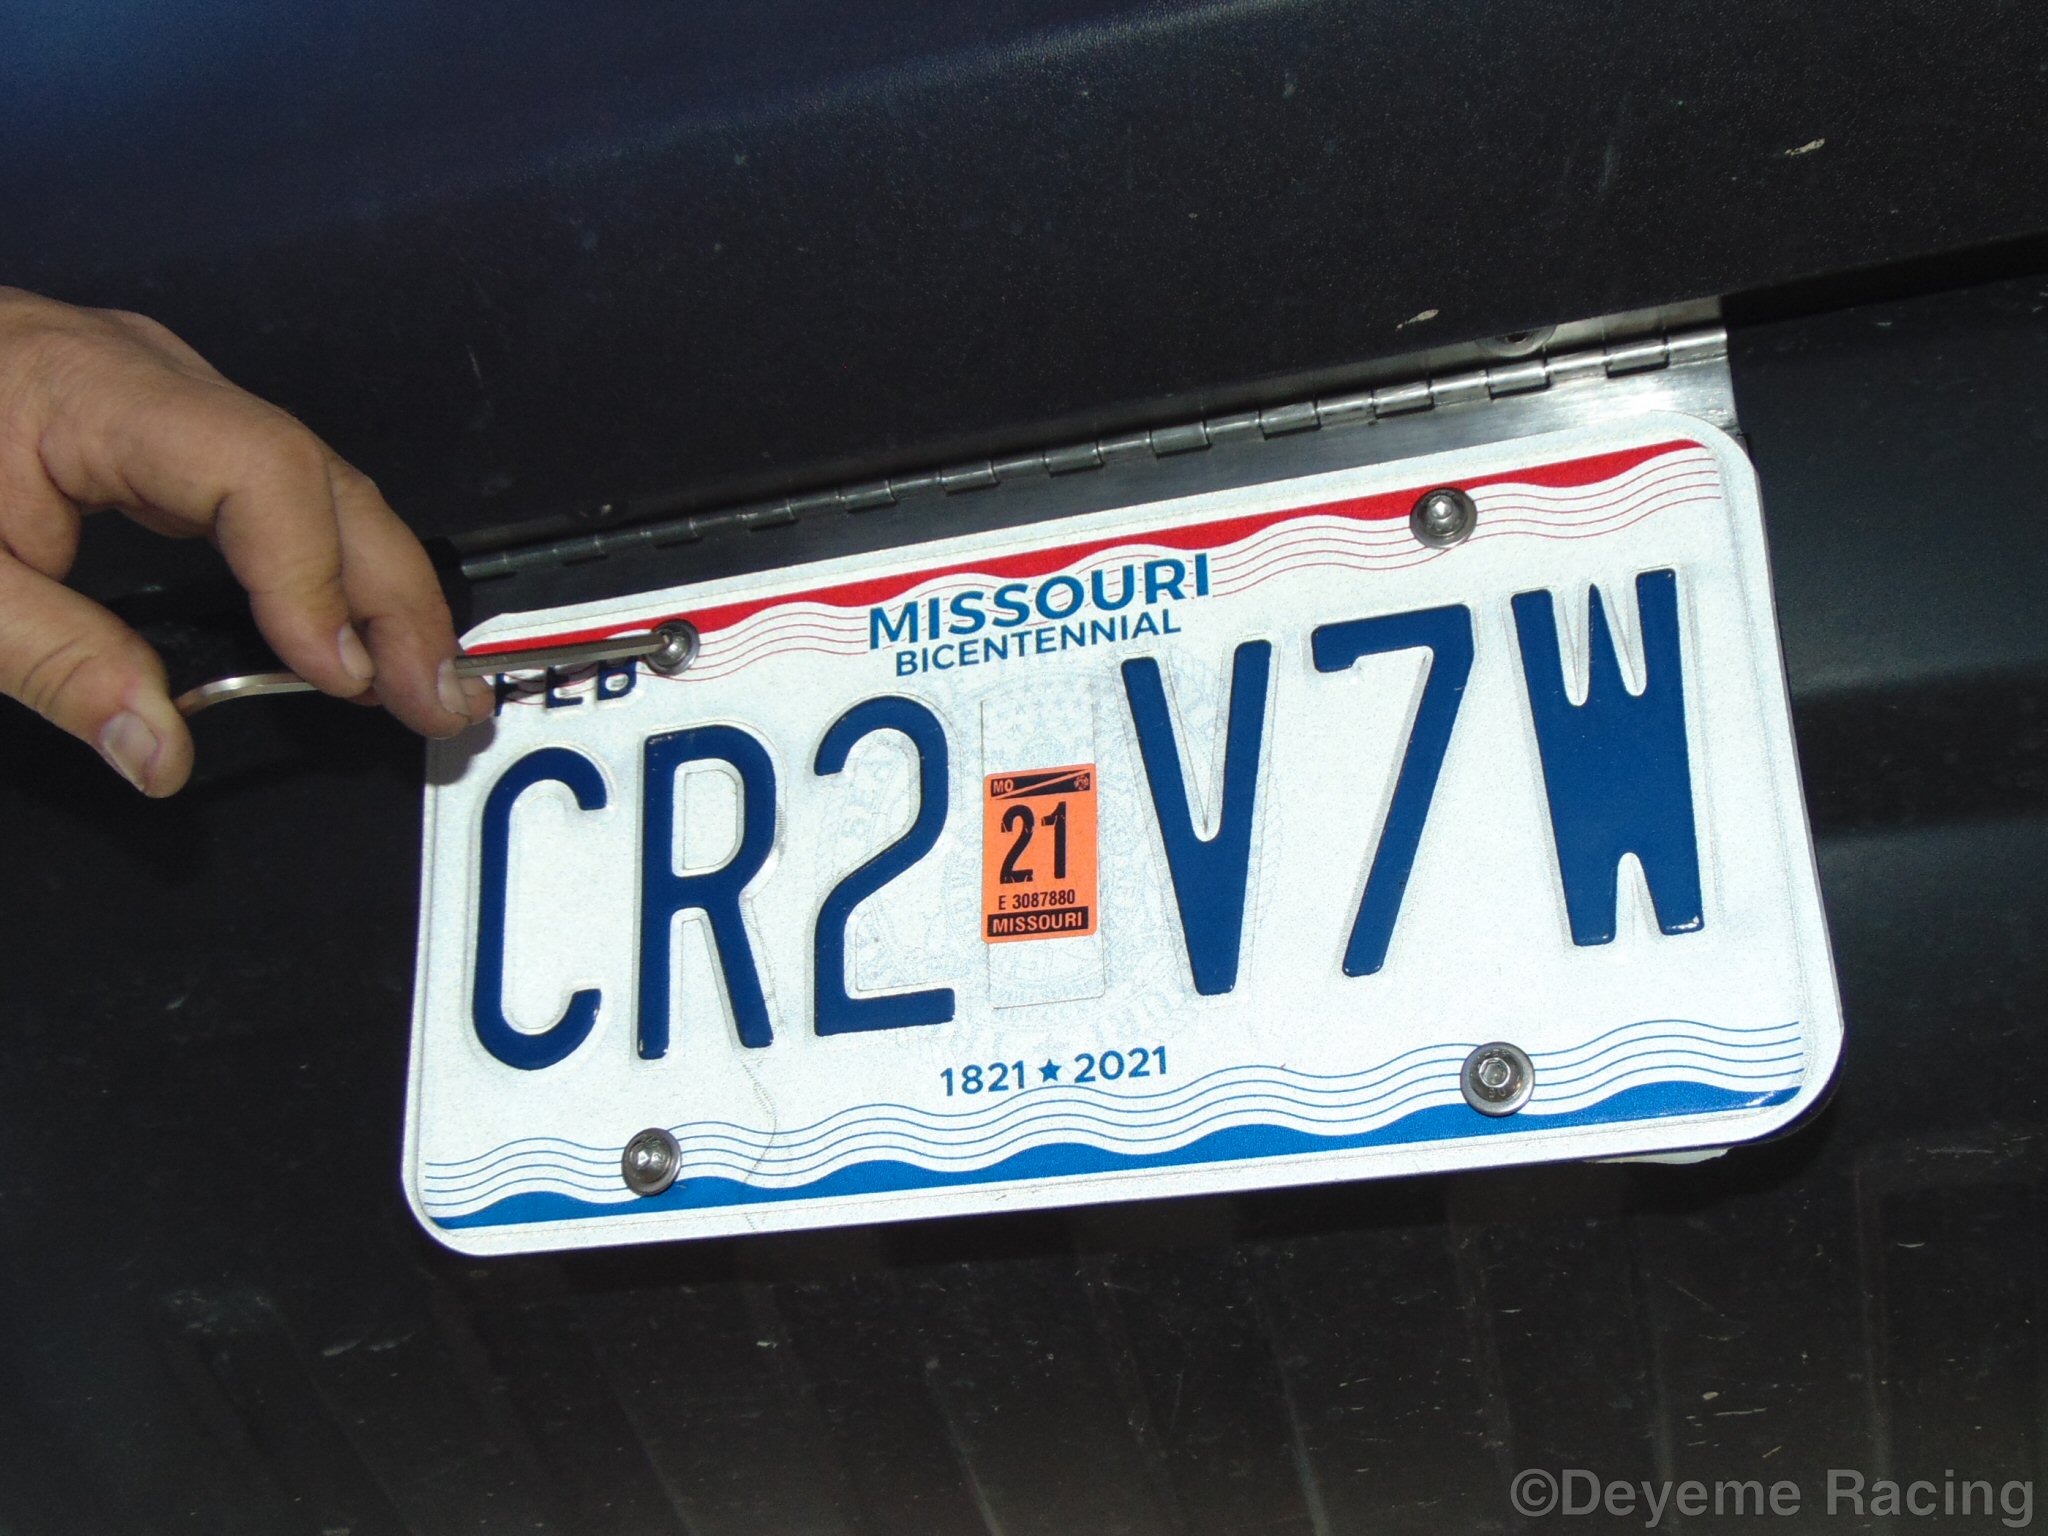
Remove all fasteners from bracket, and set aside, attached to their respective well nuts or rubber washers.Raise the front of the vehicle if needed, and secure with the parking brake and wheel chocks. With the plate bracket in hand, locate the plastic clips holding the lower cover onto the front bumper. The bracket holes are spaced for either a centered or offset installation. Remove the two plastic clips corrosponding to your preferred install location, with a flat-blade screwdriver or trim tool. Using a 1/2" drill bit, ream the clip holes. Insert thick-head well nuts into enlarged clip holes. Line up bracket, with hinge facing rearward, attach with M6x25 screws, and tighten. Remove protective sheet from license plate bracket, and install license plate with M16x16 screws. If not using a decorative plate frame, use the included rubber washers between the bracket and license plate. |
      |
||||
|
Rear
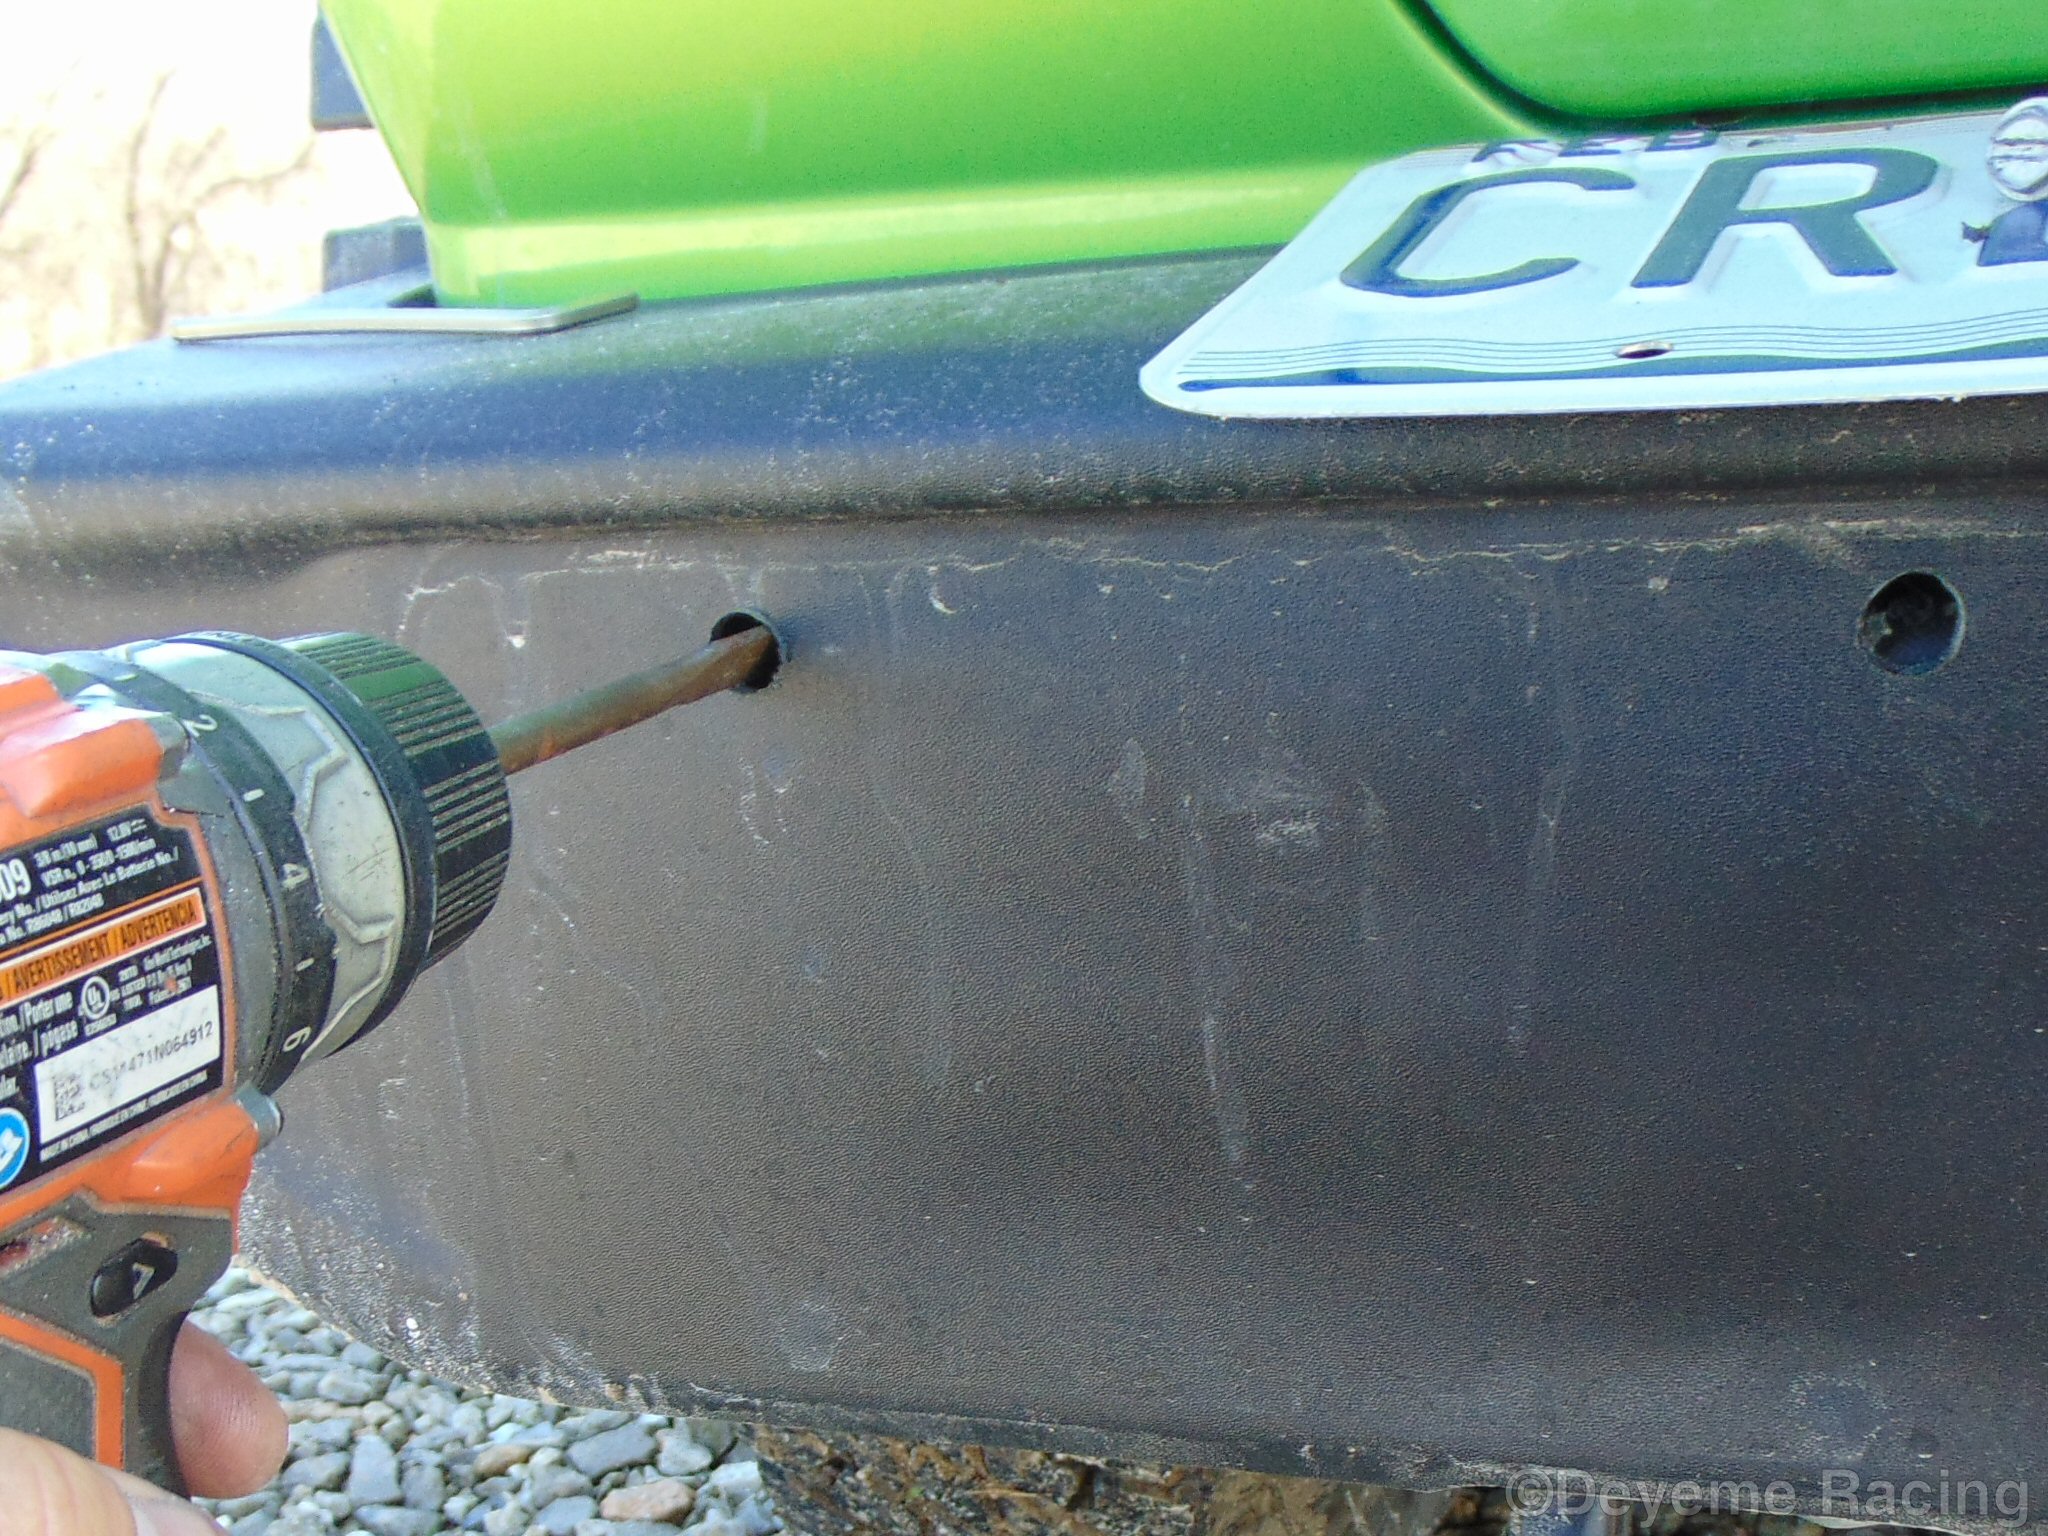
Set the license plate in the desired location on the rear bumper cover, and mark the holes to drill for the license plate.
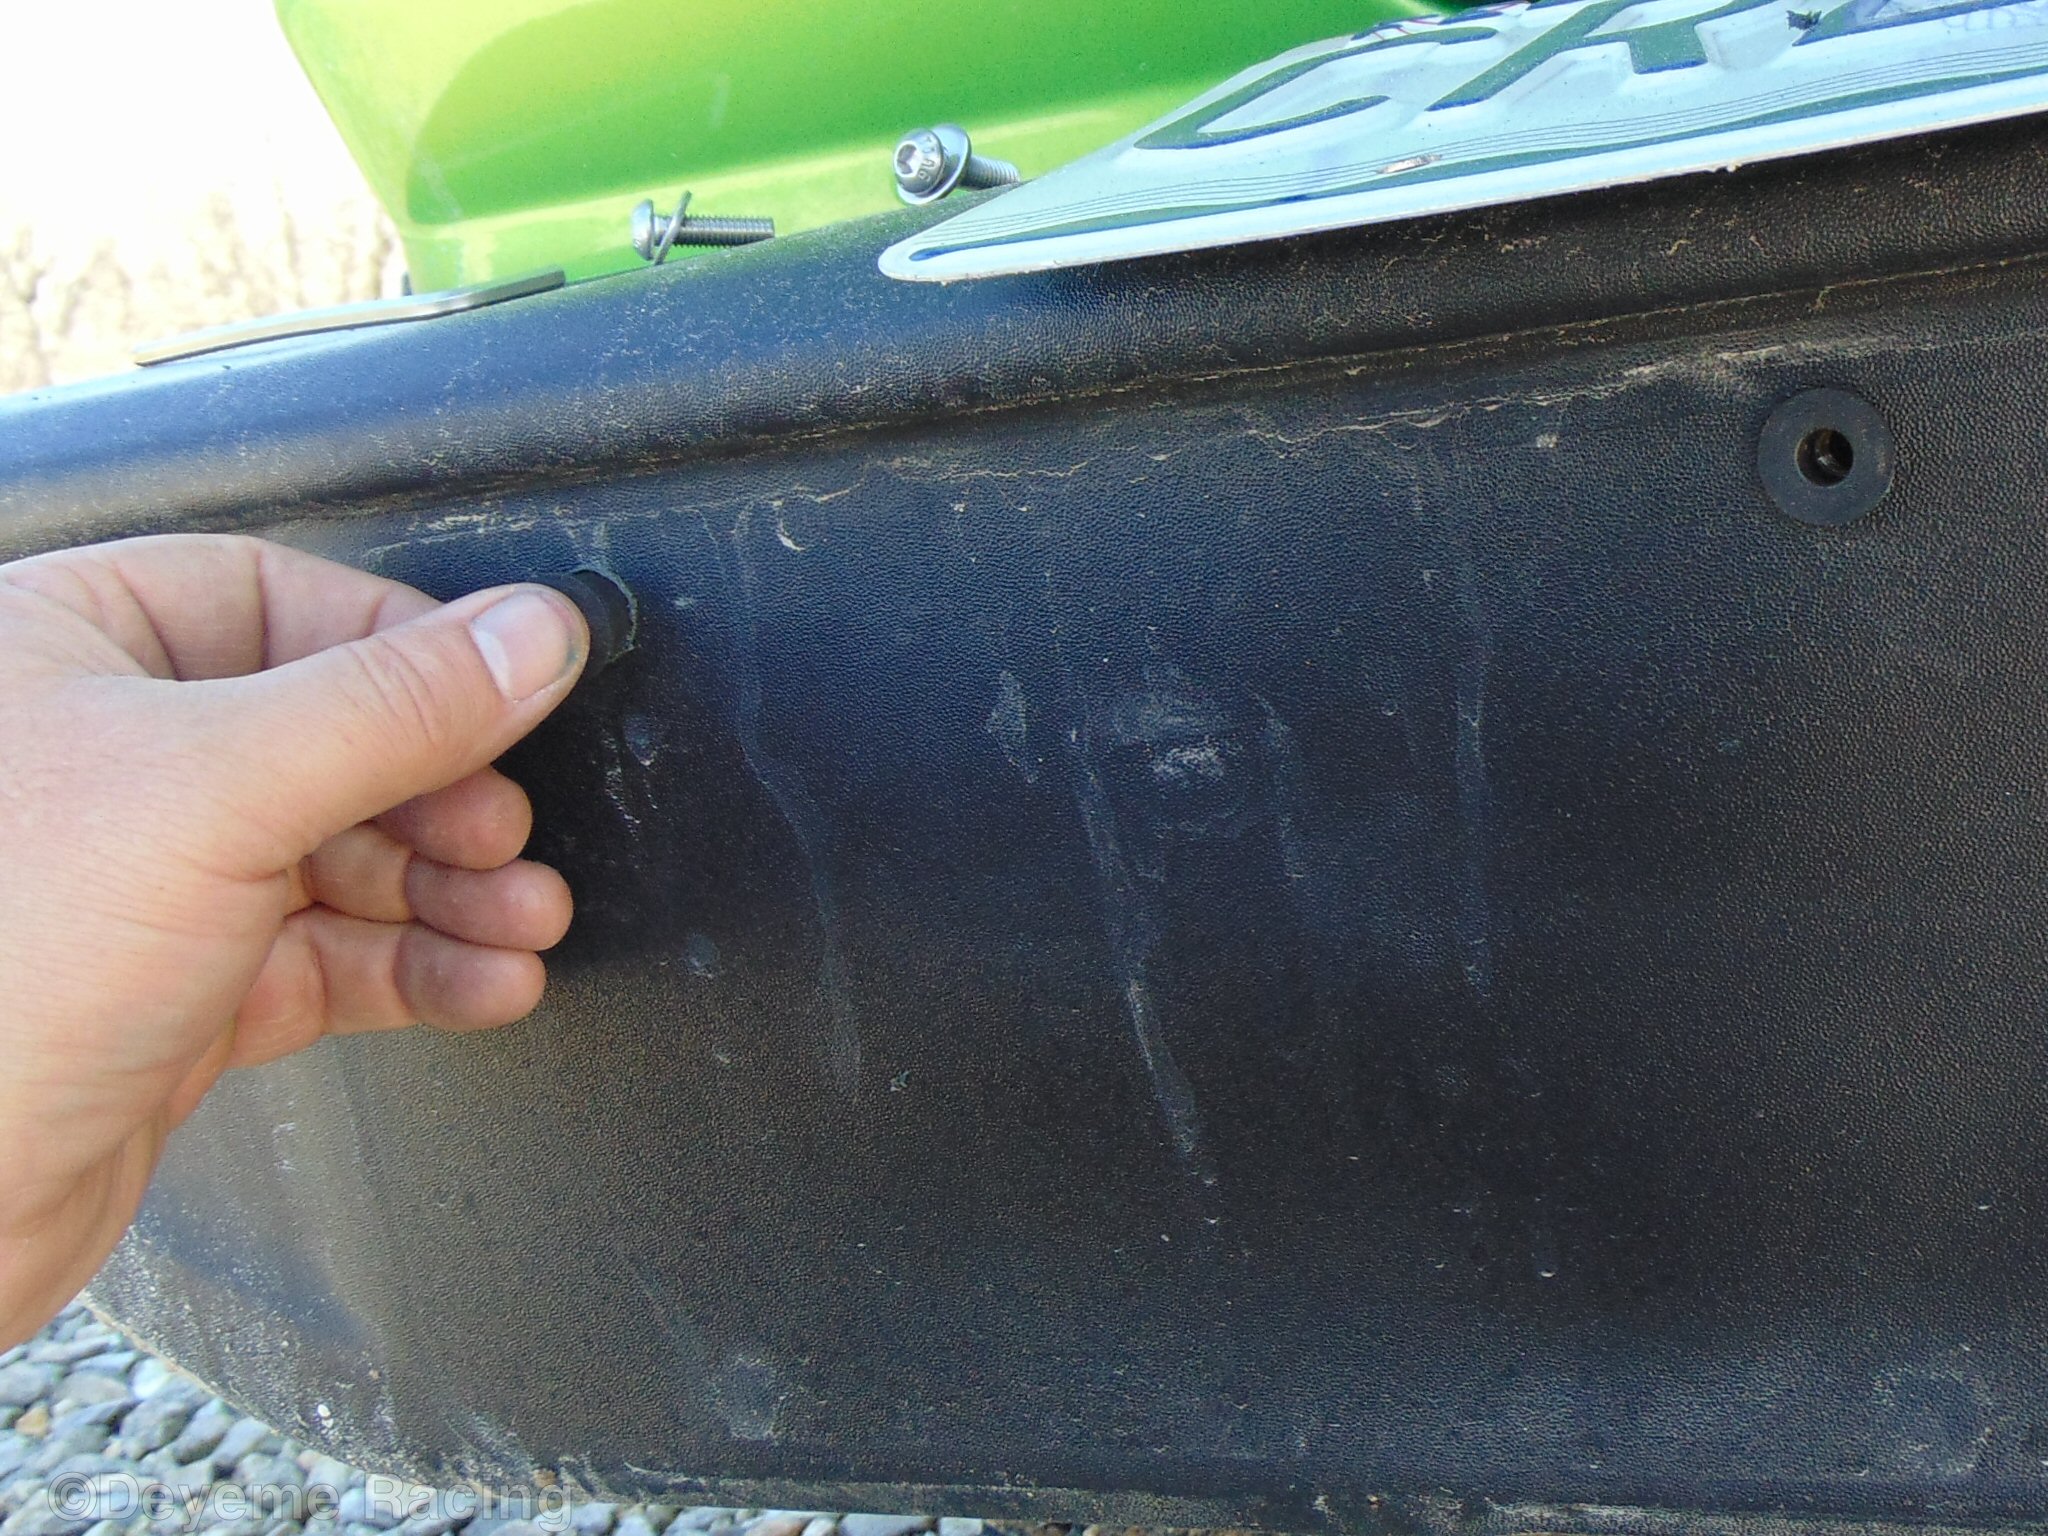
Set the plate aside.Drill the holes for the well nuts with a 1/2" spade bit (a spade bit is less likely to bind drilling through plastic). Press the well nuts into the mounting holes. Attach the rear license plate with the included M6x20 screws. |
  |
|
Done!
To care for your Deyeme Racing license plate bracket, simply wash with soapy water and rinse. The aluminum alloy
is corrosion-resistant, and will form a protective oxide coating. A coat of automotive wax will help the aluminum maintain its luster. |
|