
|
The vehicle should be clean and cool.
There should be no unsolved issues with related components prior to installation.
Always diagnose problems before jumping to conclusions.
Thoroughly read the instructions and view the images before beginning. First things first- take inventory. Make sure you have all the tools and components that came with the item you purchased. Last things last- if you need help with installation, feel free to contact us via email, at help@deyemeracing.com. Fully explain what you're doing, and your question, and include pictures if possible. These instructions are also available online, with high res images, at www.deyemeracing.com/Project_Speedy/PF1MTSLNKS_INSTALL.HTM. |
|||||||
|
Checklist
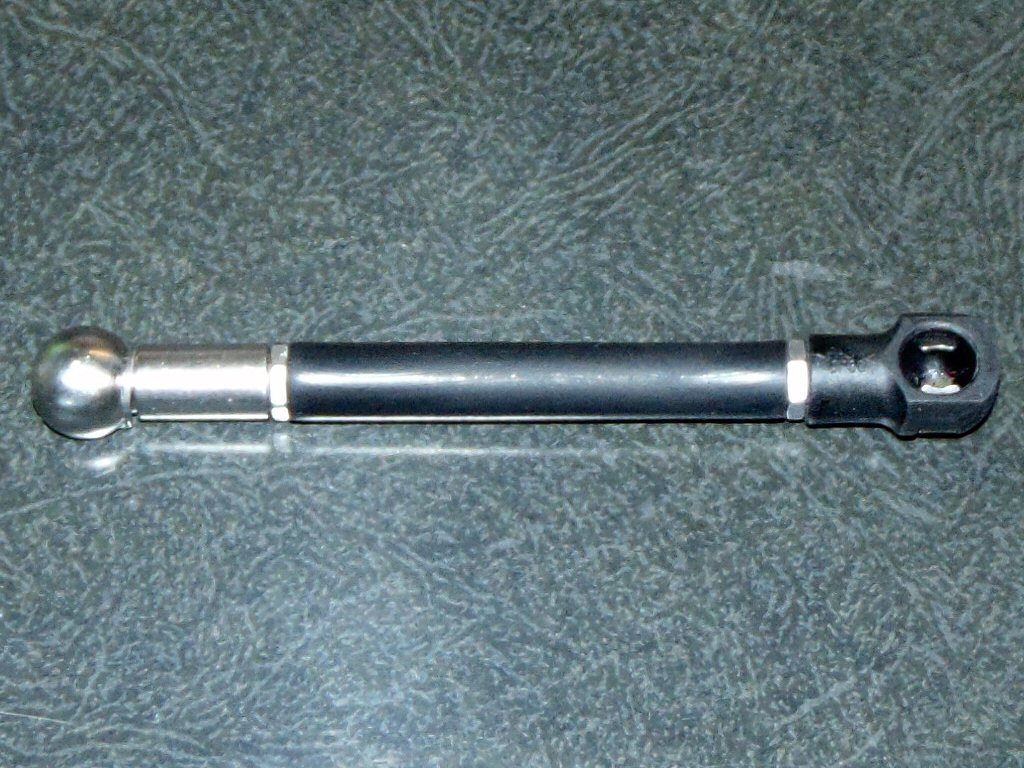
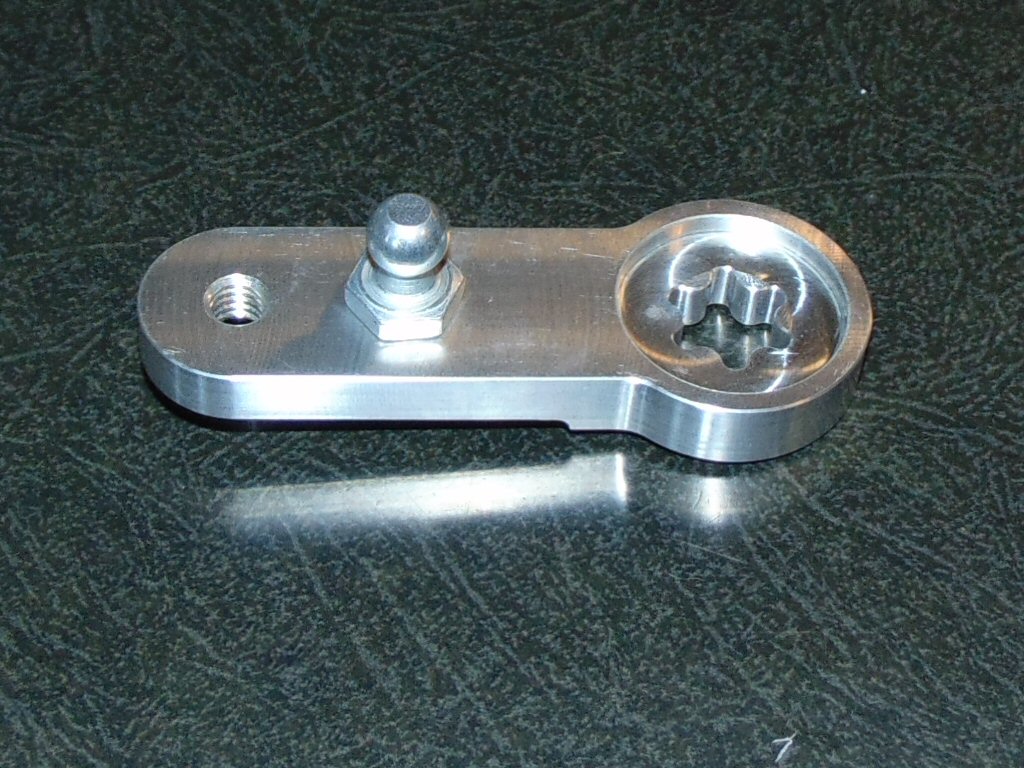
1 Stainless or Standard Steel Shift Control Rod (aka Tension Strut)1 Shift Control Arm w/ ball stud Tools and Supplies (not included)
|
  |
||||||
|
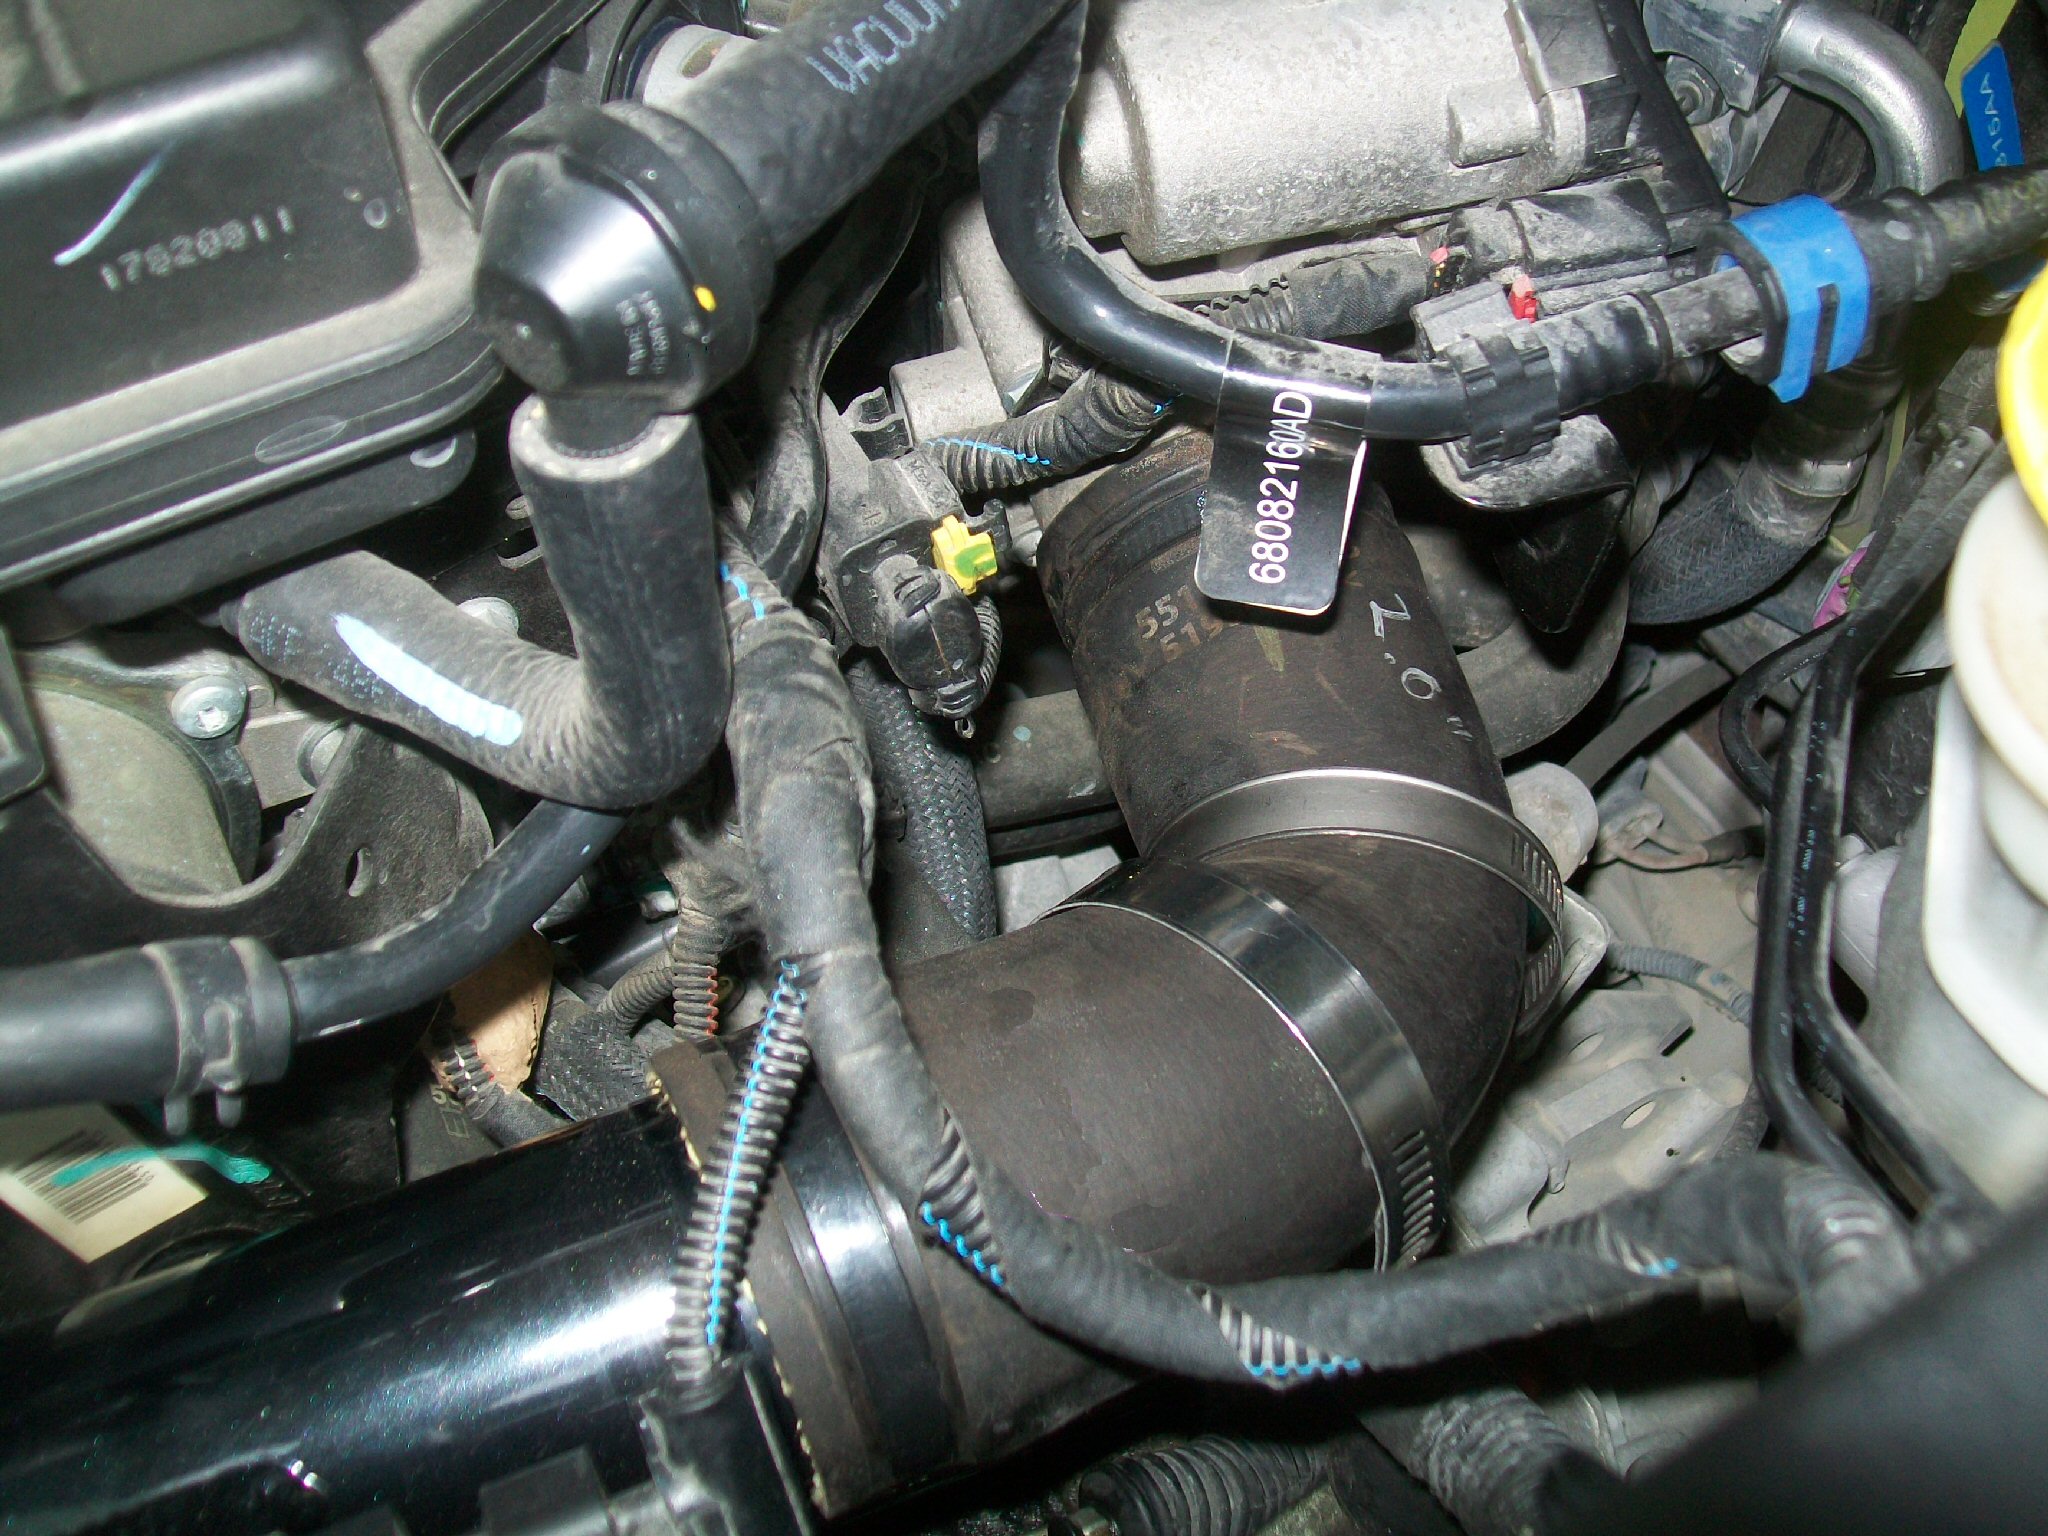
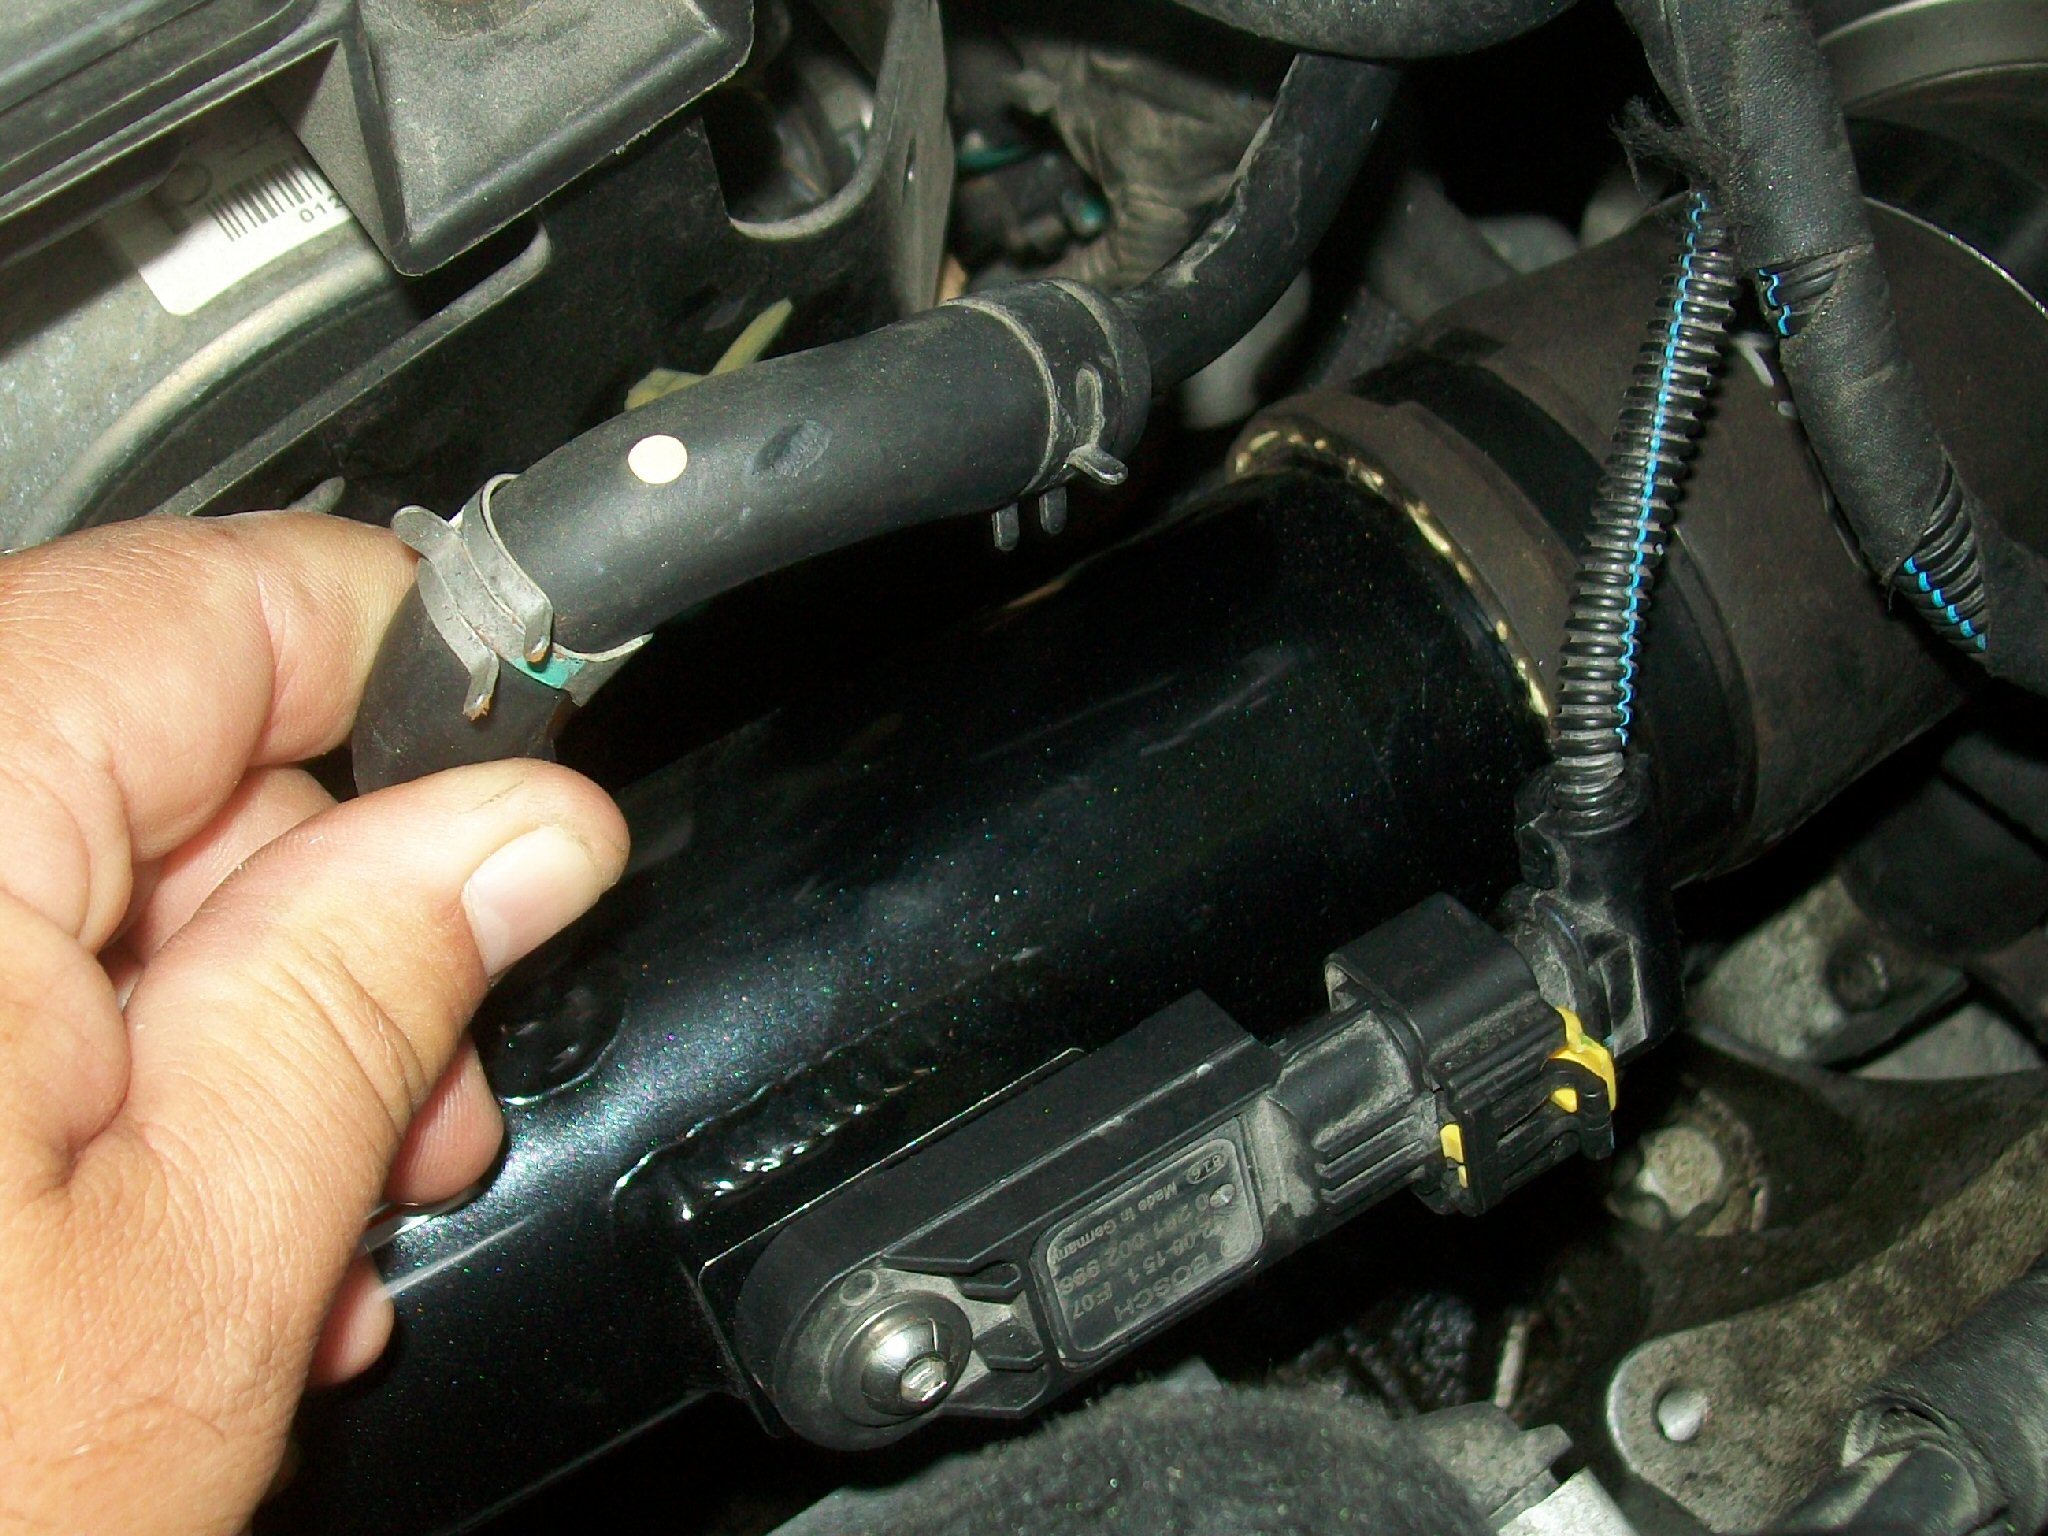
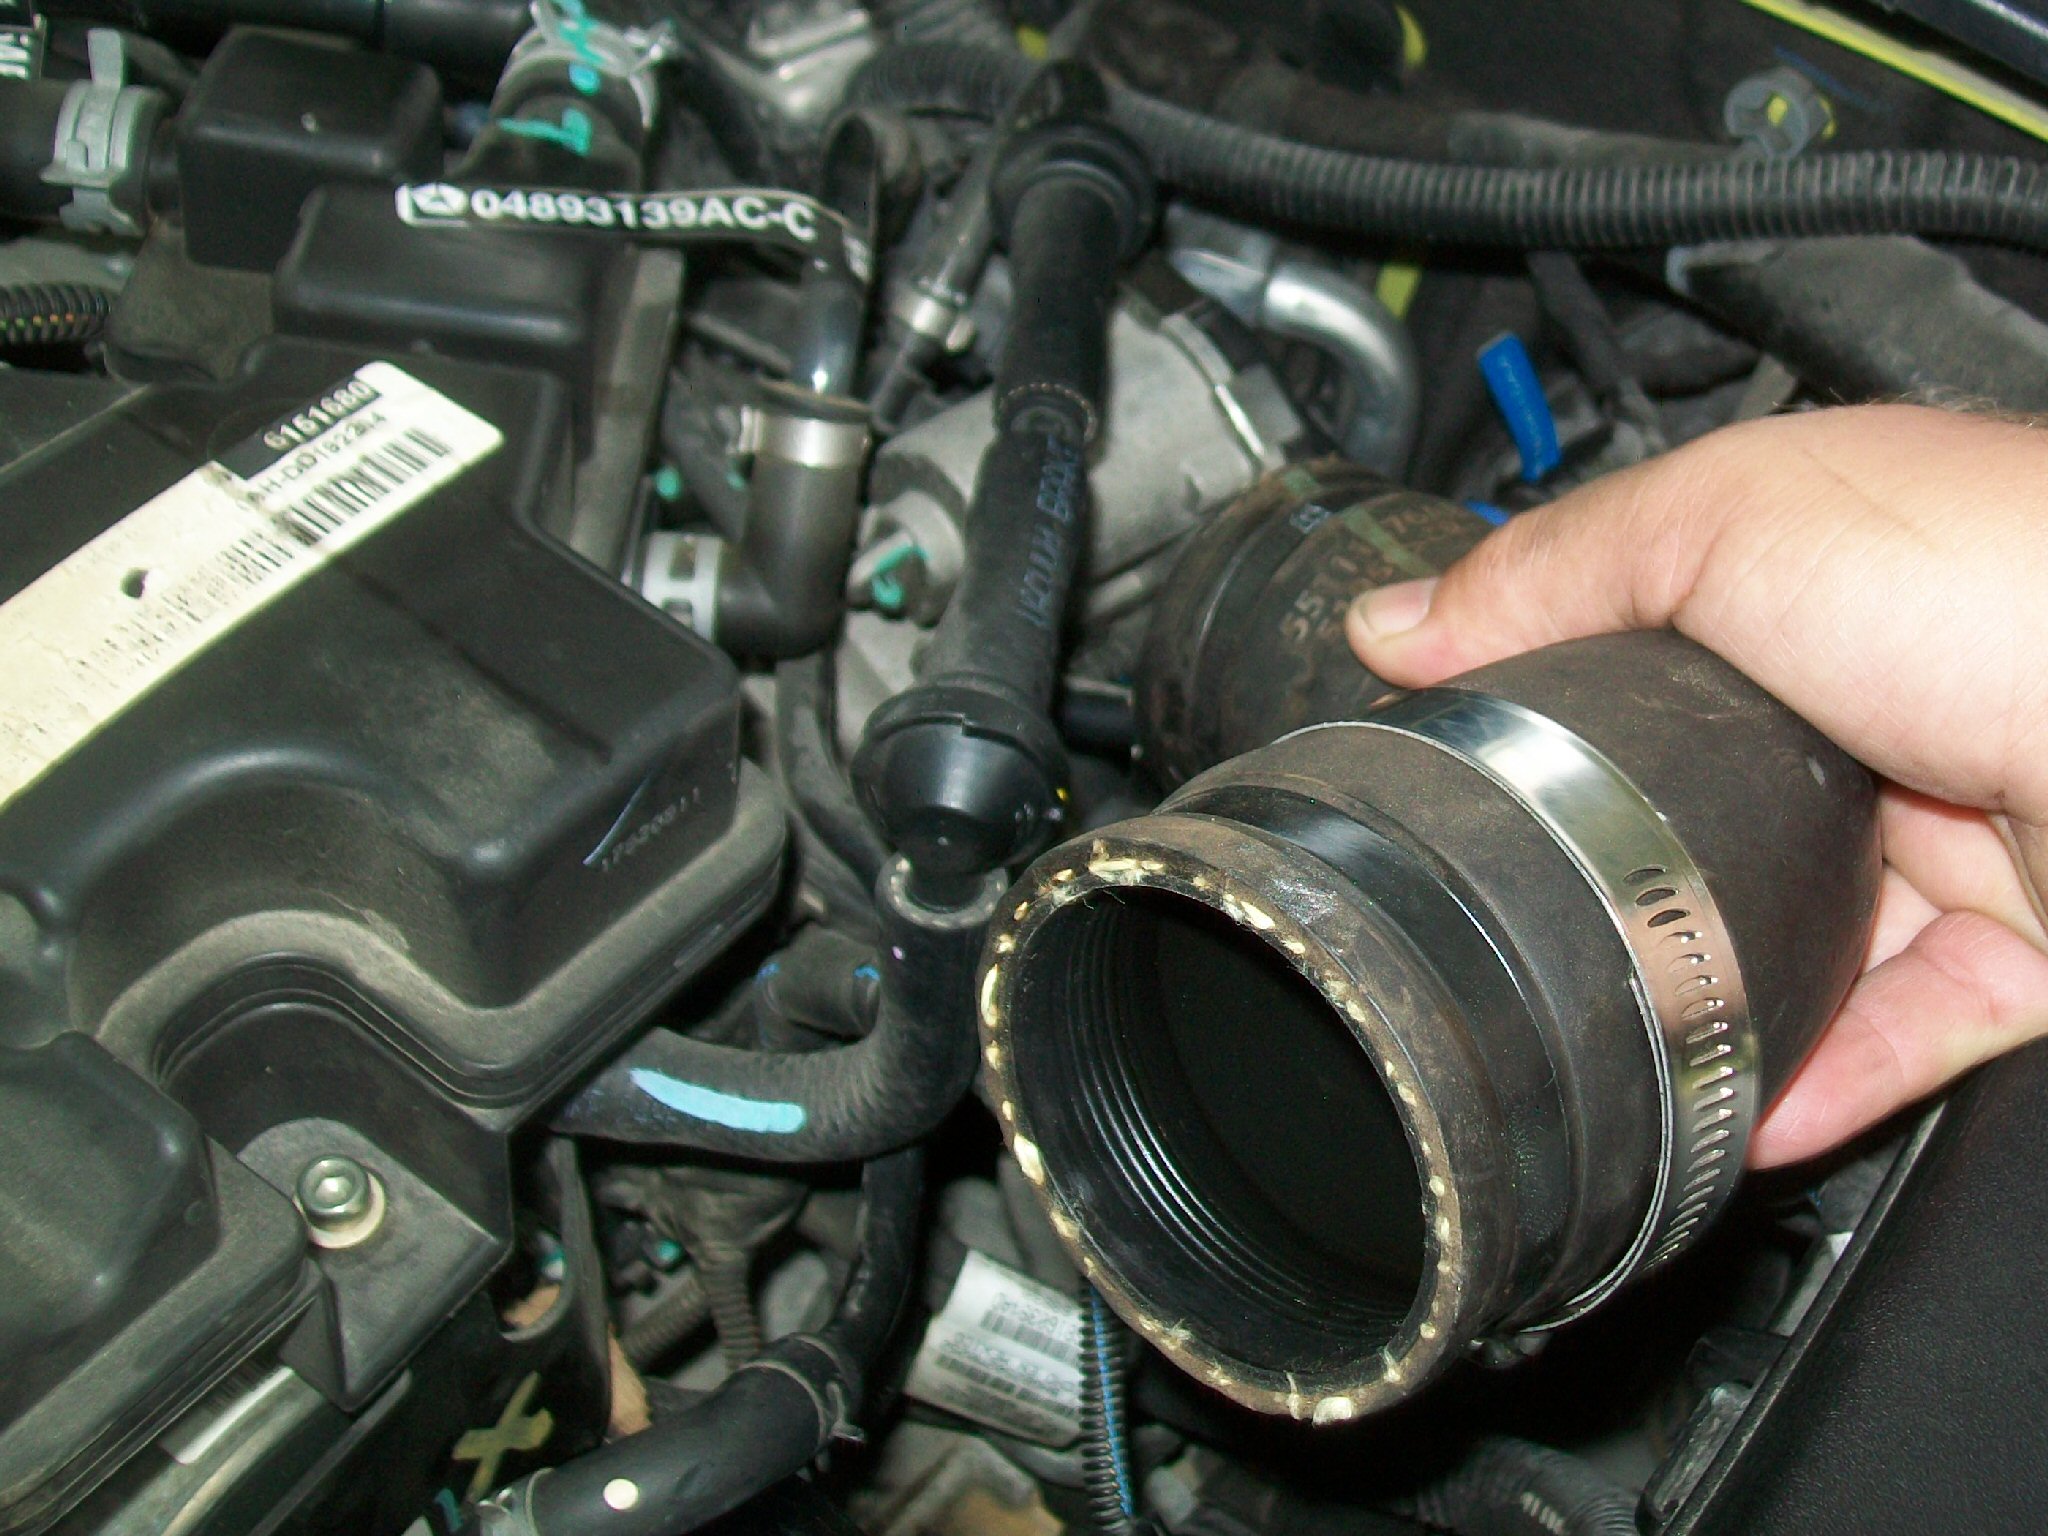
Access Shift Control Rod and Arm Please note some steps are engine-specific. If you need to perform steps not listed here, please give us feedback (with pictures if possible) so we can add them to our instructions. Thanks! Set the parking brake, chock the wheels, and raise the hood. Remove the engine cover, if equipped, and disconnect the (-) battery terminal. For the 1.4L turbo, remove the evap purge hose and pressure sensor electrical connector from intercooler (IC) cold-side pipe near the throttle body (TB). Remove the fasteners attaching the IC pipe to engine. Loosen the hose clamps on the TB elbow, and remove the elbow. For 2.0L / 2.4L, remove ECU electrical connectors and lay aside. |
    |
||||||
|
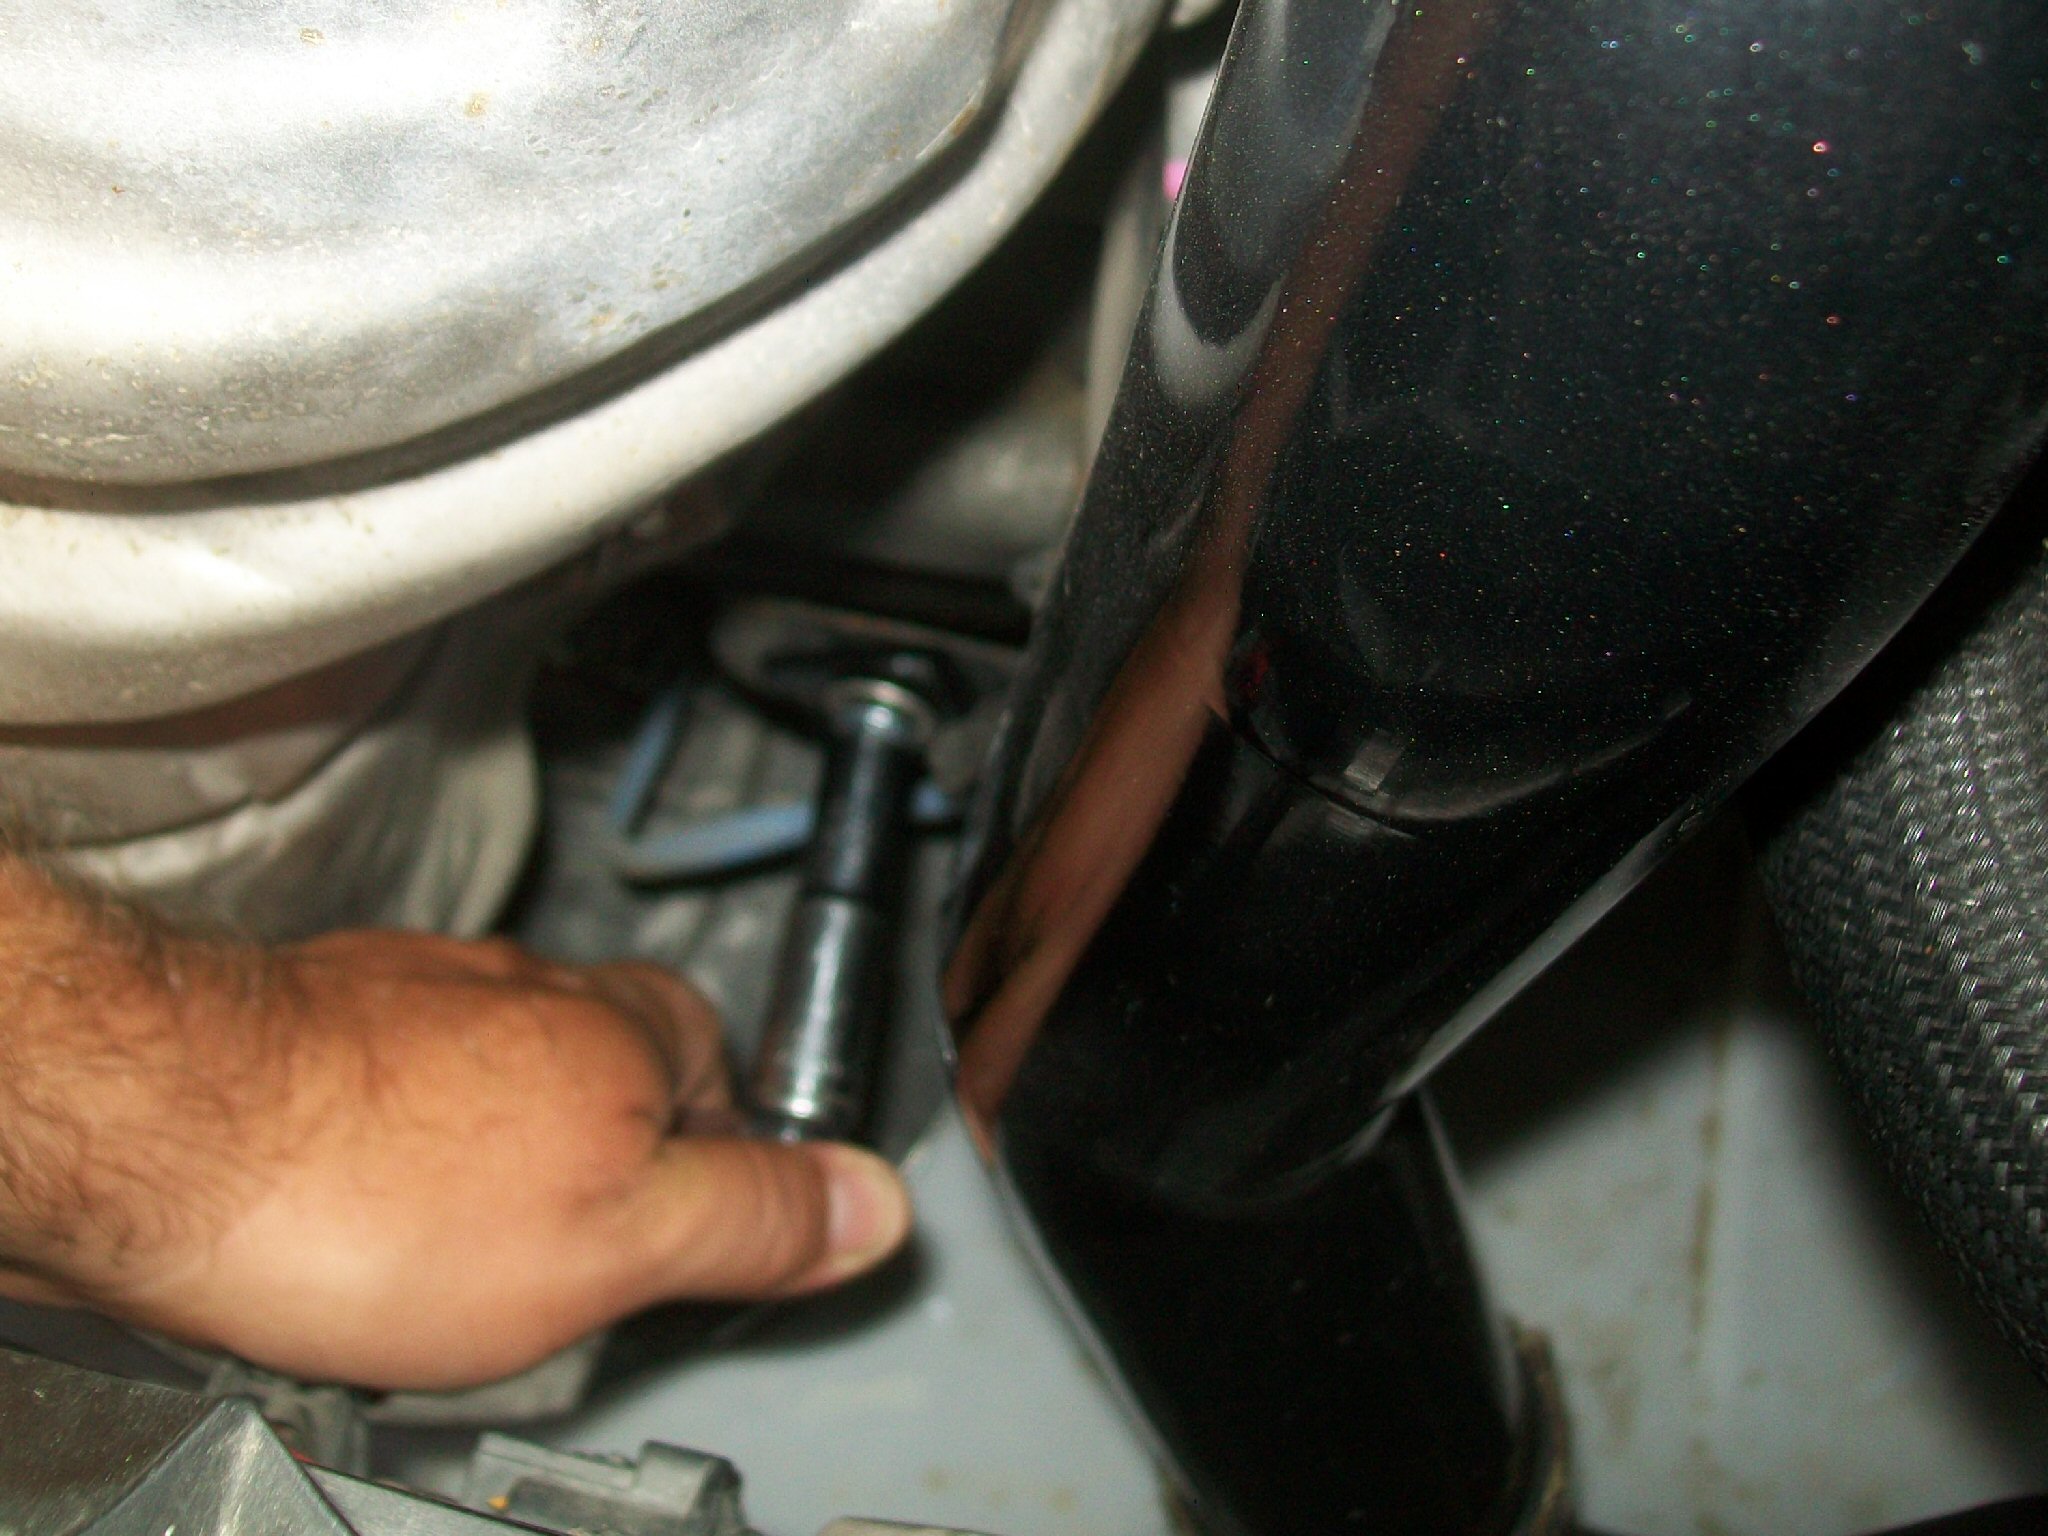
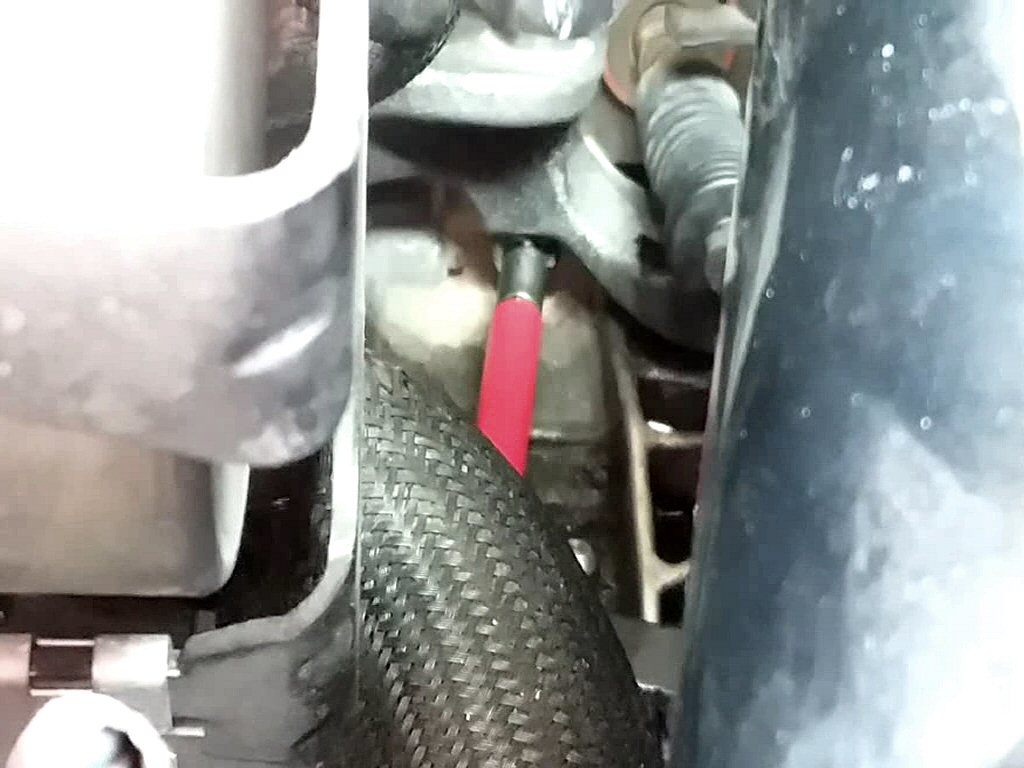
Remove Original Shift Control Rod If only replacing the Shift Control Arm, you only need to remove the end of the Rod that is attached to the Arm, and swing it out of the way. Remove any debris from atop transmission around the working area. Using a trim tool or small open-end wrench, pry the shift control rod from the ball joints on each end to release them, and remove the old shift control rod from the transmission. |
  |
||||||
|
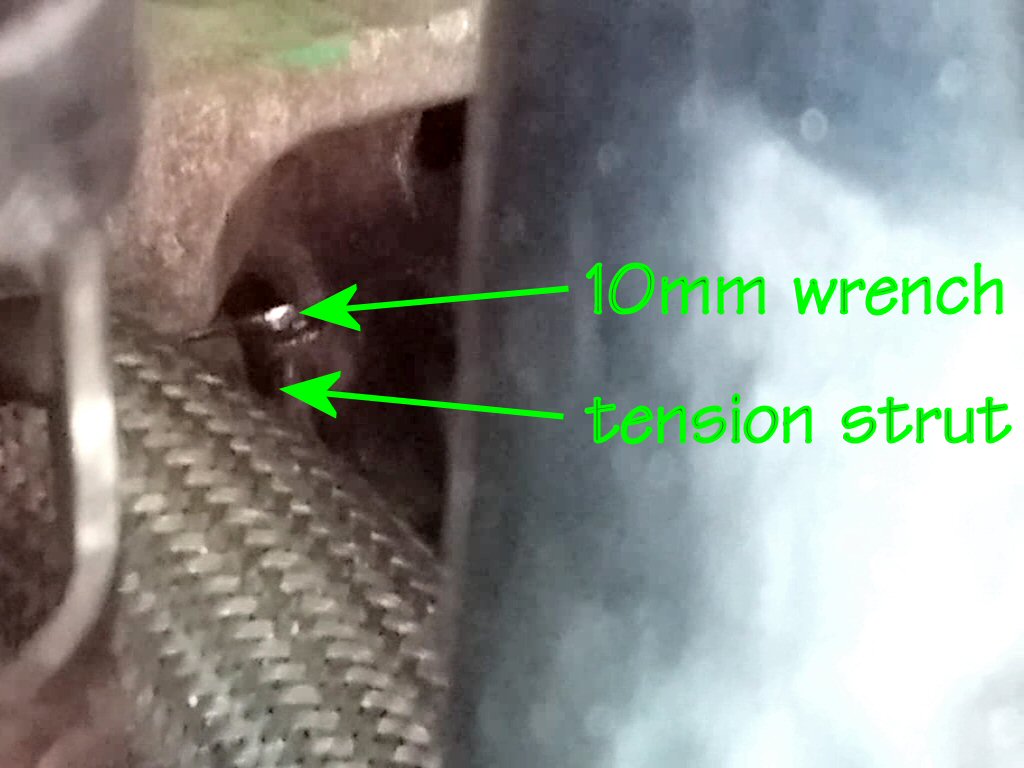
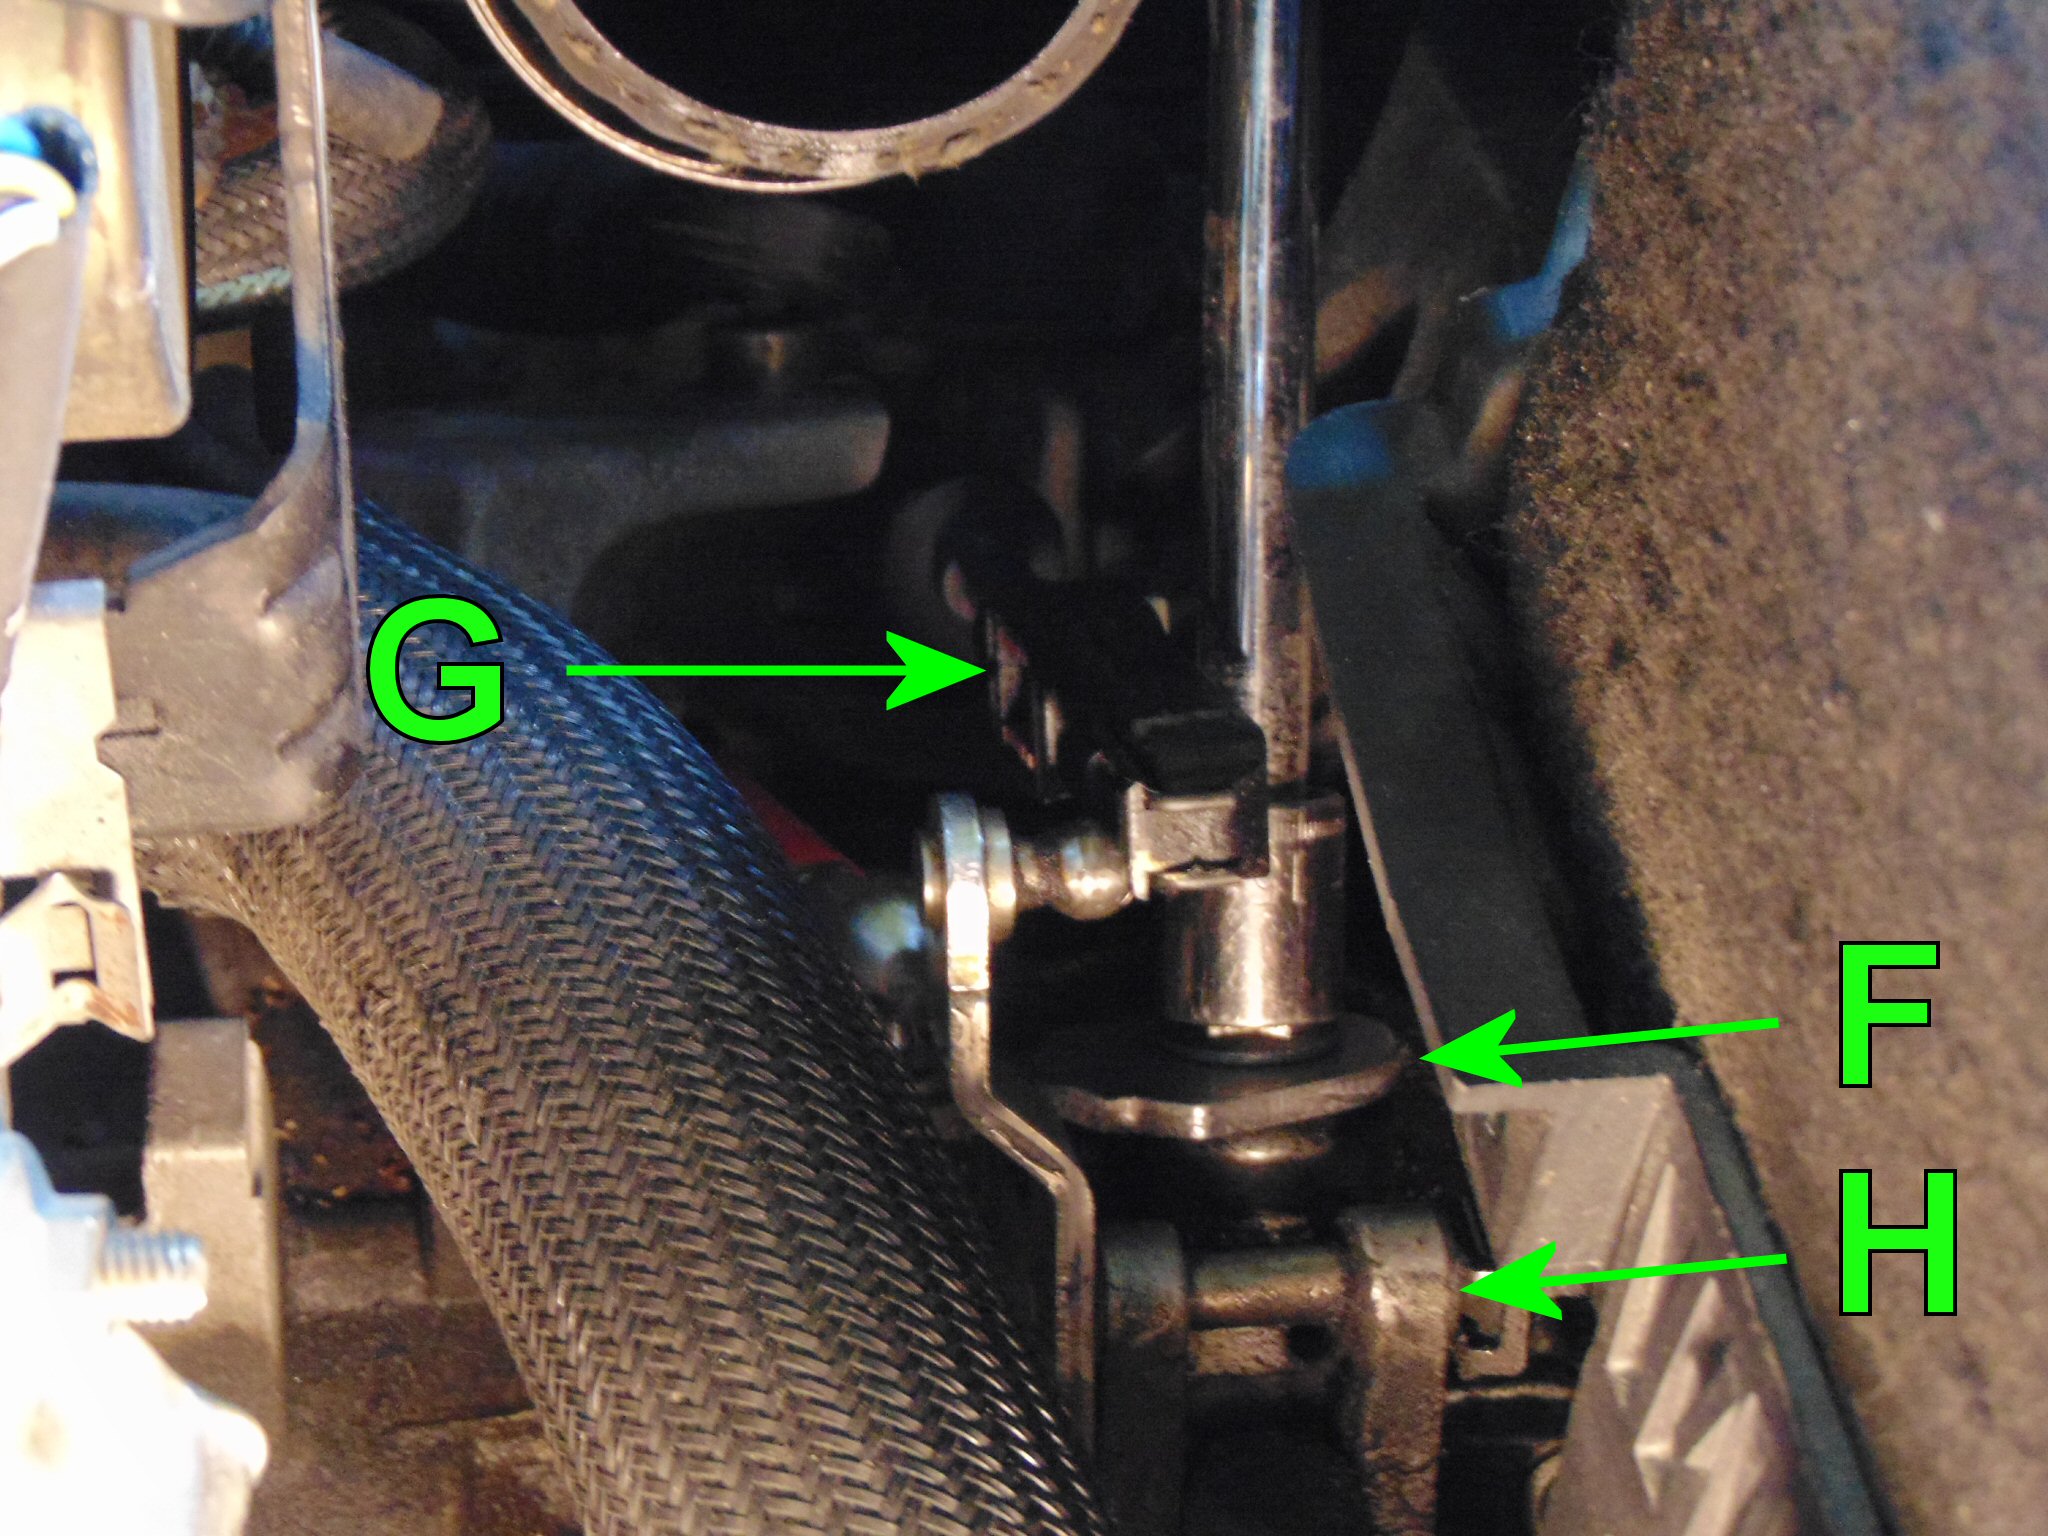
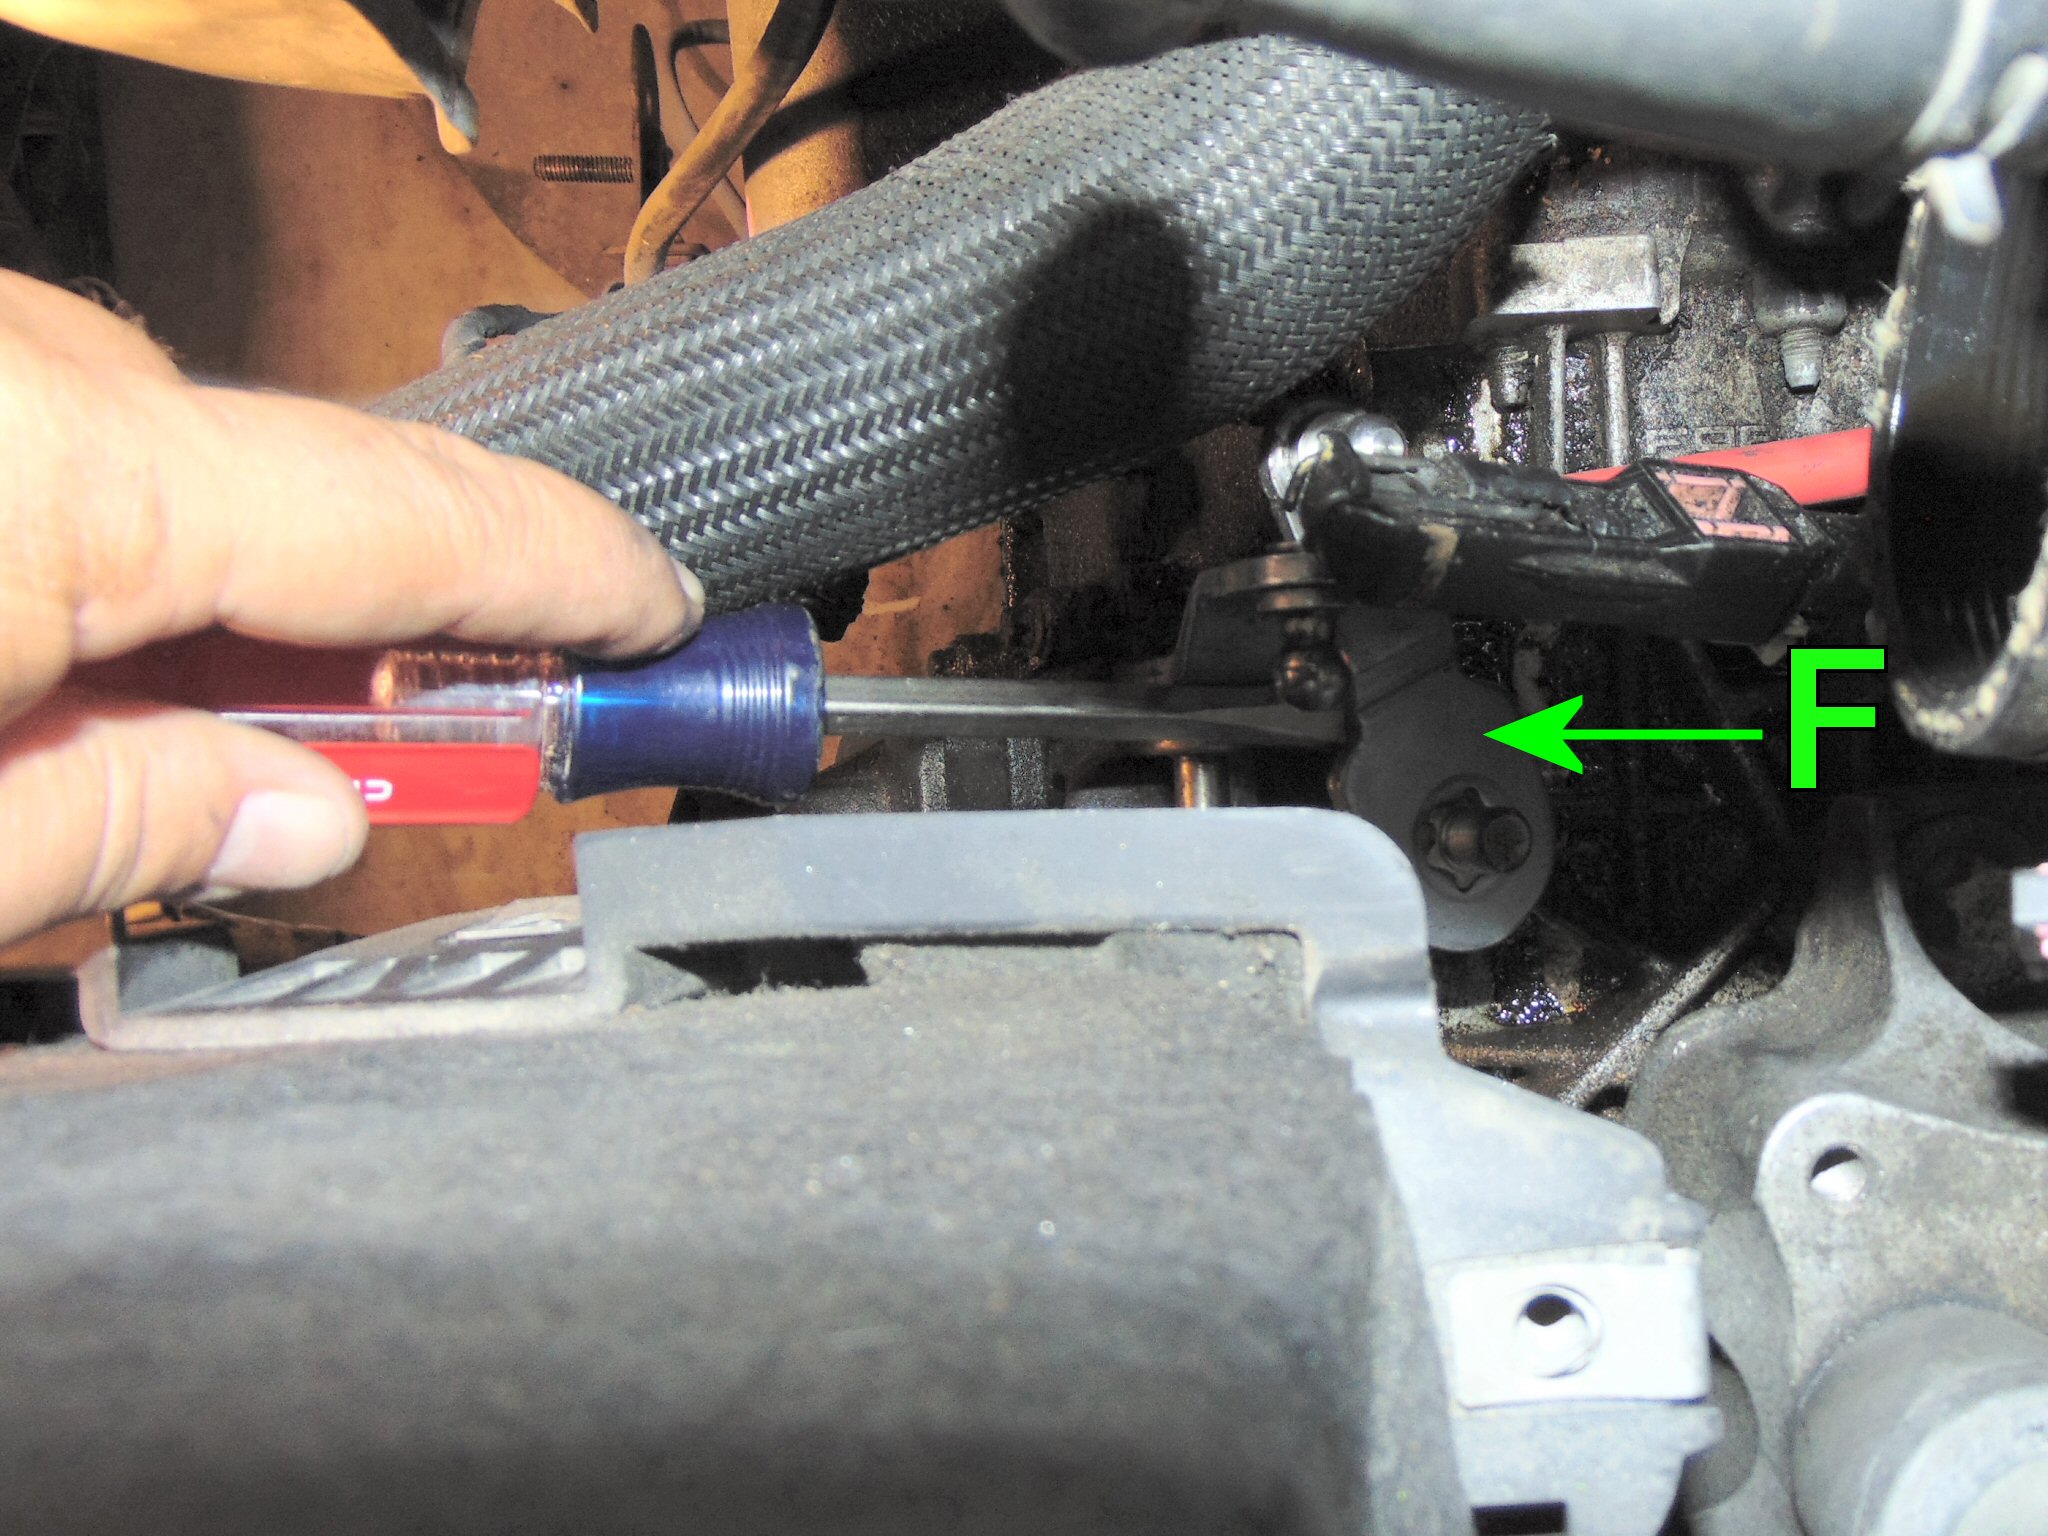
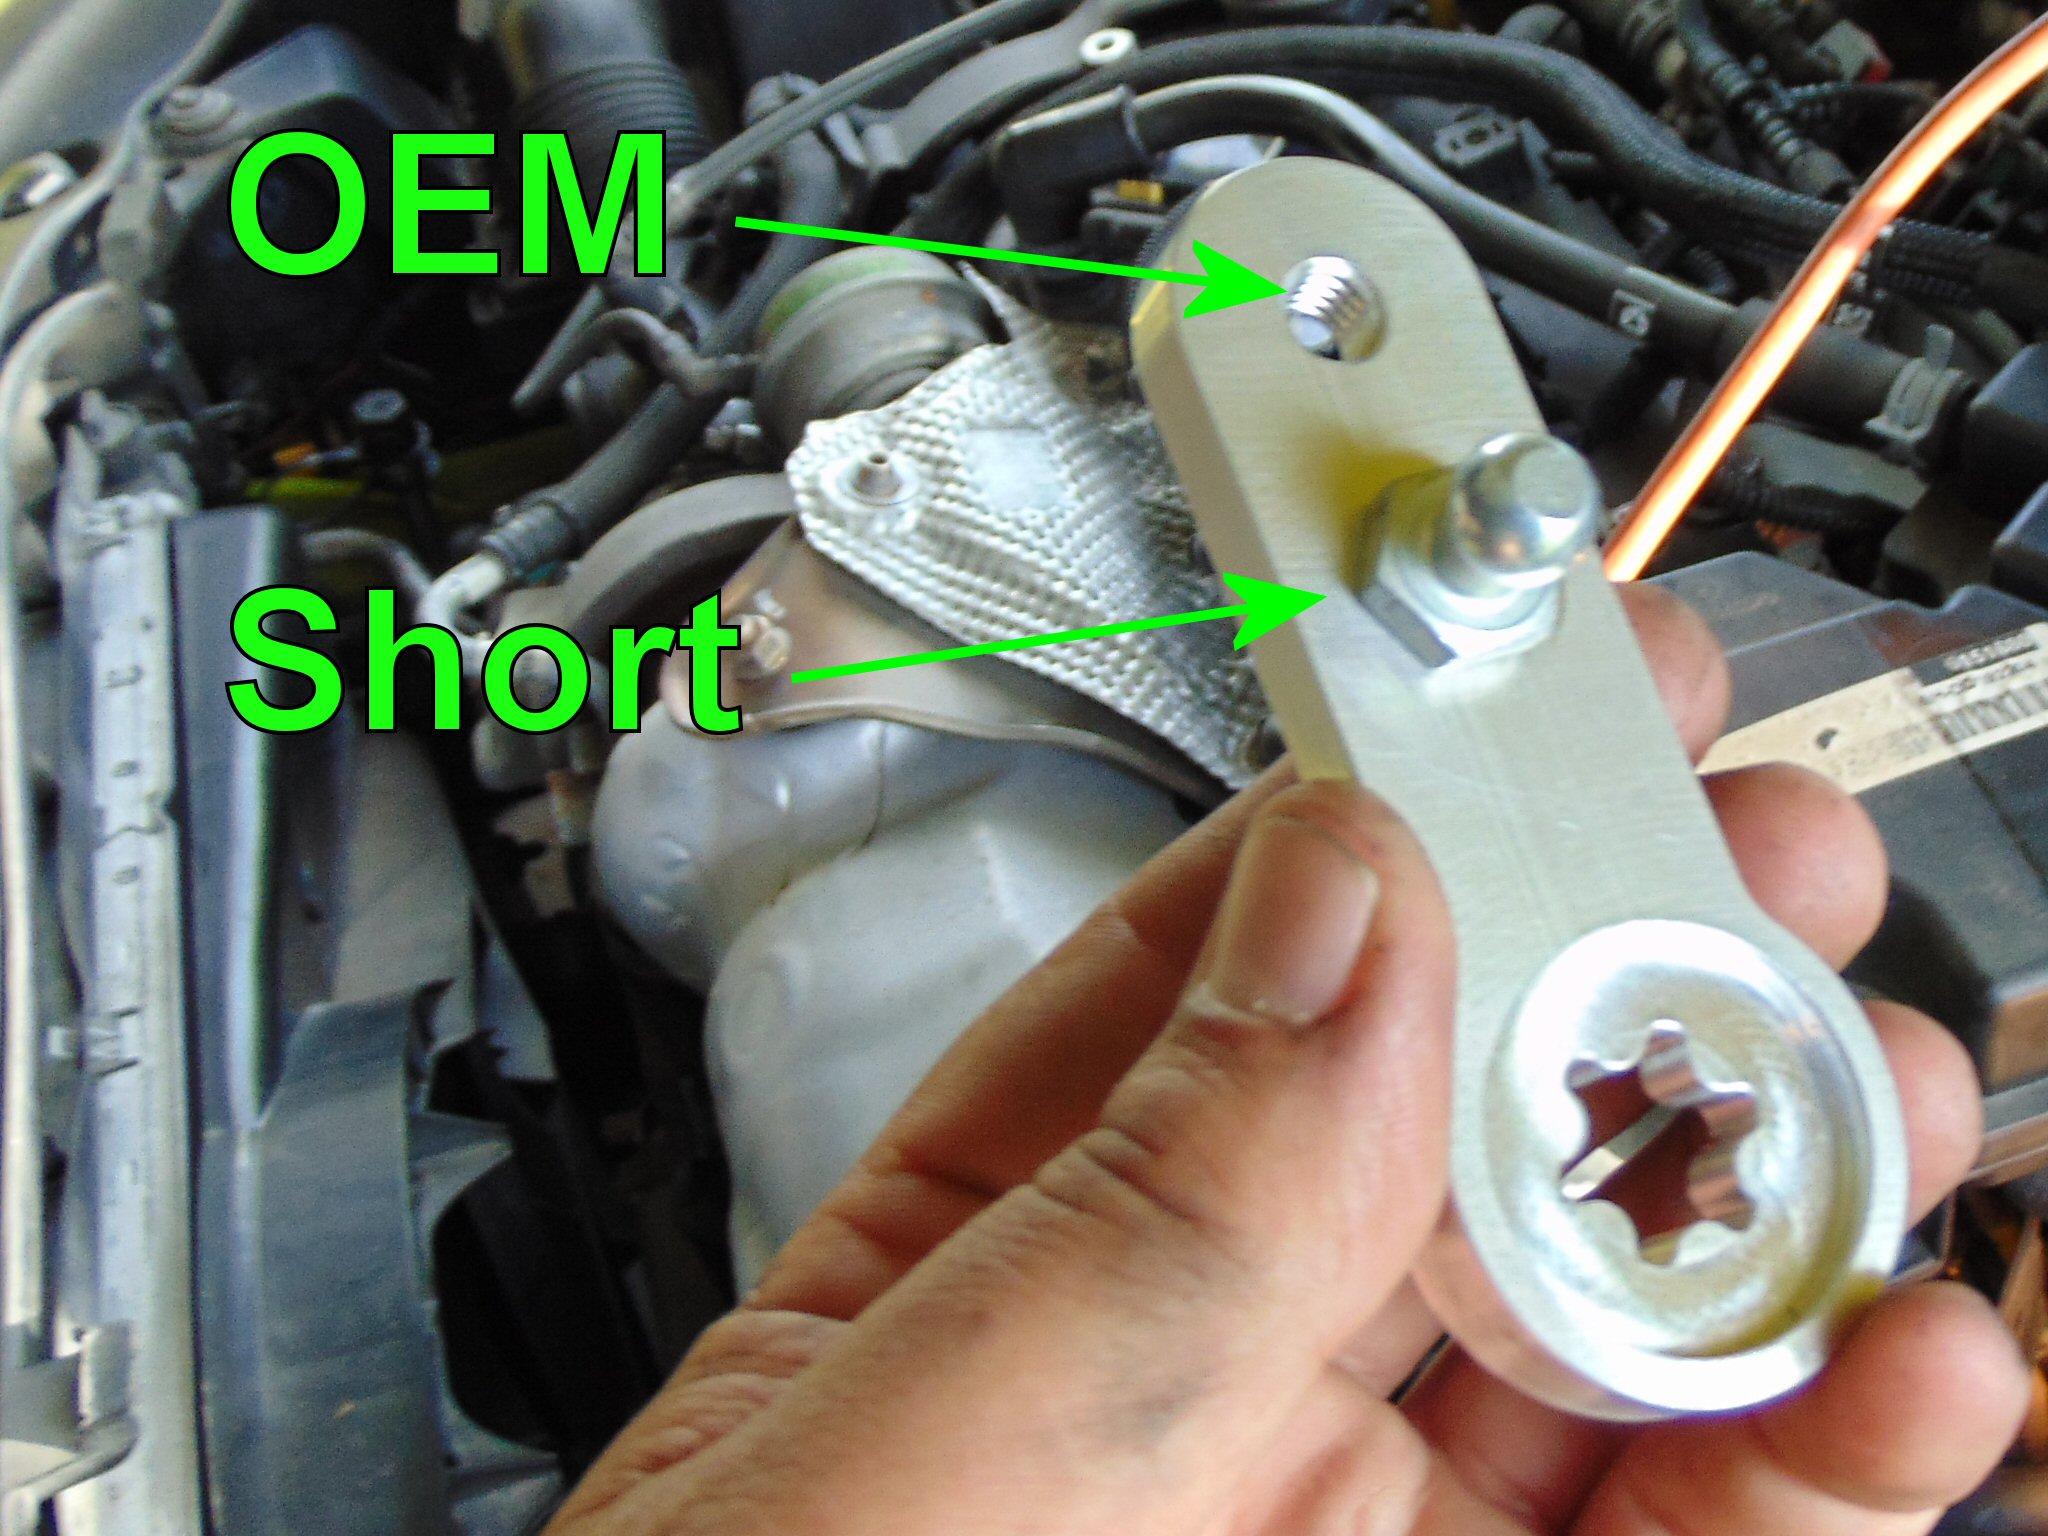
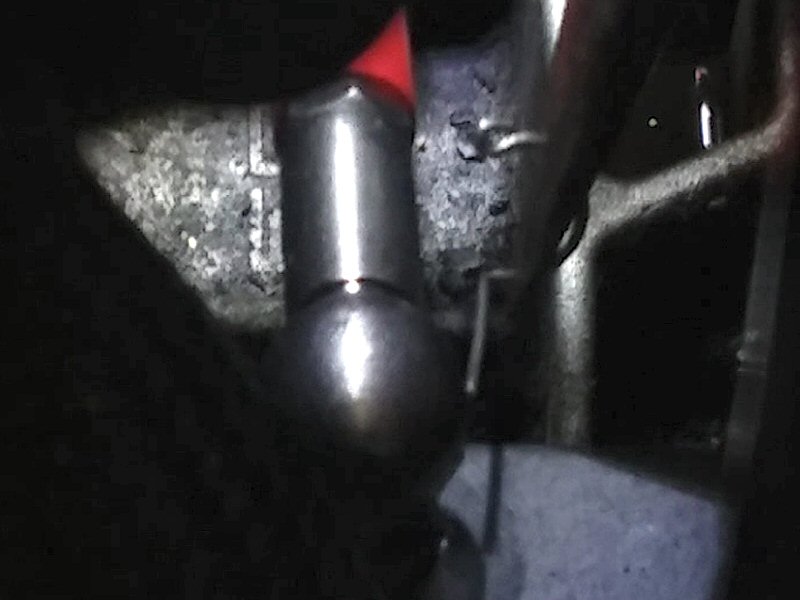
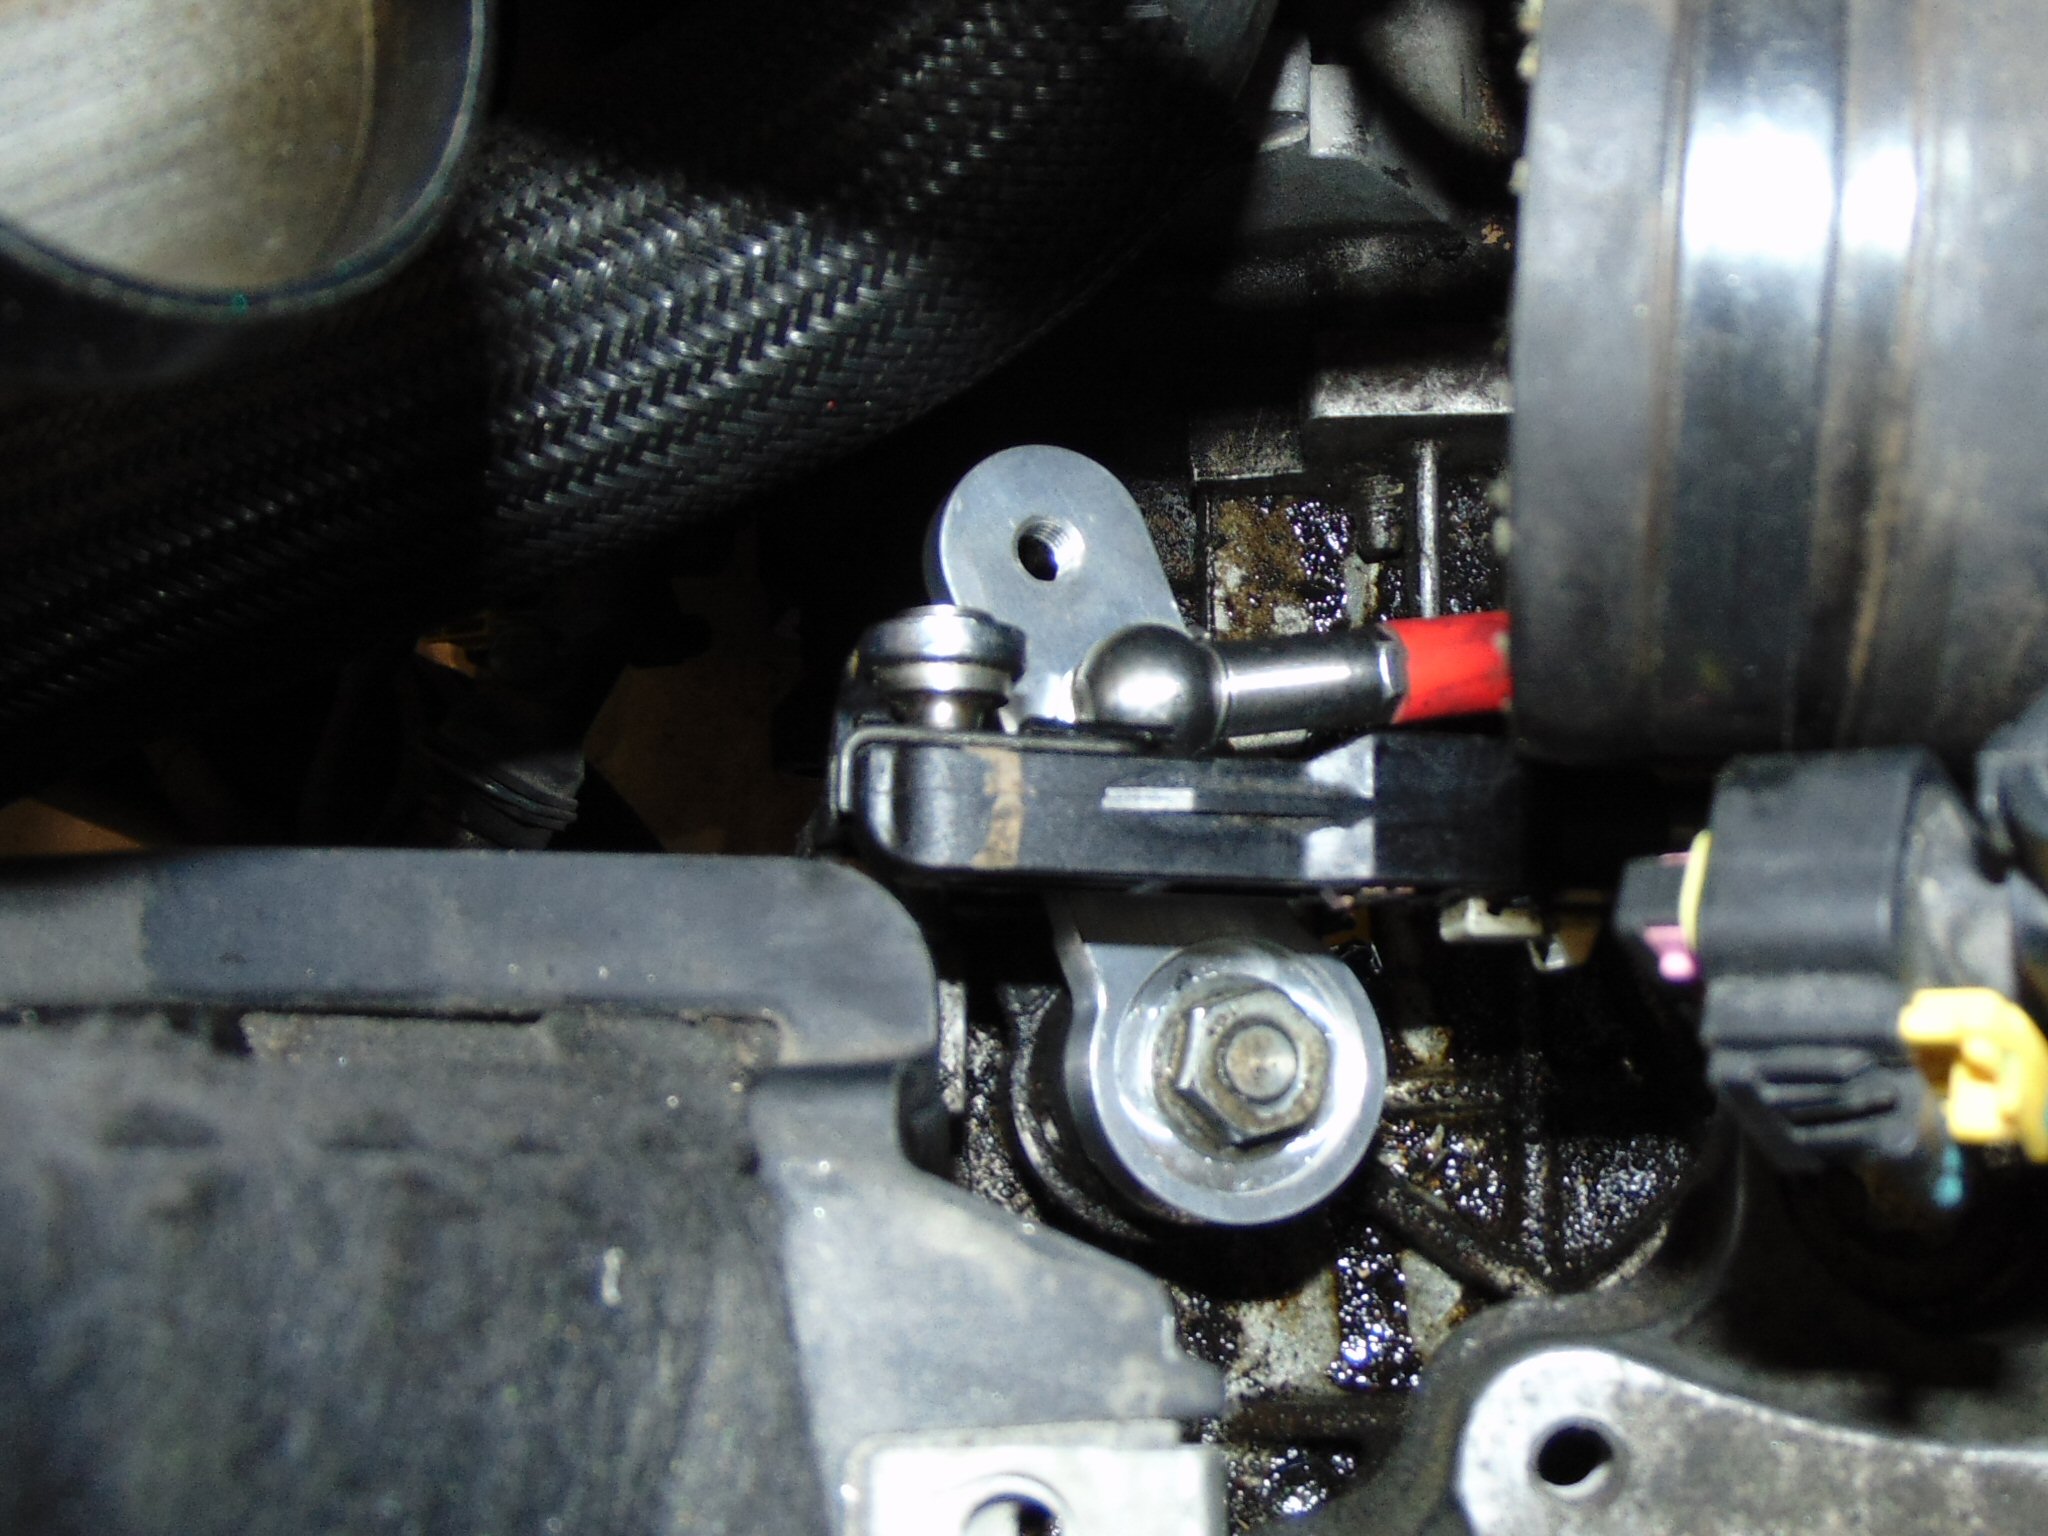
Remove and Replace Shift Control Arm (Skip if only replacing Shift Control Rod) Unclip the Neutral Gate Cable (G) from its Armature (H) so it can be moved aside. Remove Shift Control Arm (F) nut. Mark the Arm and stud, to place the new Arm in the correct position. Pry the Arm up, working around the stud to loosen, then remove. Tighten the included ball stud onto the new Arm in the desired position. As shift throw becomes shorter, more force is required to move the shifter. We recommend not using the closest position in combination with aftermarket short shifters, to avoid difficulty shifting gears. It is critical to position the Shift Control Arm correctly before attachment, and that the Neutral Gate Armature (H) is not flipped forward. Place the new Arm in position, and tigthen the mounting nut. |
    |
||||
|
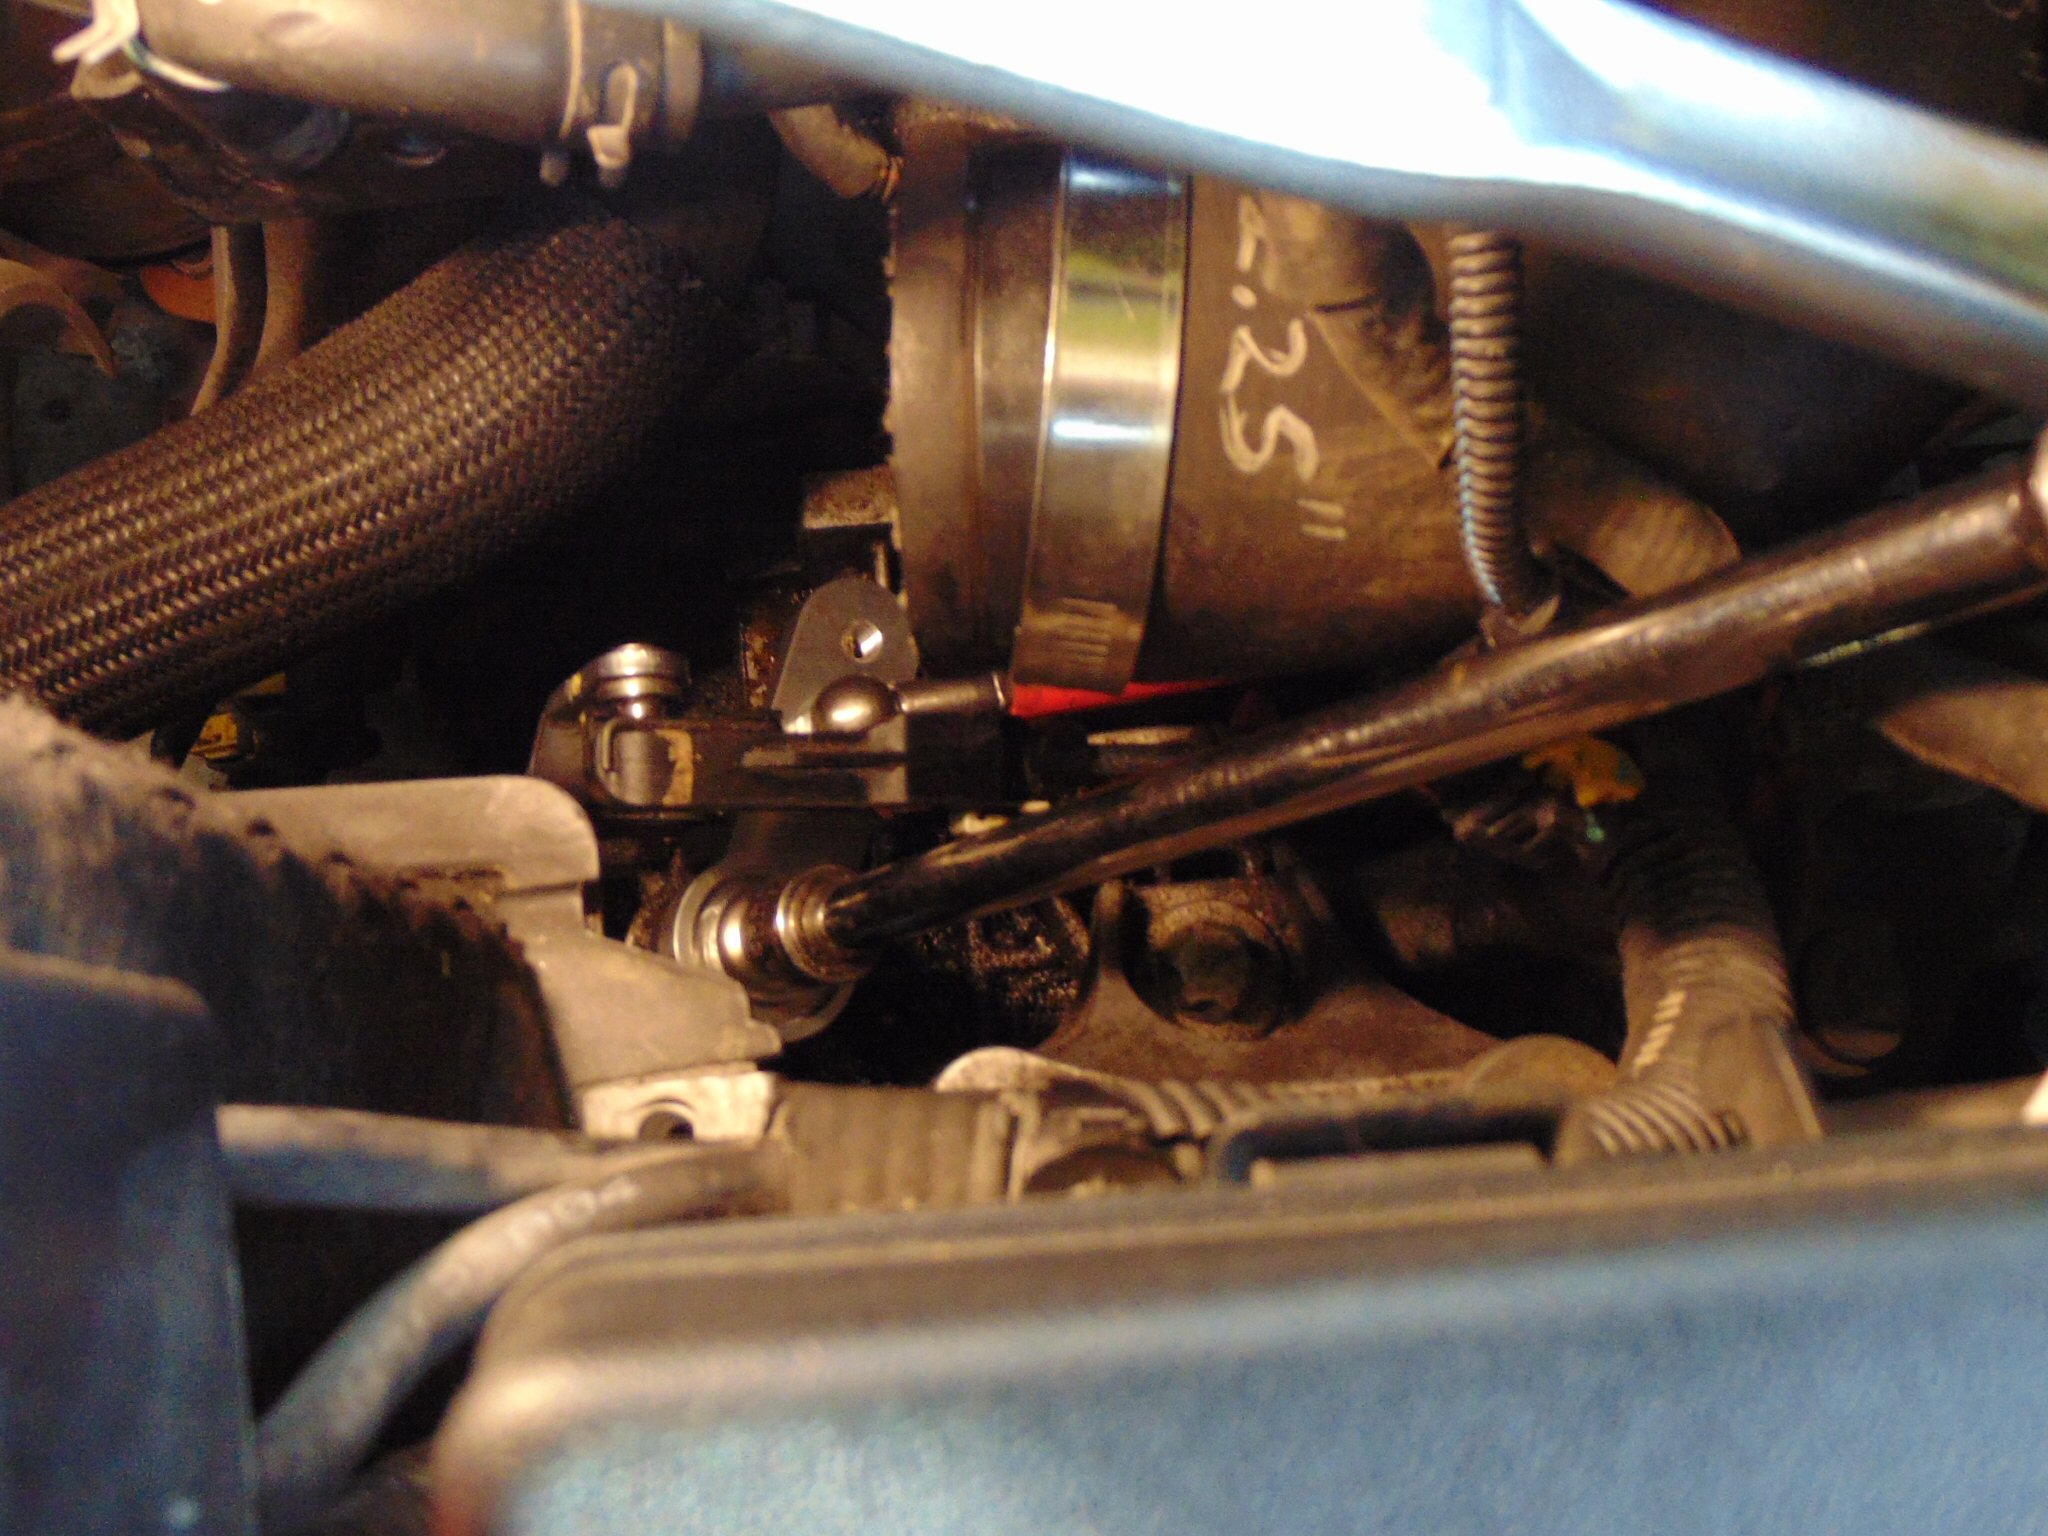
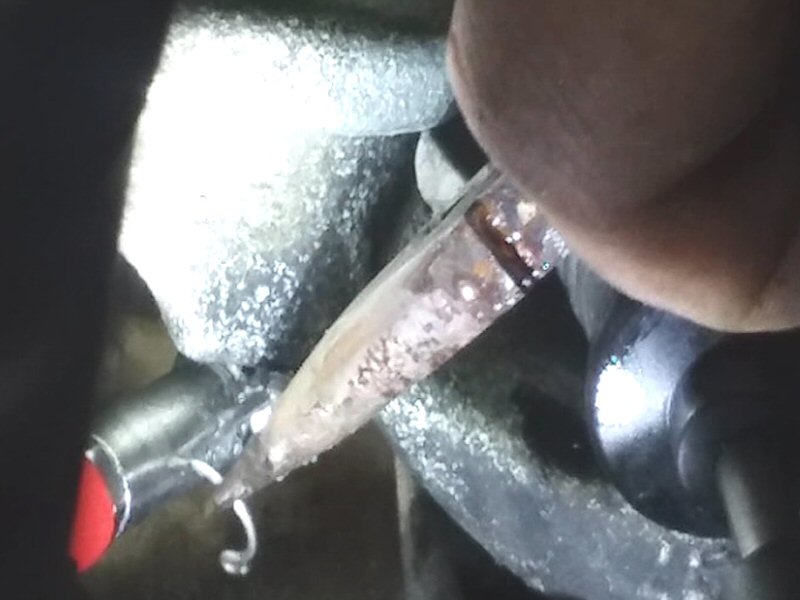
Install New Shift Control Rod If re-using the OEM rod, simply snap it onto the Shift Control Arm, and you're done! The locking pin on the Rod swings 180° and then pulls straight out. Replacement is by sliding the pin through the holes until the semi-circle clip is level with the neck, then rotating it onto the neck. The firewall end of the Rod now includes a spring steel retaining strip. This is a recent design change done to make it easier to install the firewall end, where work space and visibility are limited. First, press grease into the sockets at both ends of the Rod. Snap the steel retaining strip end onto the ball of the shift swing arm (firewall side). Snap the other end onto the ball of the Shift Control Arm, and secure its locking pin. Wipe excess grease from around the ball sockets, then press each ends' sockets onto their mounting balls, to make sure they are fully seated. Reconnect the Neutral Gate Cable. Engine off, have a helper shift through the gears while you observe the shift components from the engine bay. For the 1.4L turbo:
|
    |
||||
|
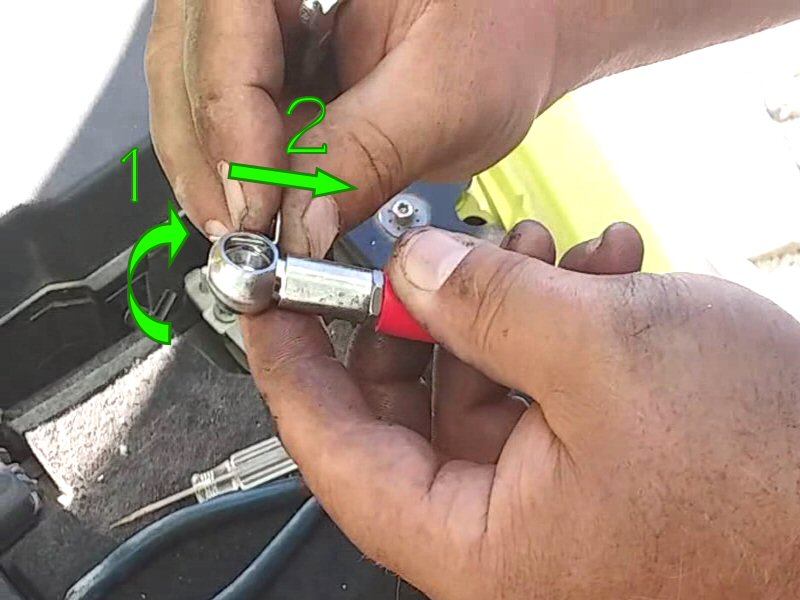
Done! To care for the Shift Control Arm and Rod, they may be cleaned with a rag damp with water and mild detergent. Once every 6 mo./ 6,000 mi., work a small amount of clean grease into the ball sockets at both ends of the shift control rod, then rock it back and forth to distribute grease, and wipe off excess. Press each socket end onto the ball to ensure they're fully seated. The Arm may be adjusted by moving the ball stud from one position to another without separating the Rod from the ball. Simply unscrew the ball from the Arm with a wrench, and tighten it into the new position. |
 |