
|
The vehicle should be clean and cool. There should be no unresolved issues with related components prior to installation.
Always diagnose problems before jumping to conclusions. The tools typically needed are listed below. A ratchet and set of sockets, wrenches, needle-nose pliers, and shop towels. There is no drilling or cutting required for installation of this kit. Average installation time is 1.5 hr. Thoroughly read the instructions and view the illustrations before beginning. If it looks too difficult, it probably is! These instructions are not a replacement for the factory service manual or qualified technician, so proceed at your own risk. First things first- take inventory, and be sure you have acquired anything that is needed to do the job. Last things last- if you have questions or need help with the installation, feel free to contact us via email, at help@deyemeracing.com. Fully explain what you're doing, and your question. Include digital pictures if possible. These instructions are also available online, at www.deyemeracing.com/Project_Speedy/PF1CDVDLKT_install.htm. |
|||||||
|
Checklist
Clutch Hard Line, w/ end fittings and protective sleeveCMC to Clutch Line Fitting, w/ o-ring (attached to Clutch Line) Clear rubber hose for bleeding clutch circuit Tools and Supplies
(not included)
|
|
||||||
|
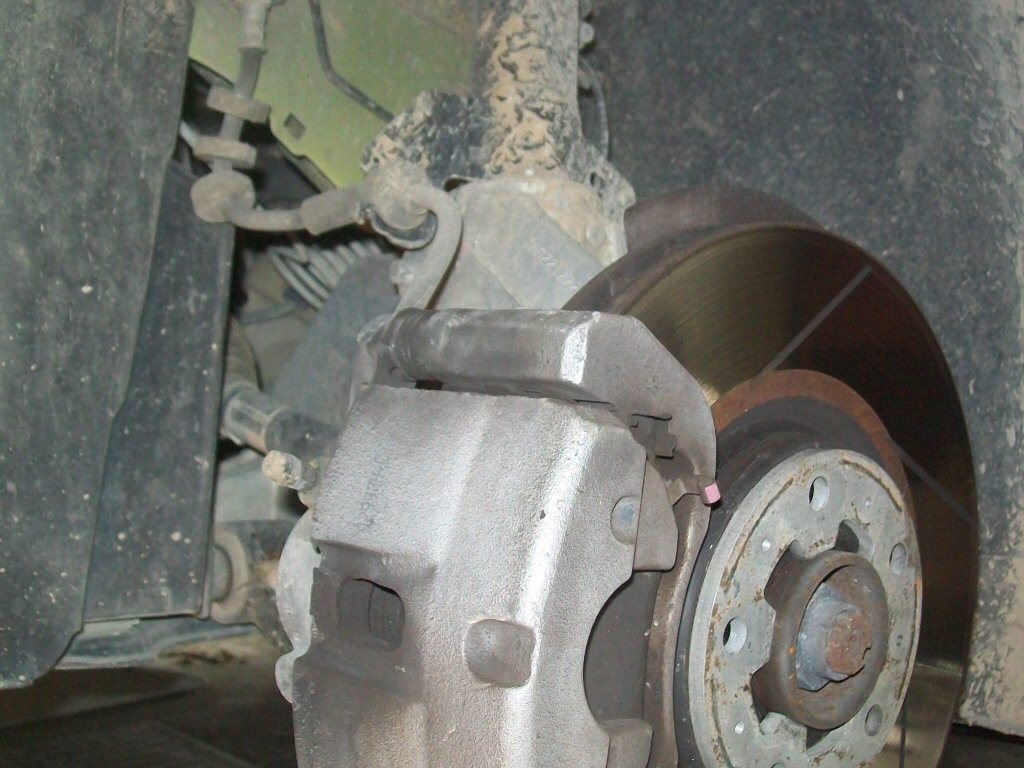
Preperation and Precautions
Be careful to not touch body panels with brake fluid on you or your clothes, as it can damage automotive finishes. Jack the vehicle front driver side for wheel removal. Support the vehicle with suitable jack stands. Never work under a vehicle supported by only a jack! Chock the rear wheels, and set the parking brake. Remove the front left wheel. |
|
||||||
|
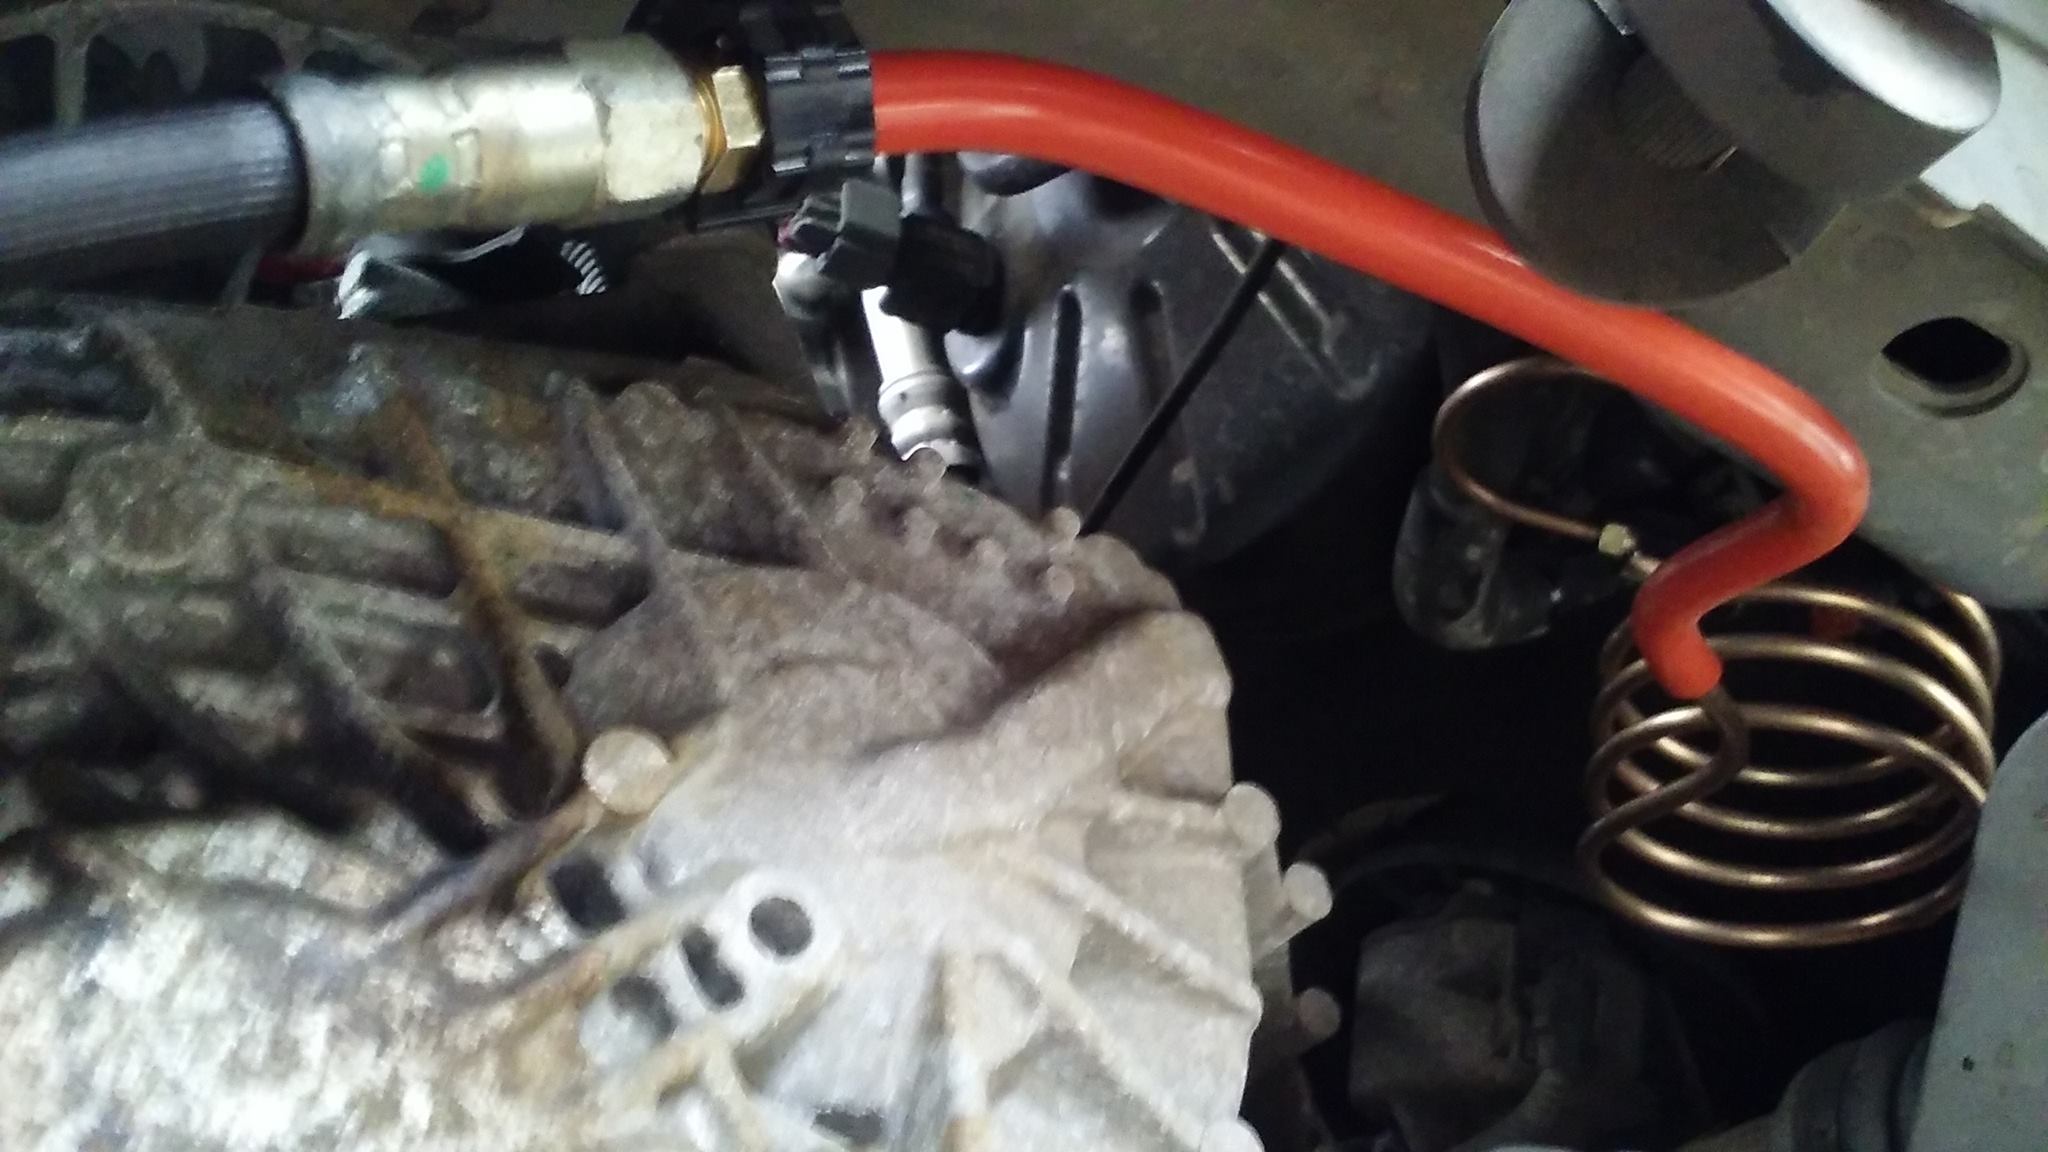
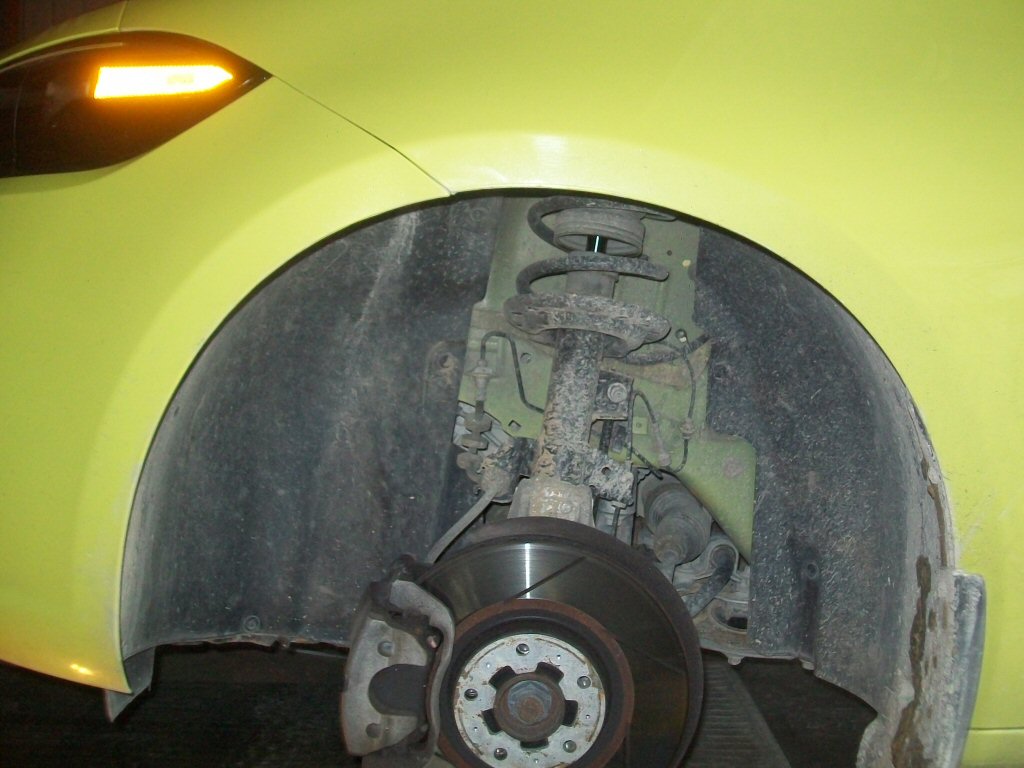
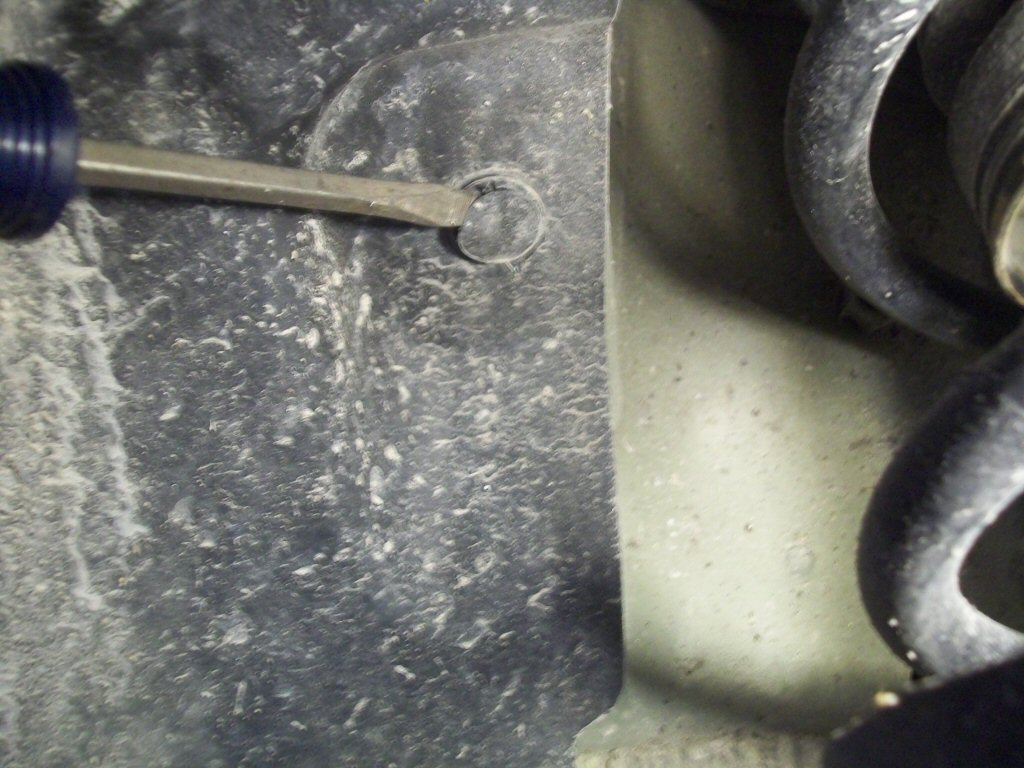
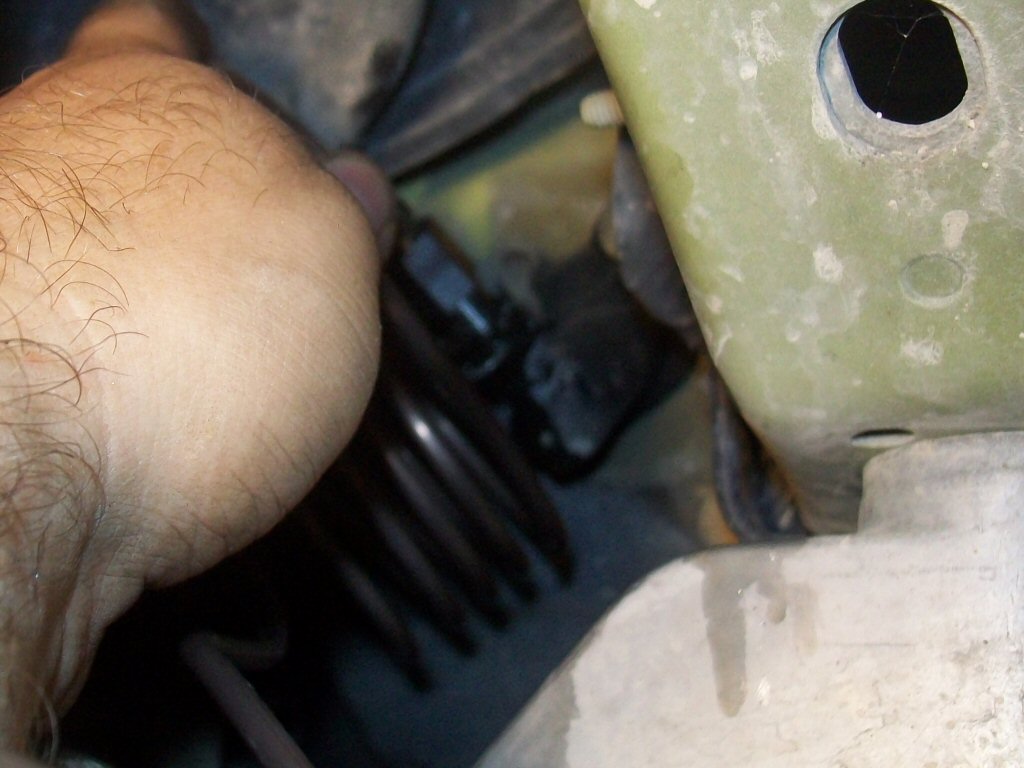
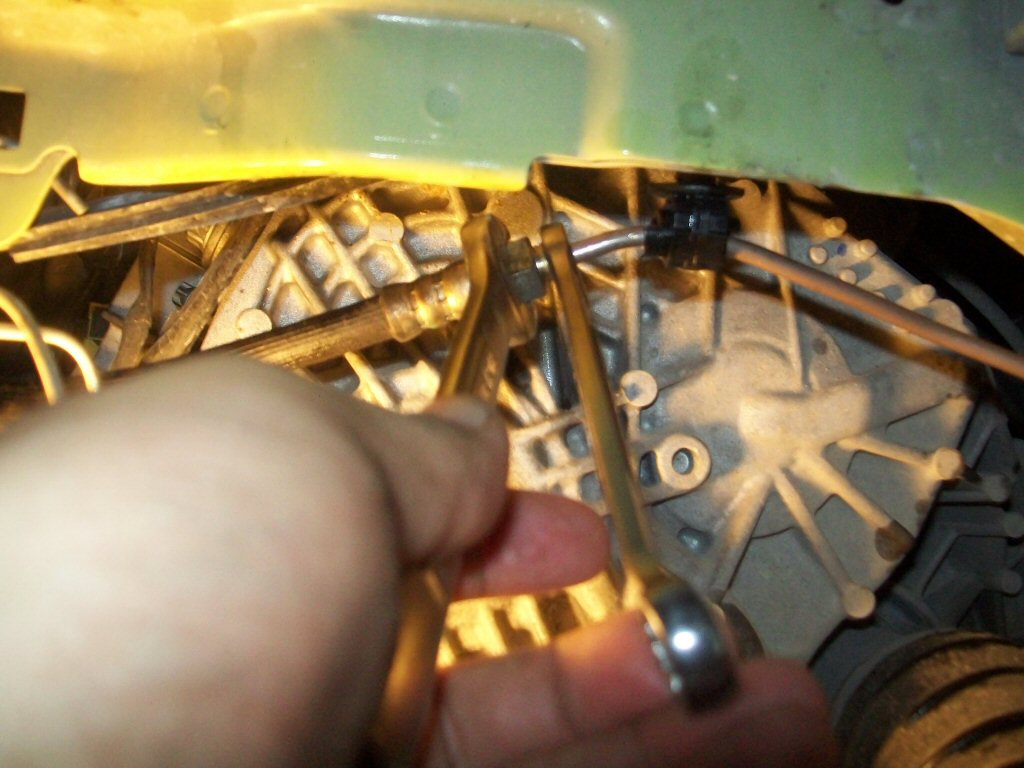
Removal
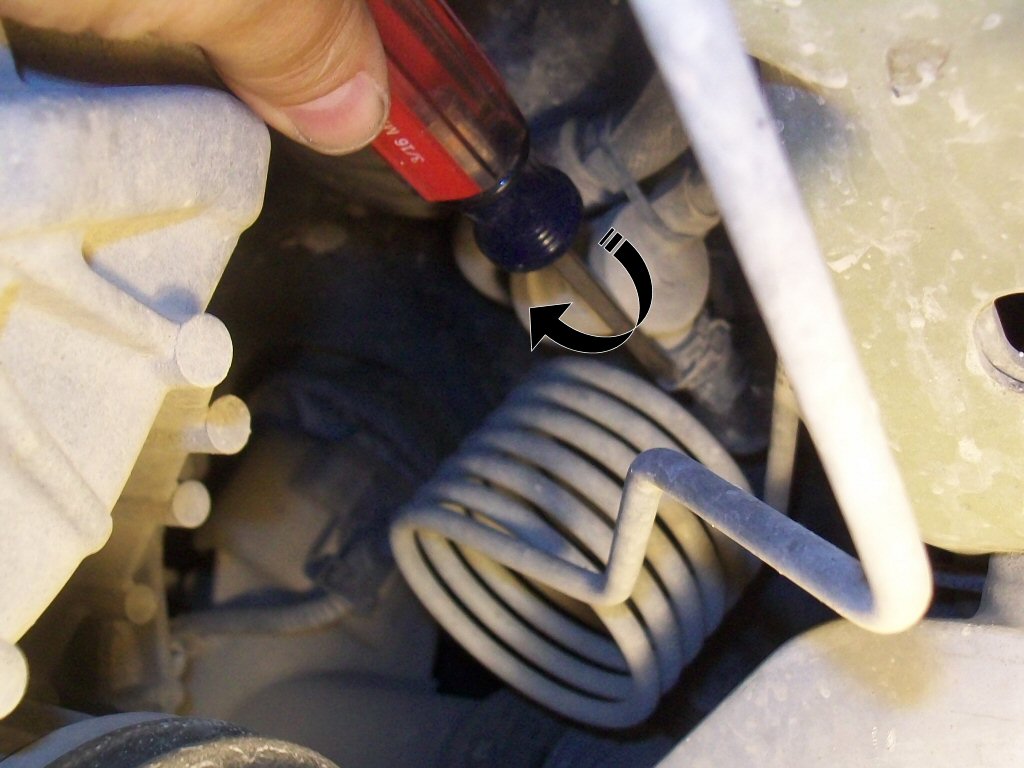
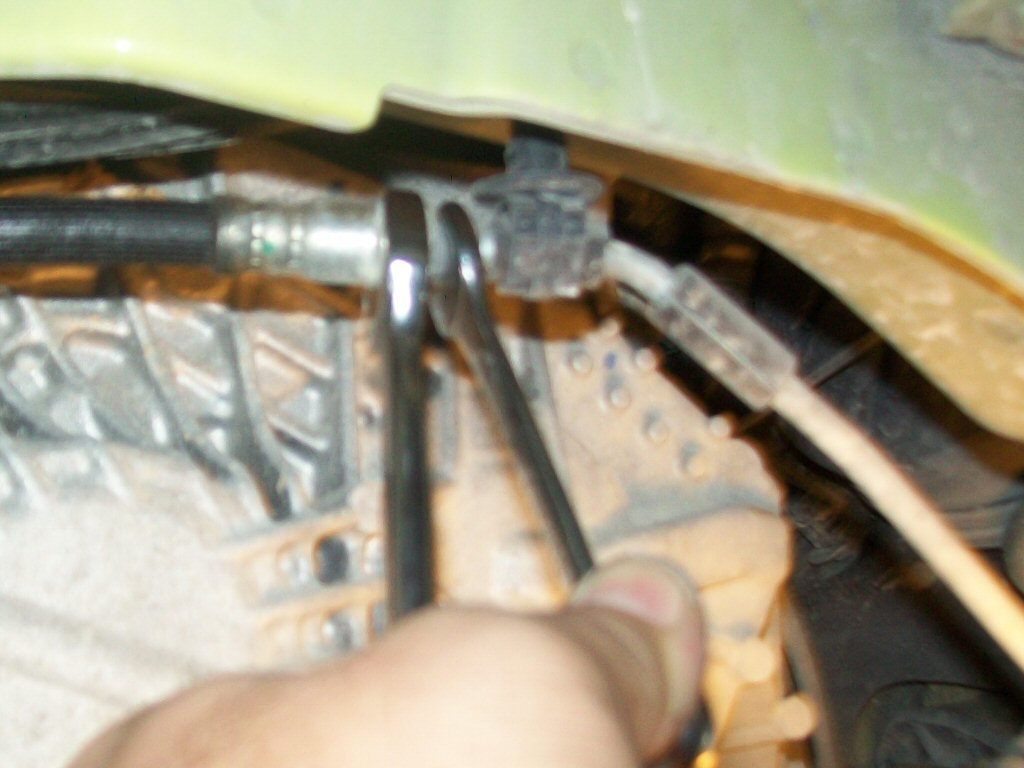
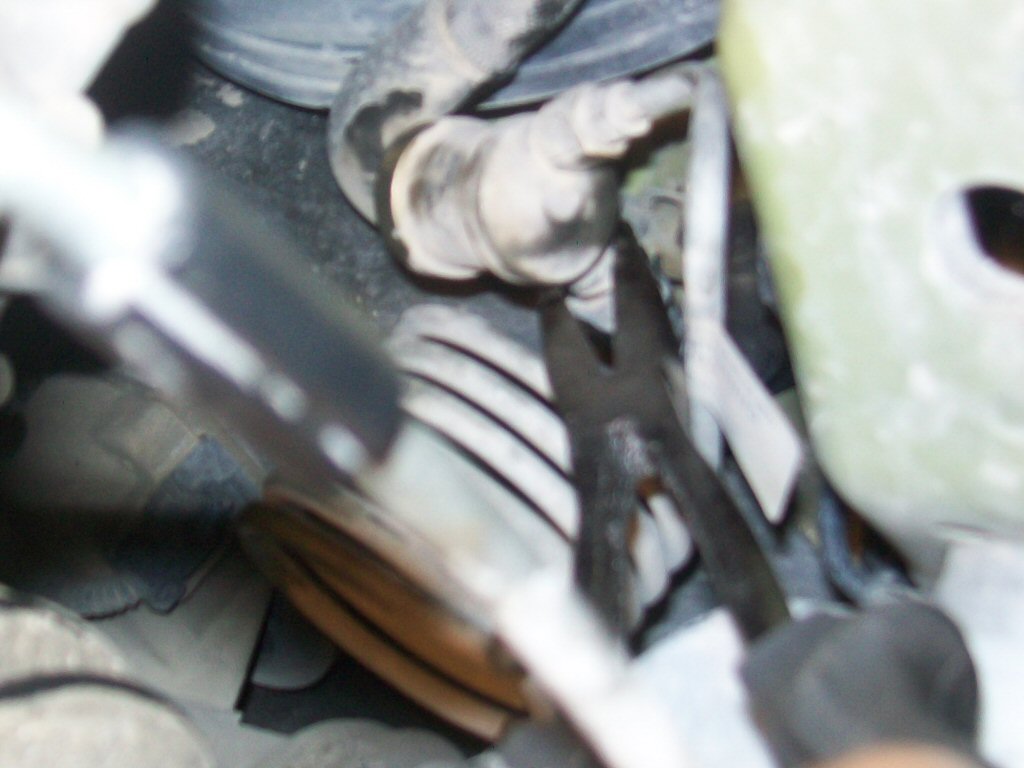
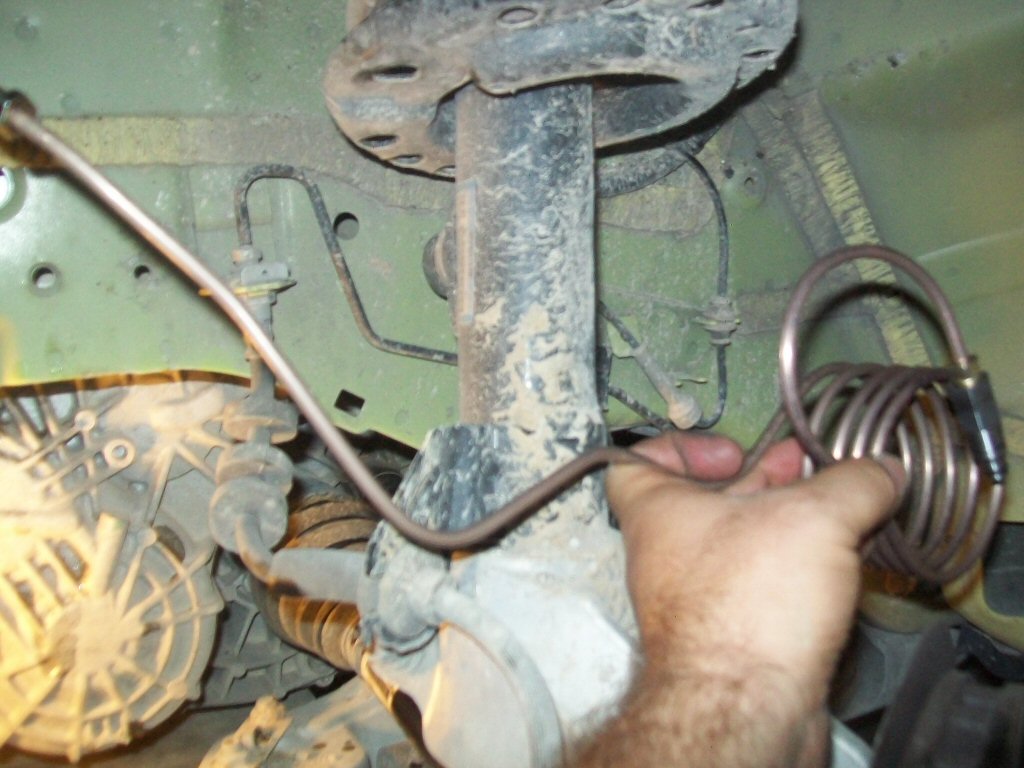
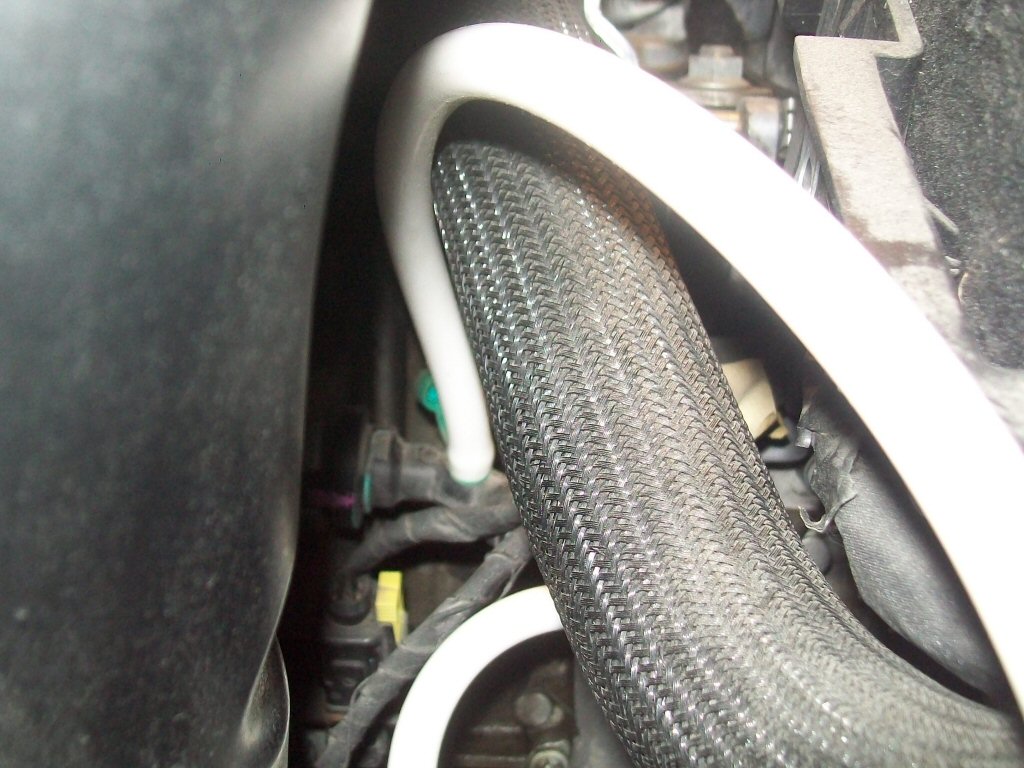
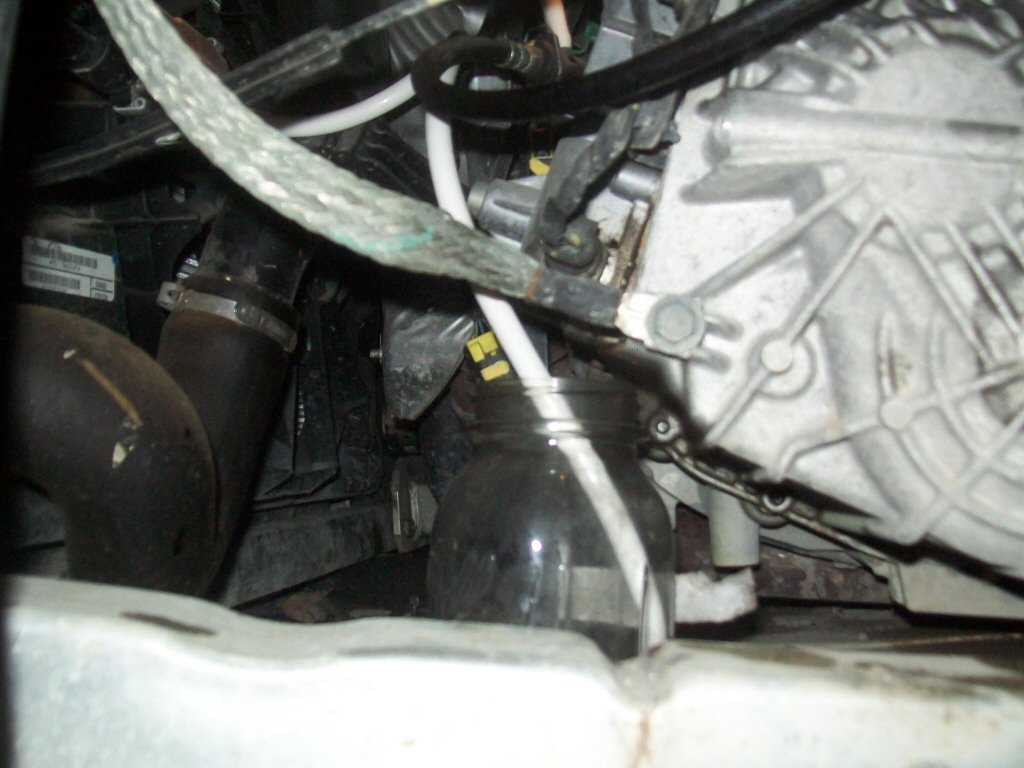
Remove the screws and push-pins attaching the wheel well liner to the body. On the clutch master cylinder (CMC), pull the metal retaining clip to the "unlock" position with needle-nose pliers or by inserting and twisting a flat-blade screwdriver. Using a pair of wrenches, hold the fitting on the clutch flex line still, and unscrew the tube nut on the metal line side, separating them. Catch any fluid that spills with a suitable container for proper disposal. Carefully pry the CDV fitting straight out of the clutch master cylinder with the hard line attached. Pull downward on the plastic retaining clip holding the hard line to the chassis to disengage it. Unclip the retainer, and move it from the old clutch line to the new one. Remove the old hard line with the CDV attached. |
    |
||||||
|
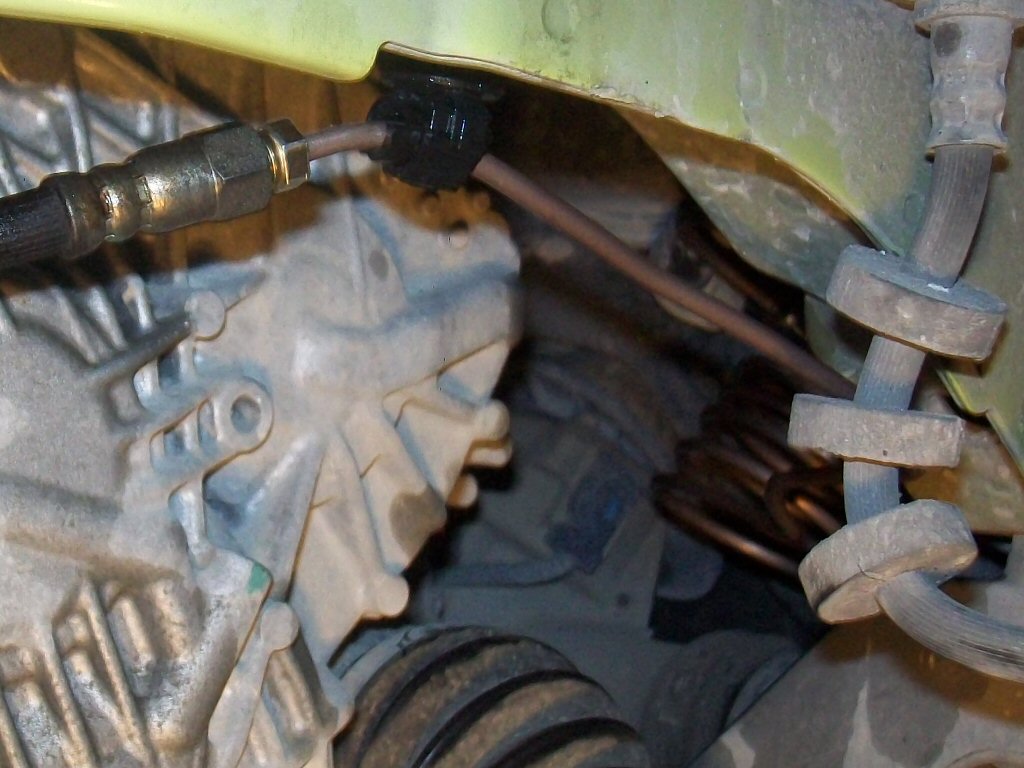
Installation
Ensure that the o-ring is present on the old CDV fitting (not stuck in CMC) and the new o-ring is present on the new CDV Delete fitting. Lightly grease the o-ring with silicone or PTFE lubricant, being careful not to get any inside the fitting. Push the retaining clip of the CMC back into the "lock" position. Move the new line into place, and insert the fitting into the CMC until it locks into place. Attach and tighten the other end of the new hard line to the existing flex line. Examine the hard line path. The line is malleable, and may be bent slighlty as needed to adjust its position to avoid obstructions. Adjust the retaining clip position and slide it back onto its mounting stud. |
    |
|
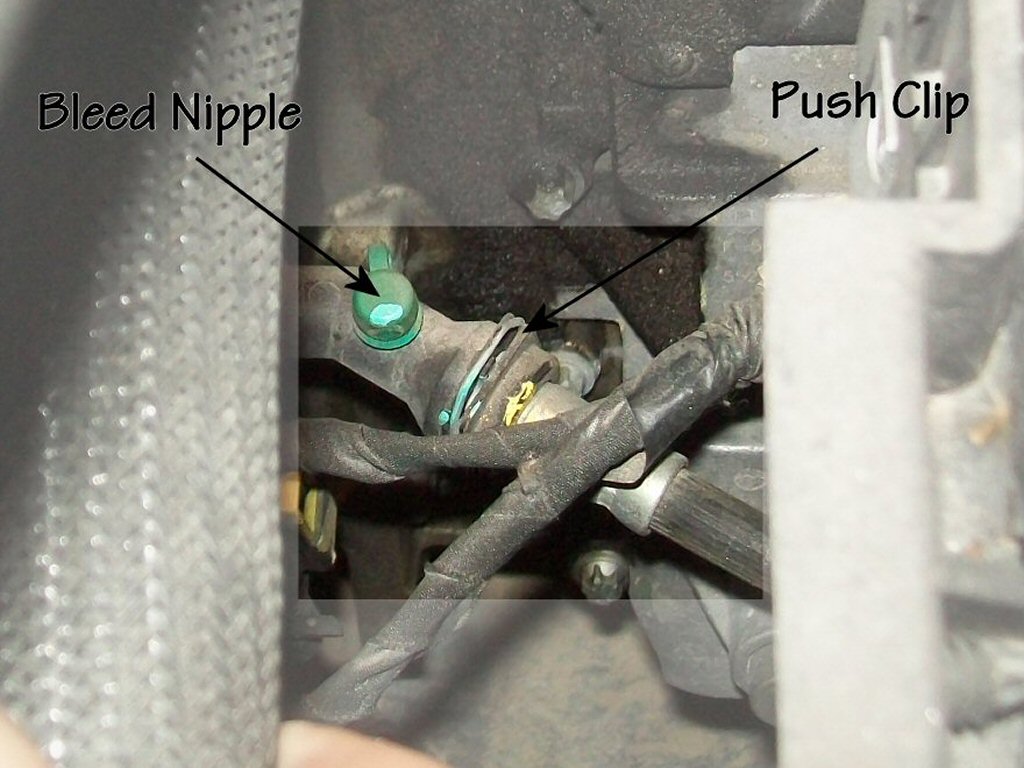
Bleed Clutch Hydraulics
Bleeding the clutch is a necessary part of this installation. The vehicle will not drive properly unless this is done correctly! Do not allow the clutch/brake reservoir to run low during this procedure, or it will have to be refilled and the process repeated. Remove the cap from the nipple on top of the clutch slave cylinder (CSC). Attach one end of the clear rubber tube to the nipple, and the other end to a clean, clear container to catch fluid. Verify the brake fluid reservoir is full. Top off with new brake fluid as necessary. Press and hold the spring clip on the CSC to allow the fitting to "pop out" to the bleed position (but not completely detach). Do not use tools to squeeze or crush the spring clip. Instruct your assistant to press and hold the clutch pedal to the floor. Pull on the CSC fitting, which will cause the fitting to "pop out" about 1/8", which opens the bleeder and allows air and fluid to escape. Release the spring clip, and push the fitting inward, locking it back into position. Instruct your assistant to release the the clutch pedal and lift it from the floor if necessary. Repeat the above steps, starting with verifying the brake fluid level, until no more air bubbbles are visible in the clear tubing, about 5 to 15 cycles. Slowly actuate the clutch pedal for ten down/up cycles. Wipe clean all attachment points and areas of spilled fluid, and check for leaks. Apply the brakes, start the engine, and verify clutch operation and pedal feel. If pedal feel is spongy or if shifting is difficult, there may still be air trapped or a leak in the system. After clutch performance is verified, remove the clear tubing and replace the bleed nipple cap. Perform a final inspection, then replace the wheel well plastic and wheel, and perform a test drive. After the test drive, perform a final inspection at all points for leaks, and verify the brake fluid reservoir level Done!
|
|