
|
The vehicle should be clean and cool.
There should be no unsolved issues with related components prior to installation.
Always diagnose problems before jumping to conclusions.
Thoroughly read the instructions and view the illustrations before beginning. First things first- take inventory. Make sure you have all the tools and components that came with the item you purchased. Last things last- if you need help with the installation, feel free to contact us via e-mail, at help@deyemeracing.com. Fully explain what you're doing, and your question. Include pictures if possible. These instructions are also available online, with images, at www.deyemeracing.com/Project_Mamba/BA1FBRKVENT_INSTALL.HTM. |
|||||||
|
Checklist
1 ea. Right and Left Fog Lamp Bezel2 ea. 180mm Adjustable Plastic Duct w/ Louvered Vents Tools and Supplies (not included)
Note: The special flex vent tube included in this kit has both adjustable length and diameter, which are necessary for installation. To change size, grasp the tube in two places and twist. To expand, bend and pull. To compress, simply push expanded area together. |

|
||||||
|
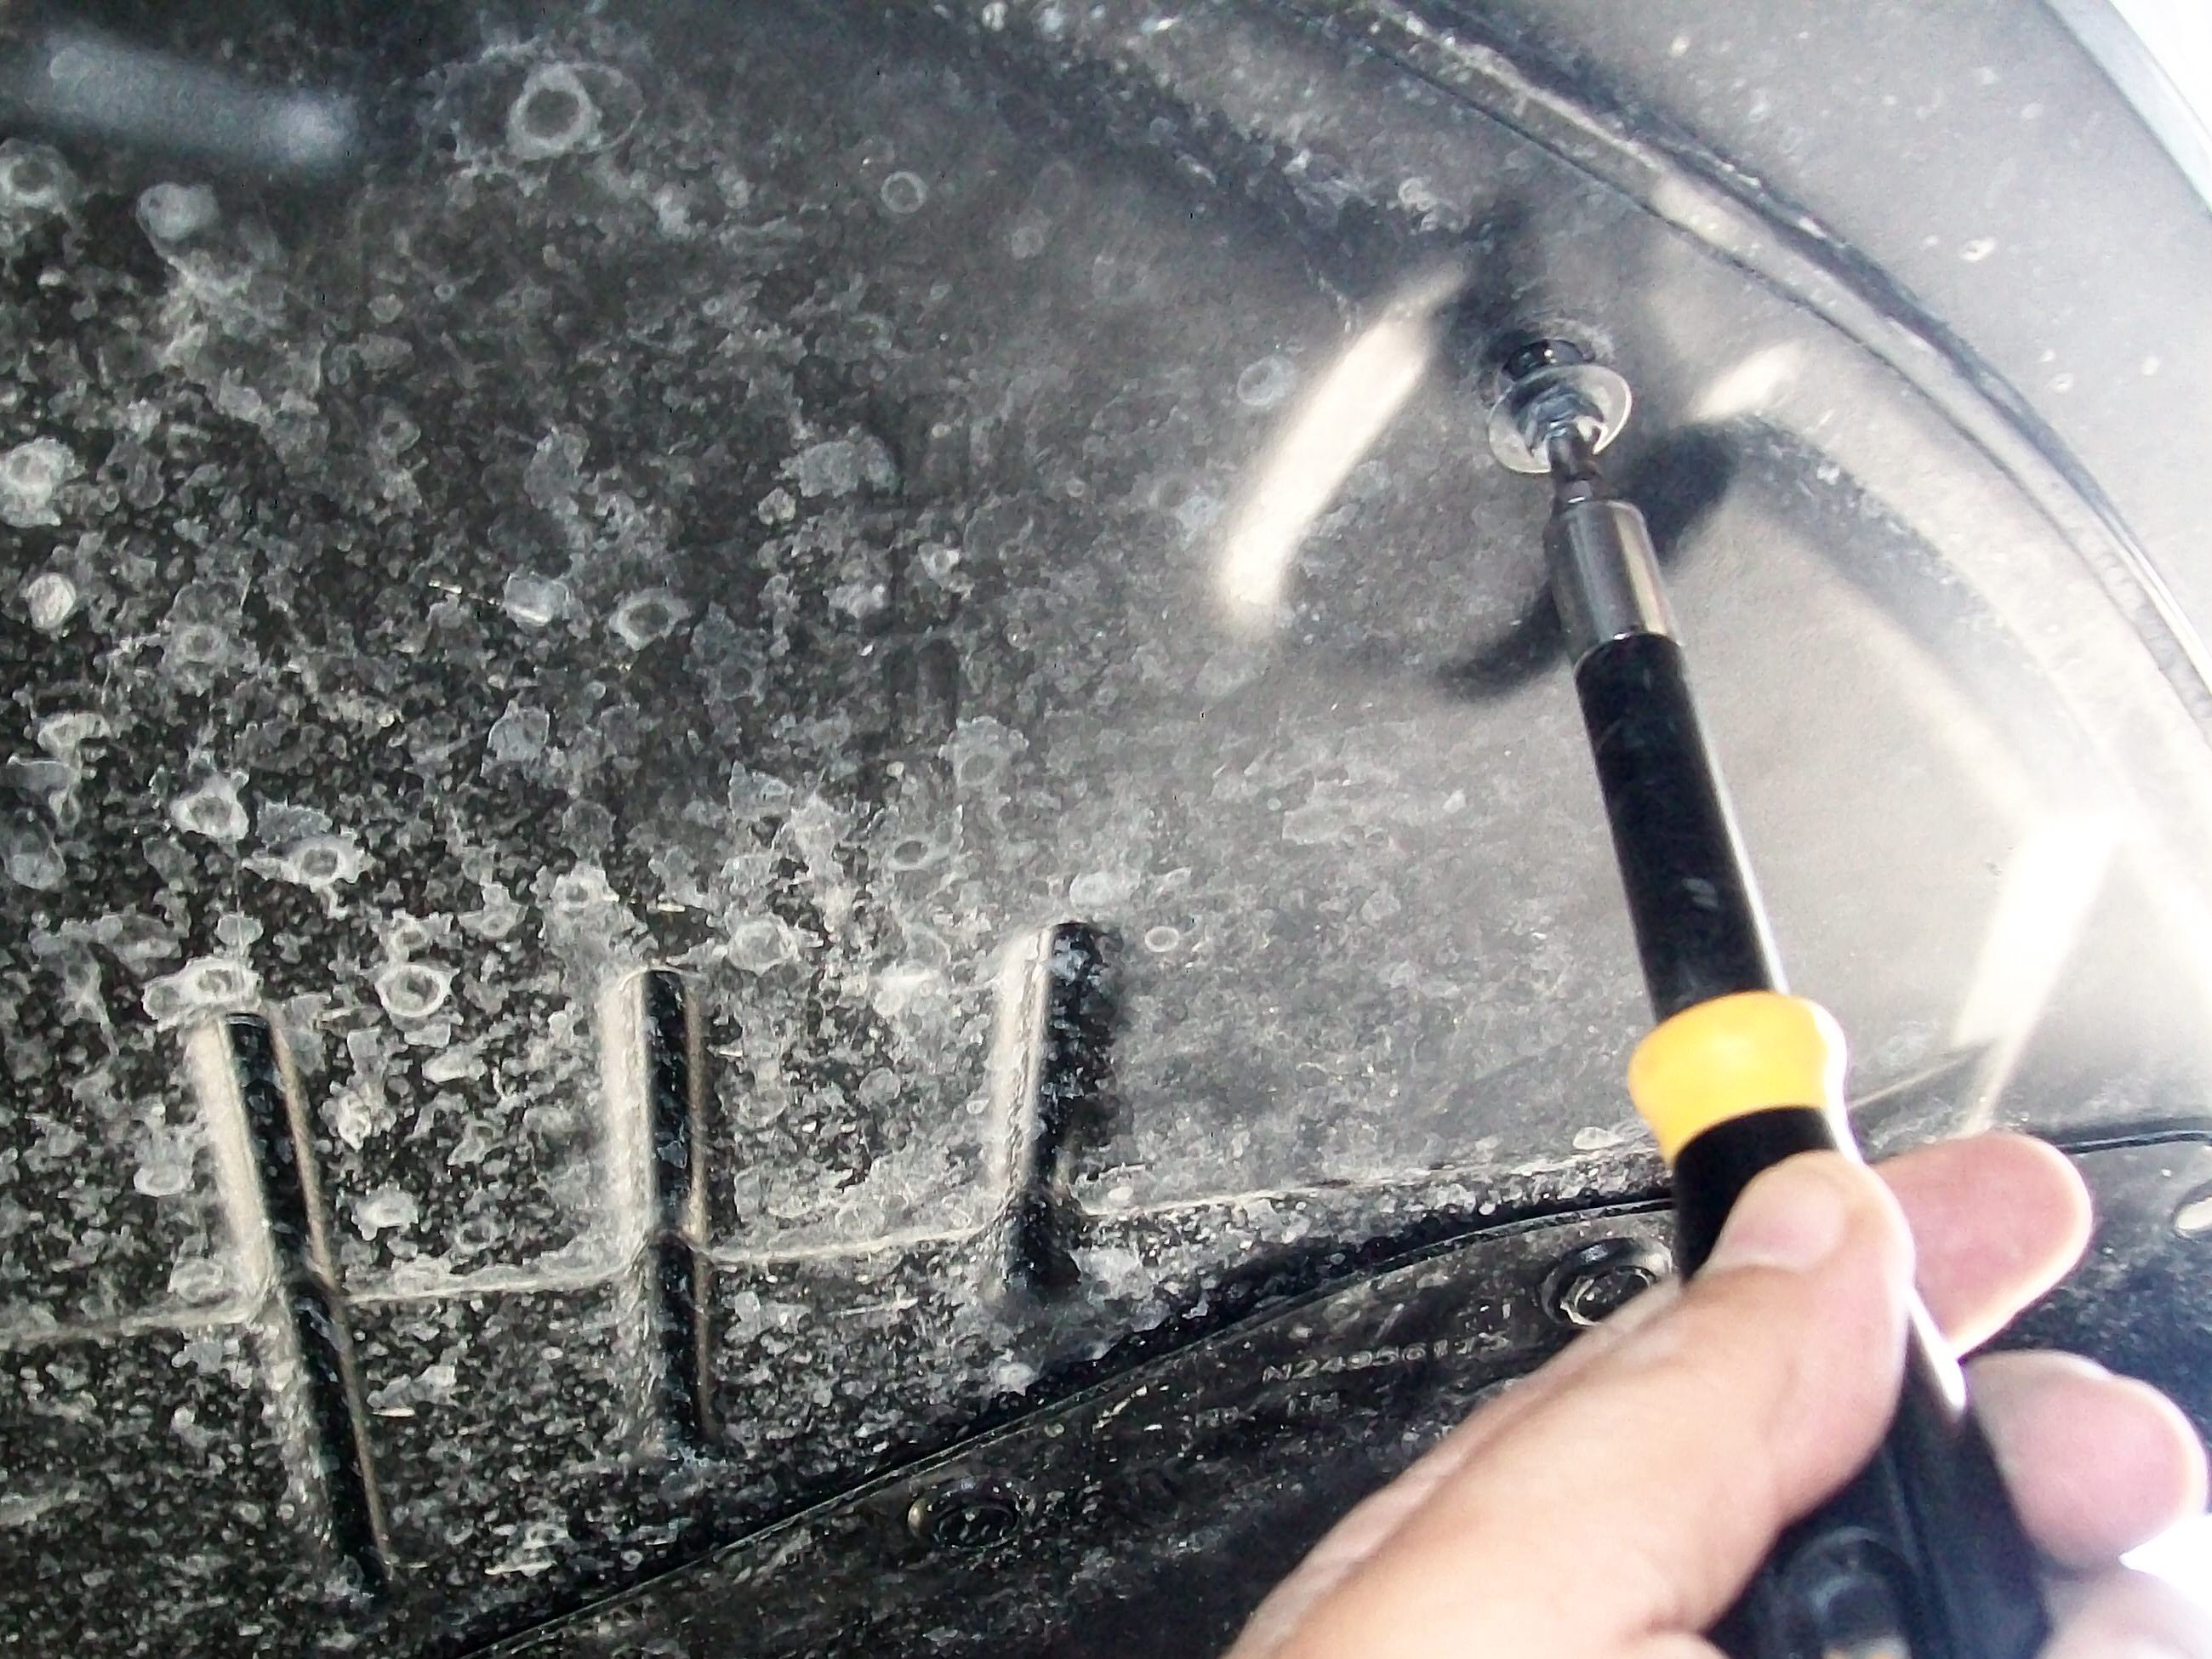
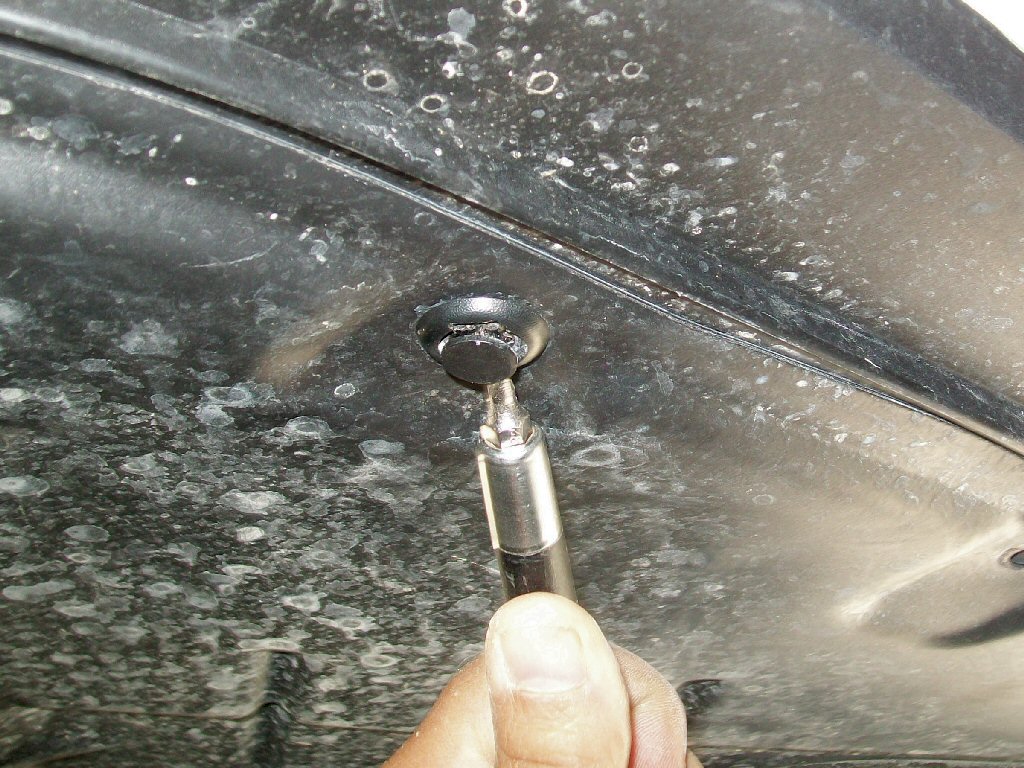
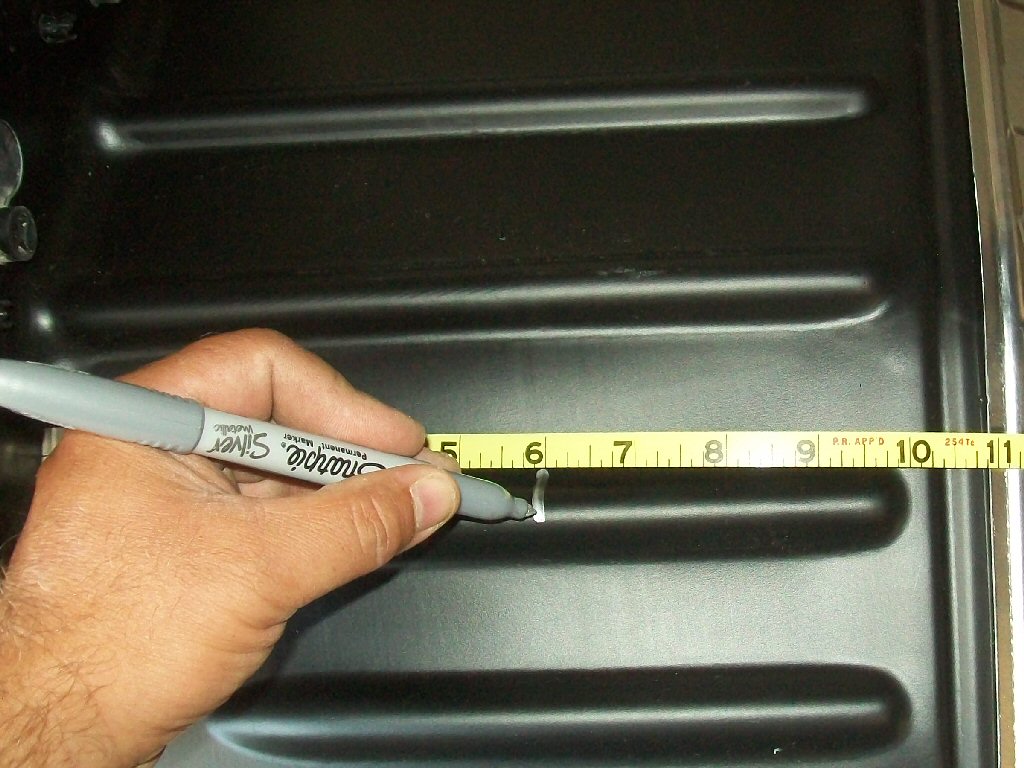
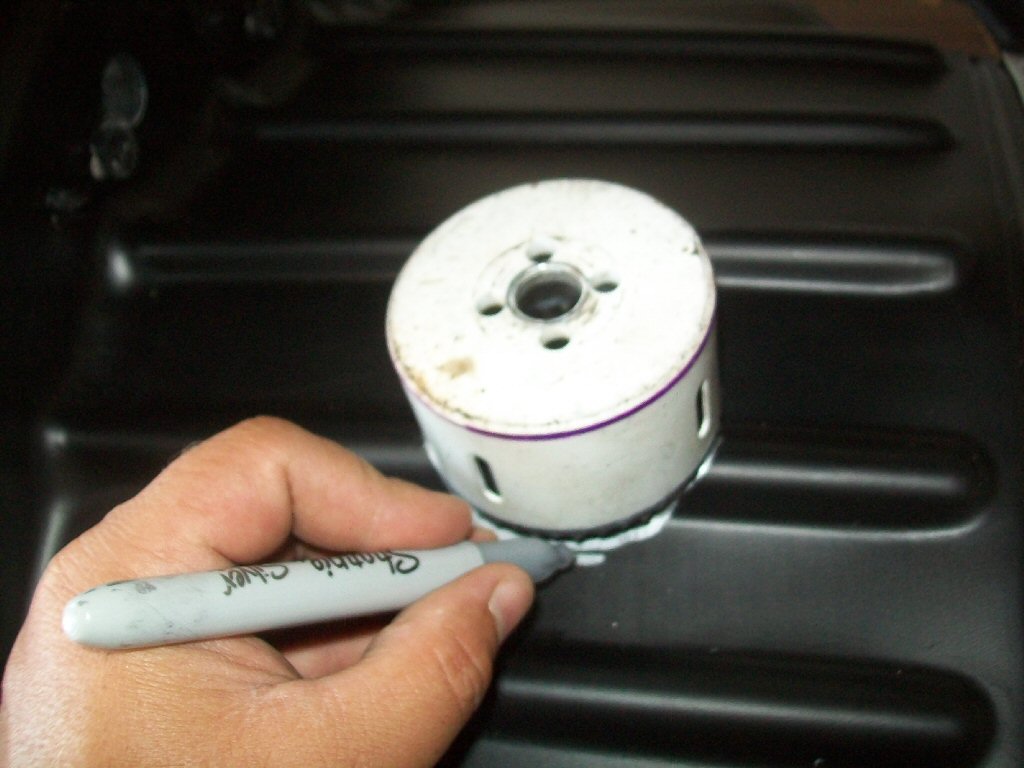
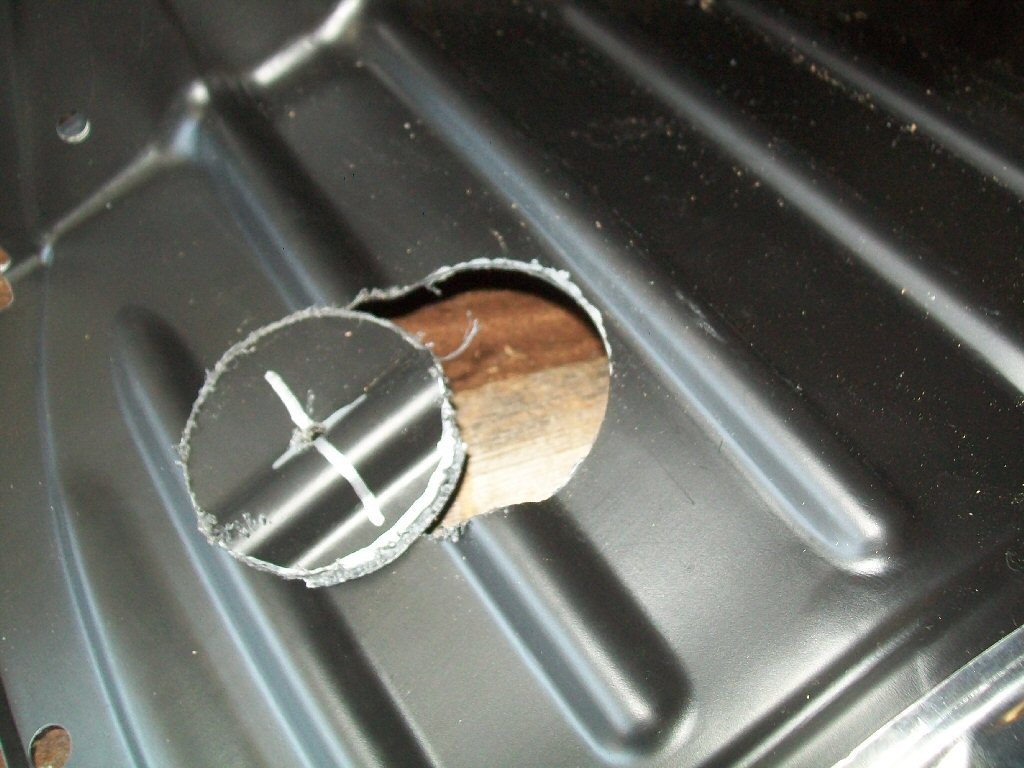
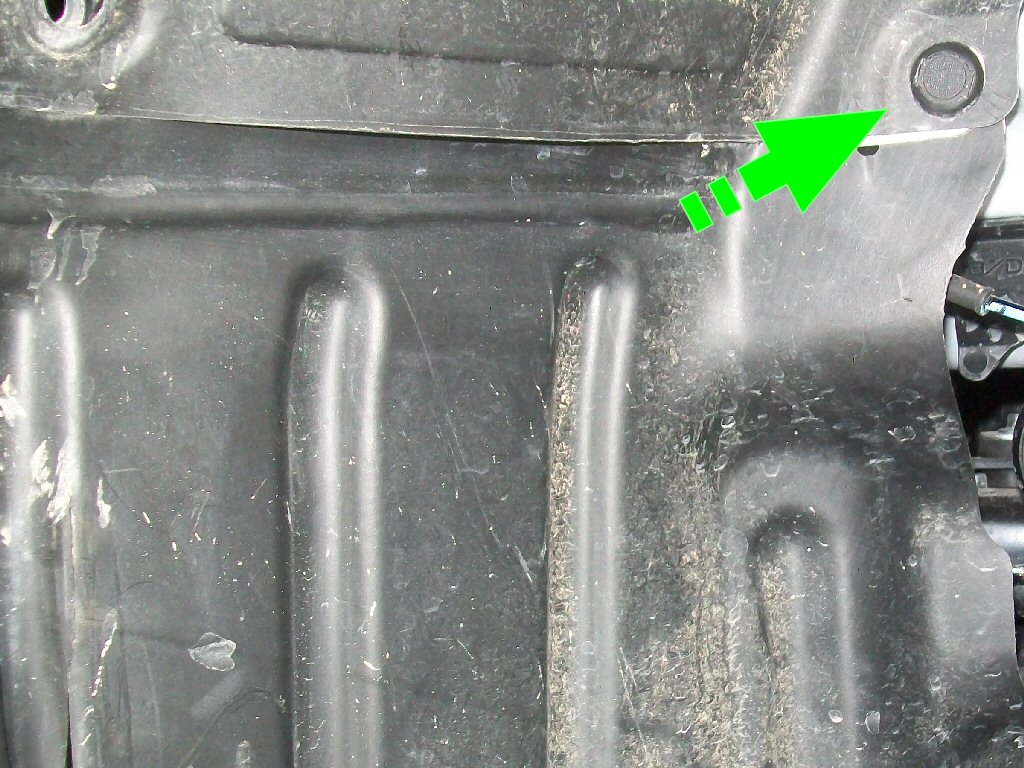
1) Pull the front wheels onto ramps. Set the parking brake, and chock the rear wheels. 2) Loosen the lug nuts for the side you wish to start on. 3) Jack up the front corner so the wheel is off of the ramp. Support with a jack stand. Never work under a vehicle supported only by a jack. 4) Remove the wheel, and set it aside. 5) With a phillips head screwdriver, remove (4) screws attaching the underside of the splash shield to the body. With a flat blade screwdriver, remove (2) plastic clips attaching the underside of the splash shield to the body (but not the 3 attaching the spat to the splash shield), and from the wheel well, (6) plastic clips attaching the splash shield to the body. Take the splash shield to a suitable work bench. 6) On the backside of the splash shield, measure up 6" (150mm) from the bottom and mark for the center of the outlet vent. For normal backspace wheels, mark the center of the third hump. For high backspace wheels, mark slightly further inboard as needed, making sure that the flange of the vent will seat flat once installed. With a hole cutter or similar round template, mark a 3.125" (79mm) circle. 7) With a utility knife or a hole cutter at very low speed and power carefully cut out the vent hole. Take care not to tear the plastic or make the hole larger than necessary. Minor trimming with a utility knife may be done at a later step if needed. |
      |
||||||
|
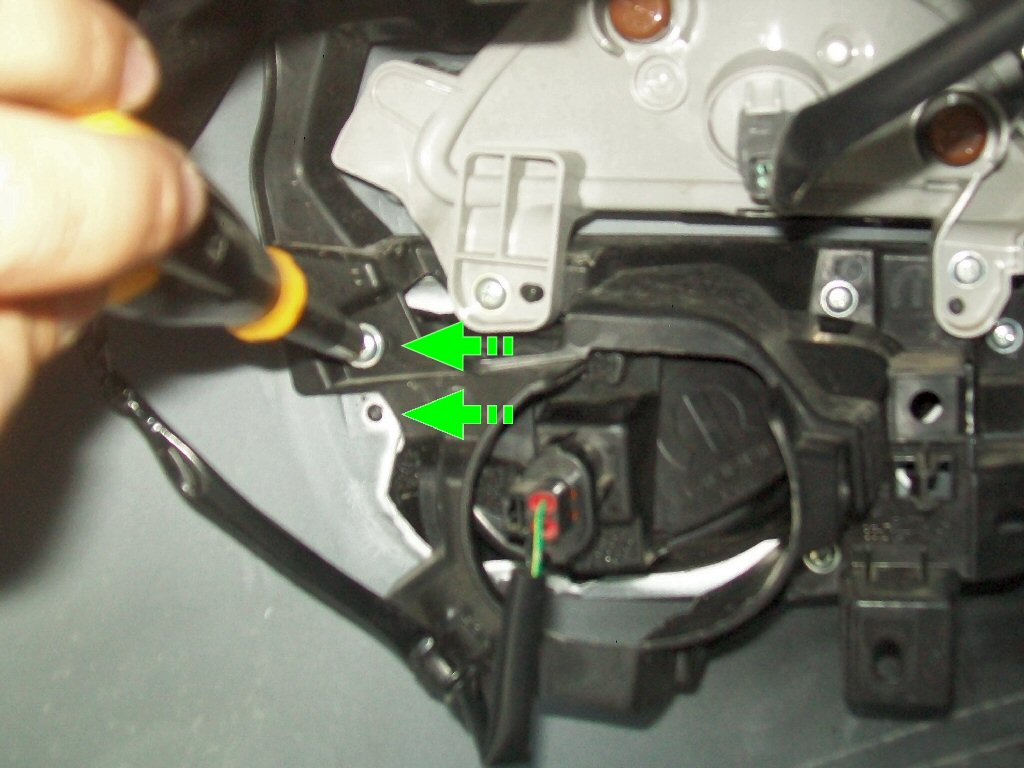
8) From inside the fascia, remove (2) screws attaching the dummy bezel to the fog lamp bracket.
Unplug electrical connector and tie aside with zip tie. Push the locking clip on the bottom of the
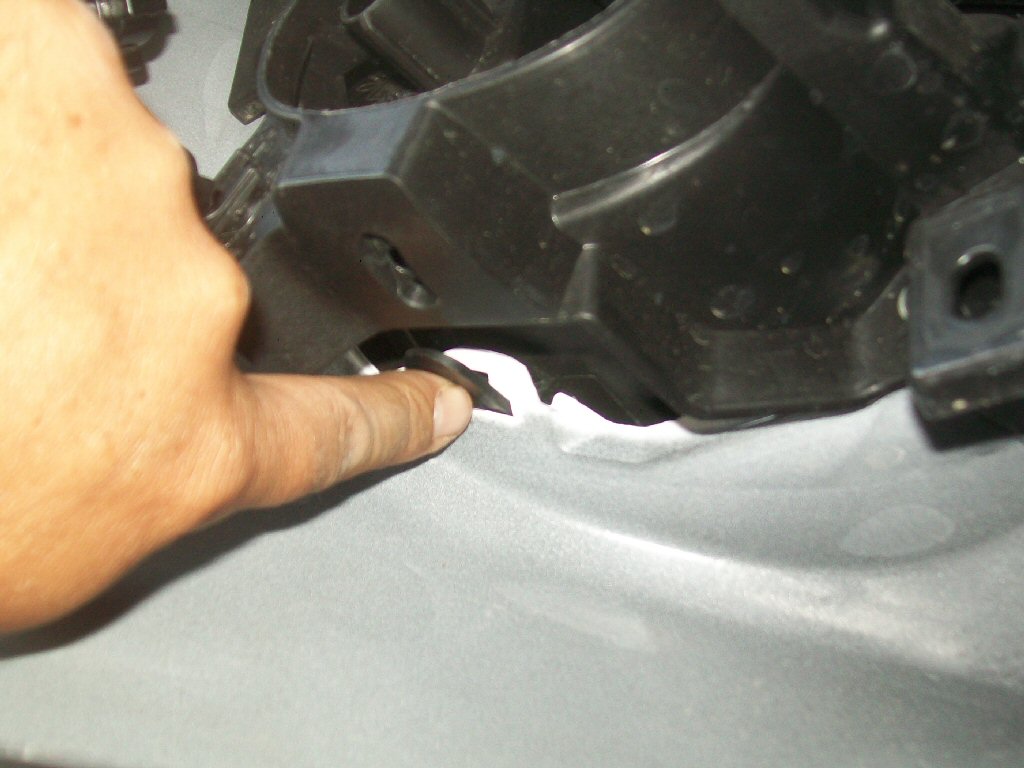
dummy bezel while also gently pulling the bottom of the bezel from ouside, to unseat the bezel. Gently pull bezel forward and away
from fascia. 9) Insert the vent tube from the wheel well, through the fog lamp bracket, and slightly out of the fascia. Adjust the diameter as needed for a very snug fit with the oval shape of the fog lamp bracket. Hold the new bezel in place (but not enough to lock it in) to adjust the diameter and exposed length of intake tube. The intake tube should fit within the lip of the fog lamp hole, and the length should be slightly expanded at the end, so it can be compressed when the new bezel is attached. 10) Attach the new bezel, ensuring fitment with the tube. Attach the (2) bezel mounting screws from inside the fascia. |
    |
|
11) Grasp the tube just behind the fog lamp bracket and extend the tube length.
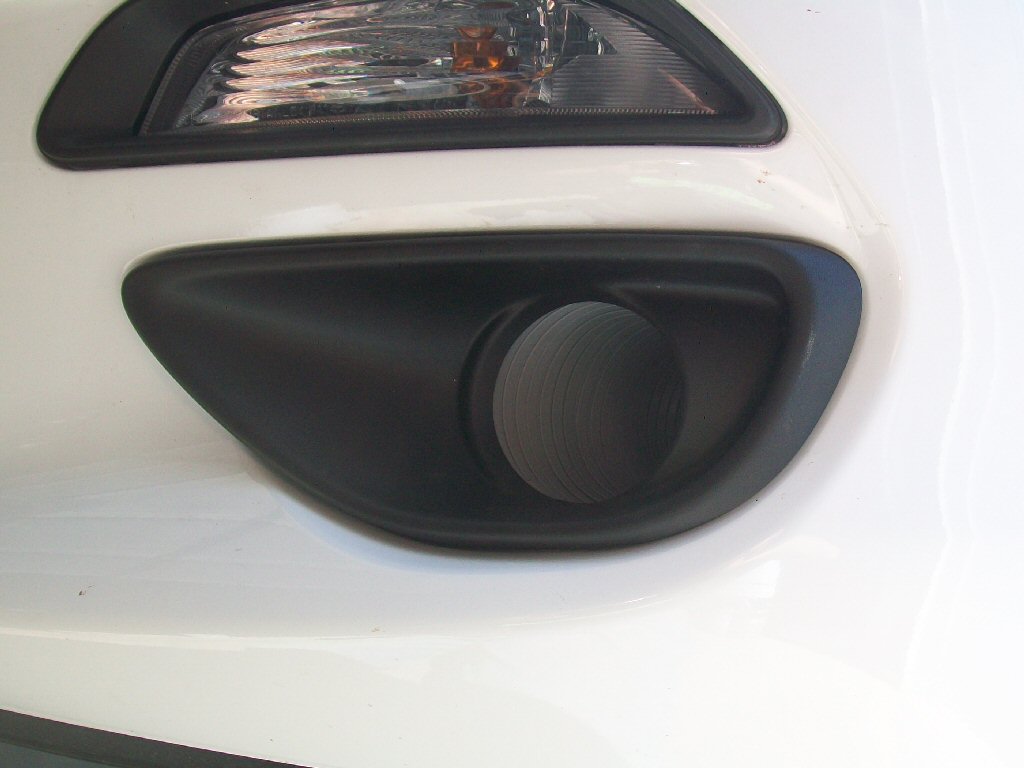
Rotate the tube until the vent louvers are positioned so air exits downward, to keep water from accumulating in the tube.
Remove the (2) screws and rubber washers attaching the vent to the tube, and remove the vent.
Do not rotate or expand the tube with the vent removed, or the screw holes may become misaligned. 12) Replace the splash shield and attach only the upper corner retaining clips. Guide the tube through the hole in the splash shield. Replace the vent, and re-attach the scrwes with rubber washers. Carefully press vent flange flush with splash shield, and the splash shield will be held between the rubber washers and the vent flange. 14) Replace the remaining clips and attaching screws for the splash shield. |
    |
|
DONE! Your installation is complete. To care for your Front Brake Vent Kit, simply wash the intake bezel and exhaust vent with soapy water. |

|